Have you ever wanted to draw a security camera but didn’t know where to start? You’re in the right place.
Drawing something that looks real and detailed can feel tricky, but with the right steps, you can create a clear and impressive security camera sketch. In this guide, you’ll learn simple techniques that anyone can follow—no special skills needed. By the end, you’ll have a drawing that looks professional and sharp.
Ready to make your mark? Let’s get started.

Credit: www.youtube.com
Materials Needed
Before you start drawing your security camera, gathering the right materials makes the process smoother and more enjoyable. Having everything ready helps you focus on the creative part without interruptions. You might be surprised how a simple change in tools can improve your drawing quality.
Basic Drawing Supplies
Start with essential tools like pencils, erasers, and paper. A range of pencils from HB to 4B will let you create different shades and details easily. You don’t need expensive sketchbooks; any smooth paper will work well for practice.
- Pencils:HB, 2B, 4B for sketching and shading
- Eraser:Kneaded or rubber for clean corrections
- Paper:Plain or sketchbook paper, A4 size or larger
Detailing And Coloring Tools
Adding color or fine details brings your security camera to life. Colored pencils or markers help highlight buttons, lenses, and wires. If you prefer a clean, technical look, fine liners or ink pens will give sharp, precise lines.
- Colored Pencils:For subtle color touches
- Markers:For bold, vibrant accents
- Fine Liners:Various nib sizes for outlines and details
Reference Materials
Having reference images or even a real security camera nearby can guide your drawing. It helps you understand shapes, proportions, and how light falls on the object. You can find great photos online or use your phone to take pictures of cameras around you.
- Photos:Printed or digital images from the web
- Real Object:A security camera or similar device for observation

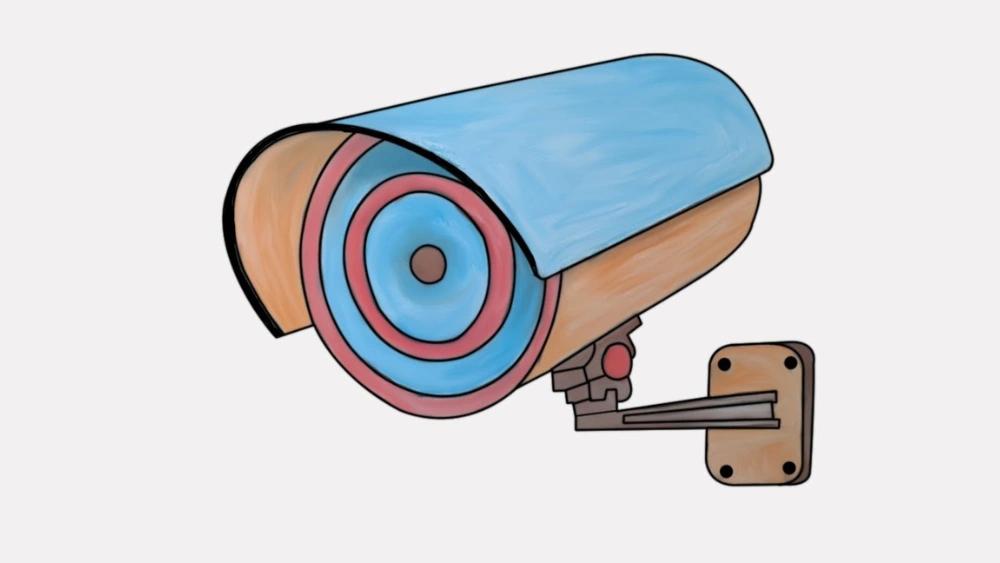
Credit: www.freepik.com
Basic Shapes And Sketching
Starting your sketch with basic shapes makes drawing easier and more accurate. Simple shapes like rectangles, circles, and ovals form the foundation of the security camera. Sketching lightly helps to adjust proportions before adding details. This approach saves time and improves the overall look.
Focus on the main parts of the camera first. Break the complex object into small, manageable pieces. This method helps to keep the drawing balanced and clear. Use a pencil to create soft outlines, which you can erase later.
Drawing The Camera Body
Begin by sketching a rectangular box for the camera body. This shape represents the main housing that holds all parts together. Keep the corners slightly rounded for a realistic look. Draw lines lightly to shape the box correctly.
Add a smaller rectangle or trapezoid to one side. This will create the base or mount where the camera attaches to the wall or ceiling. Make sure it connects smoothly to the main body. Check the size to keep the camera balanced.
Adding The Lens
Draw a circle or oval at the front of the camera body. This represents the lens where the camera captures images. Place the shape centered or slightly off-center depending on the camera style. Use light strokes to outline the lens.
Add smaller circles inside the lens to show depth and glass layers. These details make the lens look more realistic. Shade lightly around the edges to create a 3D effect. Avoid heavy lines to keep the drawing soft.
Detailing The Camera
Detailing the camera brings your drawing to life. This stage adds depth and realism. Small features make the camera look authentic. Focus on parts that hold the camera and connect it to power. These details show the camera’s function and design.
Drawing The Mounting Bracket
The mounting bracket holds the camera in place. Start by sketching a simple rectangular base behind the camera body. Add a small arm extending from this base. Connect it to the camera with a hinge or joint. Use straight lines and slight curves to show metal parts. Include screws or bolts for realism. These little touches make the bracket look sturdy and practical.
Adding Cables And Connectors
Cables provide power and data to the camera. Draw thin lines emerging from the back or bottom of the camera. Let the cables curve naturally, avoiding stiff or straight lines. Add small connectors at the cable ends. These might look like plugs or ports. Use shading to give cables a round, flexible look. This detail shows how the camera stays connected and ready to work.
Enhancing The Drawing
Enhancing your security camera drawing transforms it from a simple outline into a striking piece of art. Details matter here, and the way you handle shading and texture can make all the difference. Adding these elements helps your drawing pop and look more realistic, grabbing attention and holding it.
Shading Techniques
Shading adds depth and dimension to your security camera, making it appear three-dimensional. Start by identifying the light source in your drawing. Shade the areas opposite to the light to create natural shadows.
Use smooth gradients for rounded parts like the camera lens. For sharper edges, try cross-hatching or stippling to emphasize structure. Experiment with pressure on your pencil or pen to vary the darkness, which gives life to flat surfaces.
Ask yourself: where would shadows naturally fall on the camera? This reflection helps you decide where to darken or lighten your strokes. It’s a simple trick that instantly boosts realism.
Adding Textures
Textures bring tactile quality to your drawing, making materials like metal or plastic recognizable. Think about the security camera’s surface— is it sleek and shiny or rough and matte? Use fine lines or dots to mimic these textures.
For example, subtle horizontal lines can suggest a smooth metal casing, while small dots or scratches hint at wear and tear. Try layering different textures to add complexity without cluttering your drawing.
Consider how textures interact with light; shiny surfaces have bright spots and sharp shadows, while matte ones diffuse light softly. Adding these details invites viewers to imagine what the camera feels like, increasing engagement.
Final Touches
Final touches bring your security camera drawing to life. They add depth and clarity, making your sketch stand out. Paying attention now can transform a simple outline into a detailed, realistic image that captures the essence of the camera.
Highlighting And Accents
Use highlights to show where light naturally hits the camera’s surface. A few white or lighter strokes along the edges can suggest reflections on the lens or metal parts. This small detail gives your drawing a polished, three-dimensional feel.
Accents help emphasize important features like screws, buttons, or the lens. Adding subtle shadows around these areas makes them pop without overwhelming the overall image. Try to balance your accents so they enhance rather than distract.
Reviewing The Drawing
Step back and look at your drawing from a distance. Does the shape look balanced? Are the proportions accurate? Sometimes stepping away helps spot areas that need tweaking.
Ask yourself if the camera looks sturdy and functional. If something feels off, adjust lines or shading. Even small changes can improve the drawing’s realism significantly.
Remember, you want your security camera to convey reliability and clarity. Would someone recognize it instantly? If not, refine the details until it feels right.
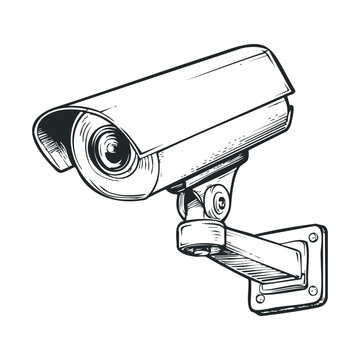
Credit: stock.adobe.com
Frequently Asked Questions
How Do I Start Drawing A Security Camera?
Begin with a simple outline of the camera’s main body. Use basic shapes like rectangles and circles. This helps build the structure before adding details.
What Materials Are Best For Drawing Security Cameras?
Use pencils for sketching and fine liners for details. Colored pencils or markers can add depth and realism to your drawing.
How Can I Add Realistic Details To My Security Camera Drawing?
Focus on lens reflections, mounting brackets, and small screws. These elements make your drawing look more authentic and professional.
What Drawing Techniques Improve Shading On Security Cameras?
Use cross-hatching or smooth shading to create depth. Pay attention to light source direction for realistic shadows.
Conclusion
Drawing a security camera is easier than it seems. Follow each step slowly and carefully. Use basic shapes to create the camera’s form. Add details like the lens and mounting bracket last. Practice often to improve your drawing skills. Soon, you will feel confident with this design.
Drawing helps you understand how security cameras look. Try drawing different styles for variety and fun. Keep your lines clean and your shapes simple. Enjoy the process and watch your art grow.


