Are you looking to boost your home’s safety without complicated setups or messy wires? Installing a wireless home security camera system can give you peace of mind and protect what matters most.
But how do you get started? This guide will walk you through simple, step-by-step instructions that anyone can follow. By the end, you’ll know exactly how to set up your system quickly and confidently, so you can keep an eye on your home anytime, anywhere.
Ready to take control of your home’s security? Let’s dive in.

Credit: www.weilailifetech.com
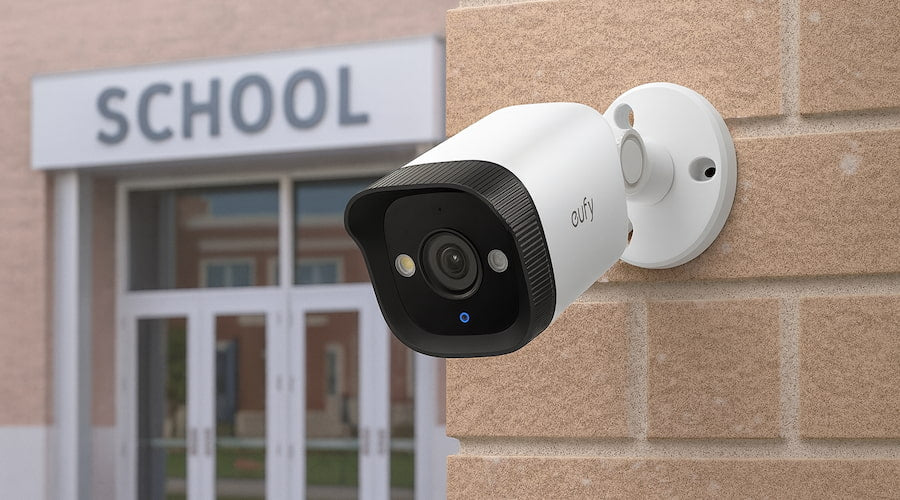
Choosing The Right Security Camera
Choosing the right security camera is key for a reliable home security system. The right camera keeps your home safe and gives peace of mind. Consider what type fits your needs, what features matter most, and your budget. This helps you pick a camera that works well and lasts long.
Types Of Wireless Cameras
Several types of wireless cameras exist. Each suits different home security needs.
- Indoor Cameras:Small, easy to place inside the house.
- Outdoor Cameras:Weather-resistant and built to withstand elements.
- Doorbell Cameras:Monitor entrances and visitors.
- Pan-Tilt-Zoom (PTZ) Cameras:Move remotely to cover wide areas.
- Battery-Powered Cameras:Flexible placement without wires.
Features To Consider
Focus on features that improve security and ease of use.
- Video Quality:Look for at least 1080p resolution for clear images.
- Night Vision:Essential for monitoring in low light or dark.
- Motion Detection:Alerts you only when movement occurs.
- Two-Way Audio:Communicate through the camera remotely.
- Storage Options:Cloud storage or local SD card support.
- App Compatibility:Easy control and live view from smartphones.
Budget And Brand Options
Setting a budget narrows down camera choices. Prices vary by features and quality.
| Price Range | Typical Features | Popular Brands |
|---|---|---|
| Under $50 | Basic video, limited features | Wyze, Blink |
| $50 – $150 | Good video, night vision, motion alerts | Ring, Arlo, Eufy |
| Above $150 | Advanced features, better build, cloud storage | Nest, Logitech Circle |
Choose a trusted brand with good customer support. Read reviews to check reliability and ease of setup.
Credit: peakalarm.com
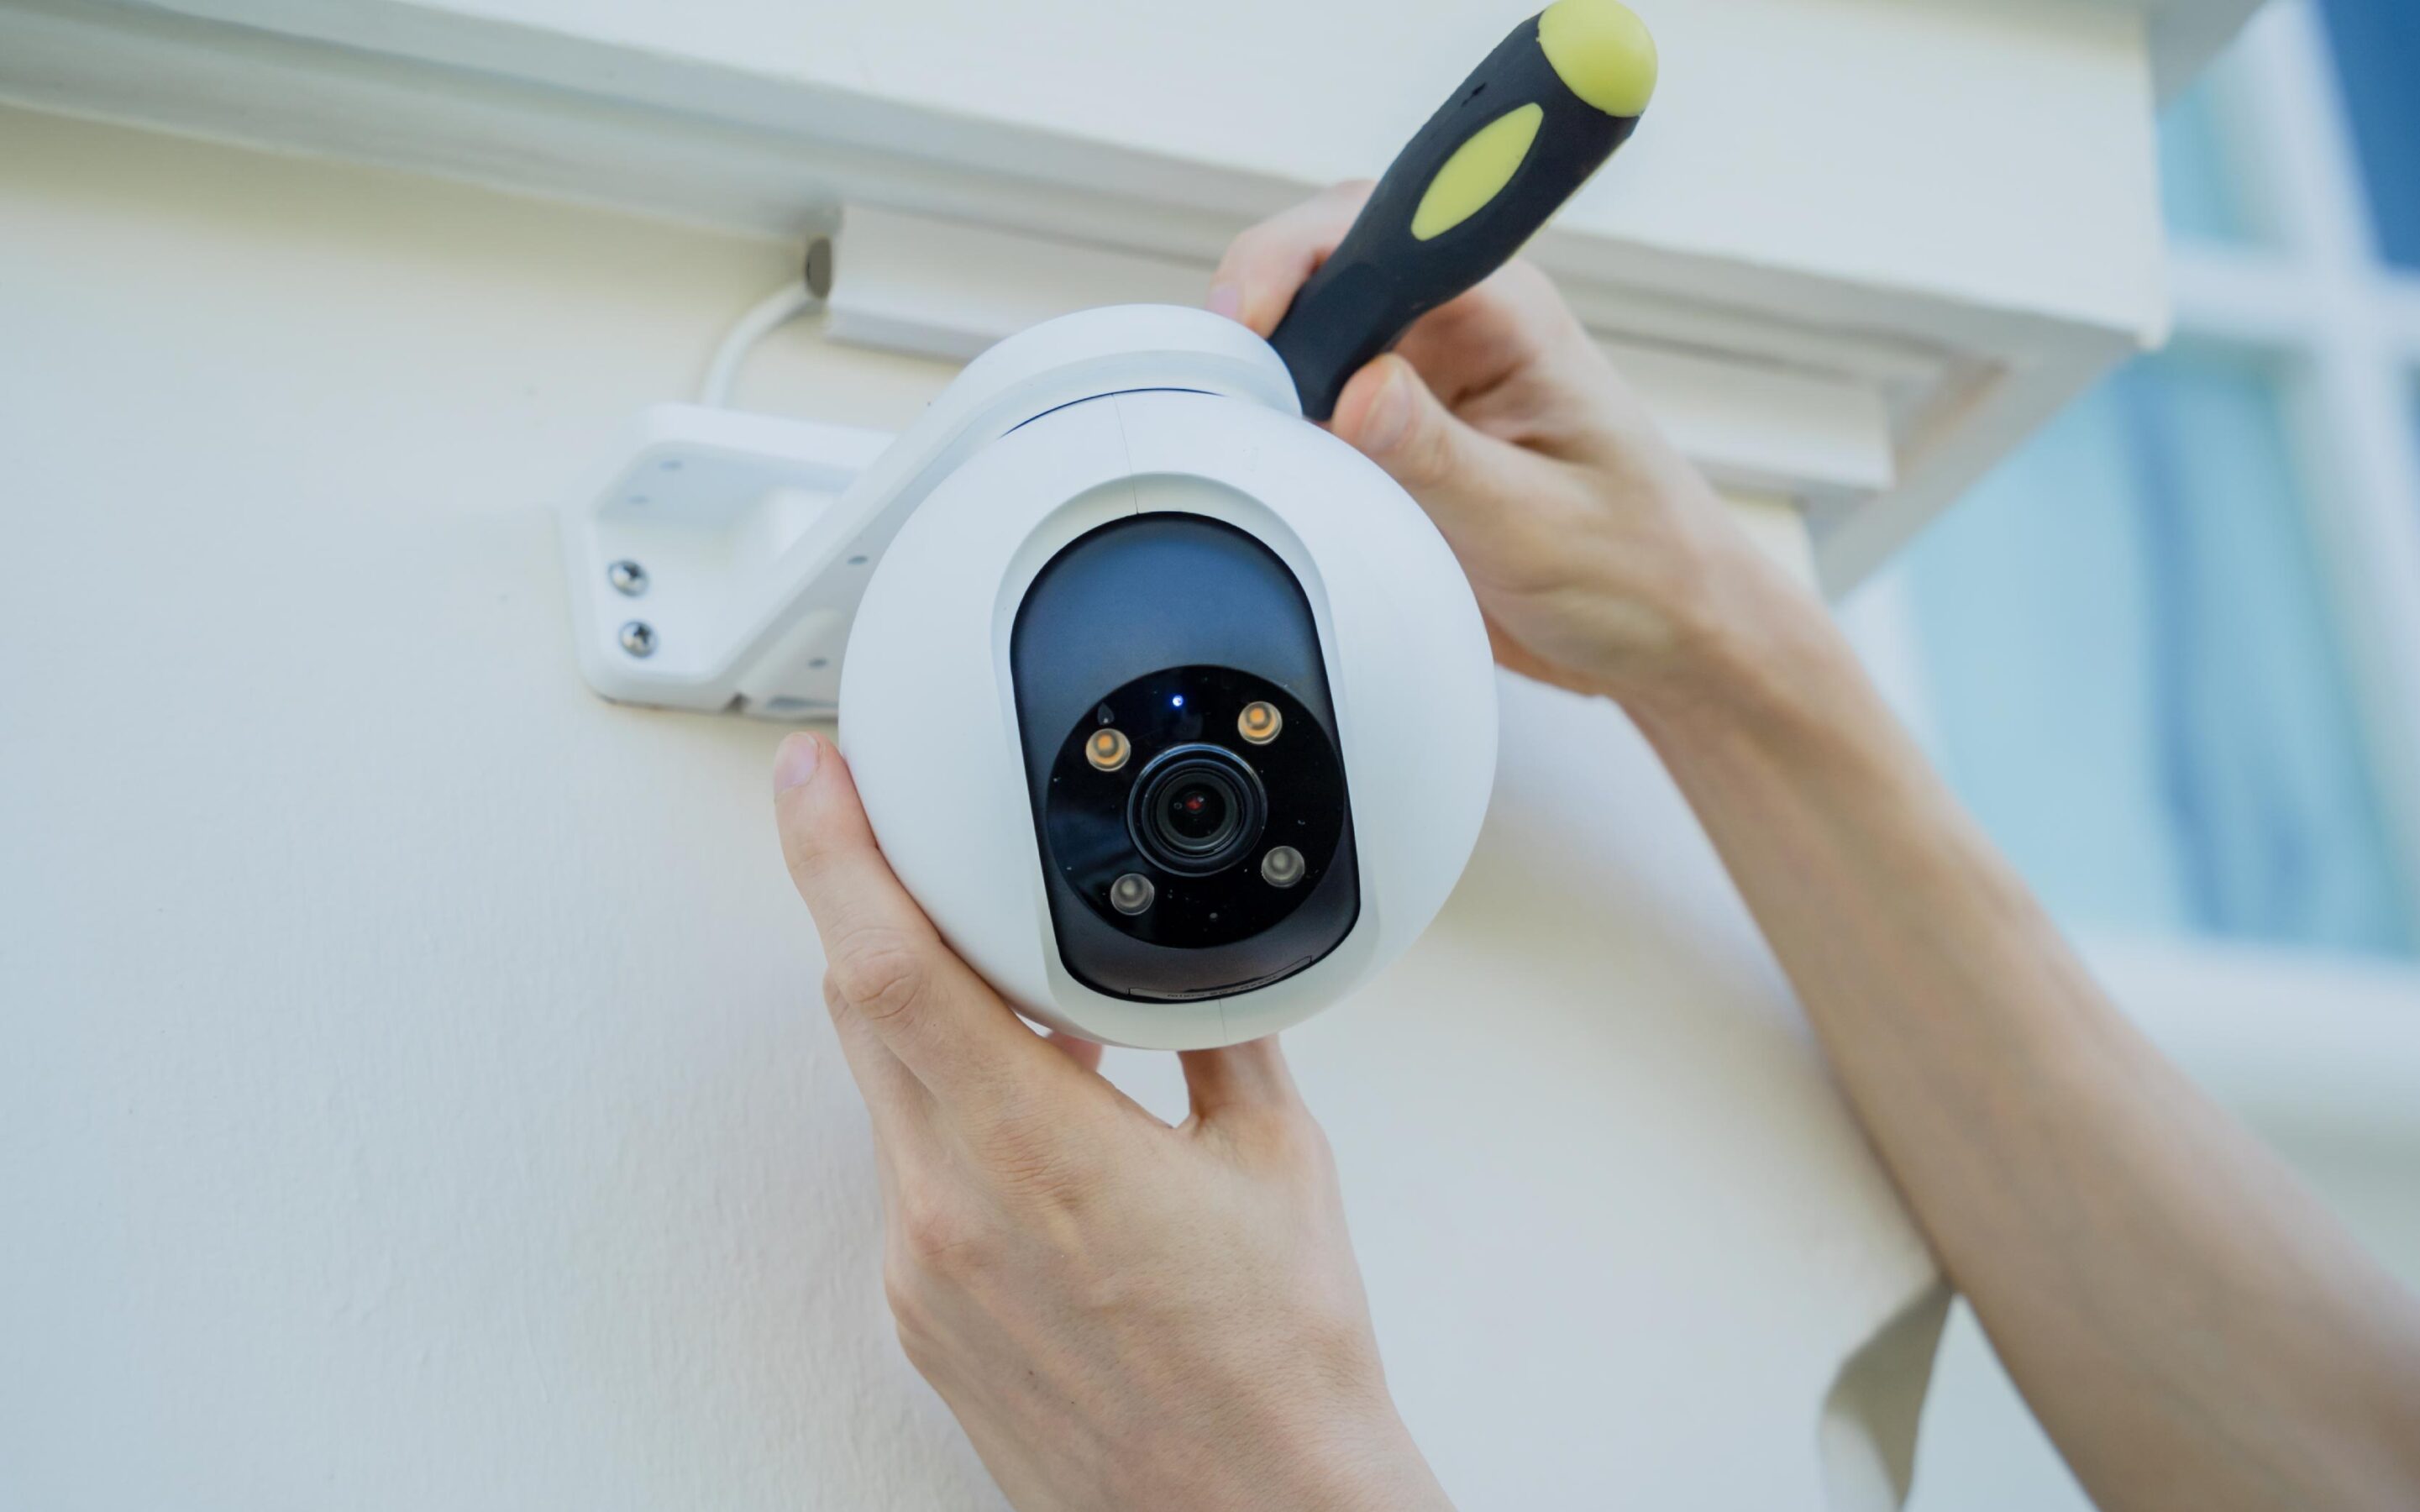
Preparing For Installation
Preparing for the installation of a wireless home security camera system is essential for smooth setup. Planning ahead saves time and avoids common mistakes. This phase involves getting the right tools, checking system compatibility, and choosing the best camera spots.
Gathering Necessary Tools
Gather all tools before starting the installation. Basic tools include:
- Screwdriver set
- Drill with bits
- Measuring tape
- Level
- Ladder
- Anchors and screws
- Smartphone or tablet for setup
Having these ready ensures no interruptions during installation.
Checking Compatibility
Check if your cameras work with your home network and devices. Verify:
- Wi-Fi frequency (2.4 GHz or 5 GHz)
- Mobile app compatibility (iOS, Android)
- Power source requirements
- Integration with other smart devices
This step avoids connection issues and guarantees smooth operation.
Selecting Camera Locations
Pick locations that cover key areas without blind spots. Ideal spots include:
- Main entrances and exits
- Driveways and garages
- Backyards and side doors
- Common indoor areas like living rooms
Consider power access and Wi-Fi signal strength at each spot.
Setting Up The Camera System
Setting up your wireless home security camera system correctly is key to making sure it works smoothly and keeps your home safe. It’s more than just placing cameras around. You need to think about where to mount them, how to power them, and connect them to your Wi-Fi for real-time monitoring.
Mounting The Cameras
Choose spots that cover all important areas without blind spots. Corners of rooms or exterior walls often provide the best view.
Make sure the cameras are placed high enough to avoid tampering but still capture clear faces and activities. Use the mounting hardware that comes with your system, and double-check that each camera is stable before moving on.
Connecting To Power Source
Even wireless cameras need power, so locate nearby outlets or consider battery-powered options. If you use batteries, pick high-quality rechargeable ones to avoid frequent replacements.
For plug-in cameras, keep cords tidy and secure to prevent tripping or accidental unplugging. Have you thought about how power interruptions might affect your setup? A UPS (uninterruptible power supply) could help maintain your system during outages.
Establishing Wi-fi Connection
Your cameras rely on a strong Wi-Fi signal to send footage without delay. Place them within range of your router, or use Wi-Fi extenders if necessary.
Follow the camera’s app instructions to connect each device to your network. Test each connection by viewing live footage on your phone or computer to ensure smooth streaming.
Are you aware that a crowded Wi-Fi network can slow down your cameras? Consider dedicating a separate network or prioritizing your camera devices in your router settings.
Configuring Camera Settings
Configuring your wireless home security camera settings is key for effective monitoring. Proper settings ensure clear images and reliable alerts. Customizing options helps the camera fit your home’s unique layout and security needs.
Spend time adjusting settings to avoid false alarms and blind spots. A well-configured camera gives peace of mind and real protection.
Adjusting Resolution And Angles
Set the camera resolution based on your storage and detail needs. Higher resolution offers clearer images but uses more space.
Adjust the camera angle to cover important areas like doors or windows. Use the app or physical controls to tilt and pan the camera. Check the view on your device to avoid blind spots.
Setting Motion Detection
Turn on motion detection to get alerts when movement occurs. Adjust sensitivity to avoid notifications from pets or passing cars.
Set activity zones to focus on key areas. This reduces false alarms and helps detect real threats.
Ensuring Remote Access
Enable remote access to view your cameras from anywhere. Use the camera’s app and create a secure account with a strong password.
Check your Wi-Fi connection for stability. Poor internet affects live streaming and notifications.
Test remote access after setup to confirm you can see live footage and receive alerts on your phone.
Testing And Troubleshooting
Testing and troubleshooting are crucial steps after installing your wireless home security camera system. These steps ensure the system works correctly and provides reliable security. Early testing helps detect any issues before they affect your safety. Troubleshooting guides you through fixing common problems quickly. Follow the steps below to confirm your cameras function well and maintain strong performance.
Conducting Functionality Tests
Start by checking each camera’s video feed. Make sure the image is clear and the camera angle covers the desired area. Test the night vision feature in low light conditions. Verify motion detection triggers alerts properly. Use the system’s app or software to view live and recorded footage. Confirm the audio, if available, is clear. Check if notifications reach your phone or email as set.
Addressing Connectivity Issues
Check your Wi-Fi signal strength near each camera. Weak signals cause lag or disconnections. Move cameras closer to the router if needed. Use Wi-Fi extenders to boost coverage. Restart your router and cameras to refresh connections. Ensure the firmware on cameras and router is updated. Confirm no network restrictions block camera data. If problems persist, reset the camera to factory settings and reconnect.
Optimizing Performance
Position cameras to avoid obstructions and glare. Adjust resolution settings for a balance of quality and bandwidth. Schedule recording times to save storage space. Regularly clean camera lenses for clear images. Update software and firmware to improve security and features. Monitor system alerts and logs to catch issues early. Test the system periodically to maintain consistent performance.
Maintaining Your Camera System
Maintaining your wireless home security camera system is key to keeping your home safe and ensuring your investment lasts. Regular care prevents unexpected failures and keeps your footage clear and accessible. Let’s look at essential maintenance tasks that keep your system running smoothly.
Regular Software Updates
Software updates are crucial for security cameras. They patch vulnerabilities, improve performance, and add new features. Ignoring updates can leave your system exposed to hackers or cause glitches.
Set a reminder to check for updates at least once a month. Many cameras notify you automatically, but it’s good to verify through the app or manufacturer’s website. Have you ever missed an update and faced connectivity issues? Staying proactive saves you from those headaches.
Cleaning And Inspection
Dirt, dust, and spider webs can block your camera lens and sensors, reducing video quality. Regular cleaning with a soft cloth can keep images sharp and clear. Avoid harsh chemicals; water or lens cleaning solution works best.
Inspect mounts and cables for wear or damage too. Loose mounts might cause shaky footage, and damaged cables can disrupt power or data flow. How often do you pause to physically check your cameras? A quick monthly inspection can prevent bigger problems.
Upgrading Components
Your camera system may need upgrades over time to stay effective. This could mean swapping out older cameras for models with better resolution or adding more cameras to cover blind spots. Sometimes upgrading your Wi-Fi router improves connection quality for all devices, including your cameras.
Consider component upgrades as an ongoing process rather than a one-time setup. What areas of your home have changed or become vulnerable since your initial installation? Enhancing your system to match your current needs helps maintain your home’s security.
Credit: www.lorex.com
Frequently Asked Questions
How Do I Choose The Best Wireless Home Security Camera?
Choose cameras with high resolution, night vision, and reliable Wi-Fi. Check for easy installation and app support. Consider battery life and weather resistance for outdoor use. Reviews and brand reputation also help in selecting the best system.
What Tools Are Needed To Install Wireless Cameras?
Typically, you need a drill, screwdriver, and ladder. Some cameras include mounting kits. A smartphone or tablet is required to connect and configure the system. Additional tools depend on wall types and camera placement.
Can I Install Wireless Cameras Without Professional Help?
Yes, most wireless cameras are designed for DIY installation. Follow the user manual carefully for mounting and setup. Use the mobile app to connect cameras to Wi-Fi. Professional help is optional but may save time.
How Do I Secure My Wireless Camera System?
Use strong passwords and enable two-factor authentication. Keep the camera firmware updated regularly. Connect cameras to a secure Wi-Fi network. Disable remote access if not needed to reduce hacking risks.
Conclusion
Installing a wireless home security camera system is simpler than it seems. Choose the right spots for clear views. Connect the cameras to your Wi-Fi for easy access. Test each camera to ensure it works well. Regularly check the system to keep it reliable.
This setup helps protect your home day and night. Stay safe with simple steps anyone can follow. Your home’s security is now under your control.


