Is your shower head stuck and refusing to budge? You’re not alone.
A tight shower head can be frustrating when you want to clean it, replace it, or fix a leak. But don’t worry—removing it doesn’t have to be a struggle. In this guide, you’ll discover simple, effective tricks to loosen even the most stubborn shower heads.
By the end, you’ll have the confidence to tackle this task yourself, saving time and money. Ready to get your shower head off without damage or stress? Let’s dive in.
Assessing The Situation
Before removing a tight shower head, it is important to assess the situation carefully. This helps avoid damage and makes the task easier. Start by understanding what type of shower head you have. Then, check for any signs of corrosion that might be causing the tightness. These steps prepare you for safe and effective removal.
Identifying Shower Head Type
Shower heads come in various types. Common ones include fixed, handheld, and rain shower heads. Fixed heads are attached directly to the pipe. Handheld heads have a hose connected to the pipe. Rain shower heads are usually larger and mounted on the ceiling or wall.
Check the shape and connection style. This helps you know what tools might be needed. Some models use threaded connections. Others have quick-release fittings. Identifying the type reduces the risk of breaking parts during removal.
Checking For Corrosion
Corrosion can make a shower head very hard to remove. Look for rust, green or white buildup around the connection. These signs show mineral deposits or metal corrosion. Corrosion weakens the metal and causes parts to stick together.
Use a flashlight to inspect hidden areas closely. If corrosion is present, apply a penetrating oil or vinegar. Let it sit for at least 15 minutes. This helps loosen the stuck parts before you try to remove the shower head.
Credit: www.tiktok.com
Gathering Essential Tools
Removing a tight shower head needs the right tools. Having these tools ready saves time and avoids damage. A few common items will make the job easier and safer. Preparing well helps you work smoothly and with confidence.
Wrenches And Pliers
Wrenches and pliers are essential for loosening the shower head. An adjustable wrench fits most shower head nuts. Slip-joint pliers offer extra grip for stubborn parts. Use a cloth between the tool and shower head to avoid scratches. These tools give the leverage needed to turn tight fittings.
Lubricants And Cleaners
Lubricants help loosen rust and mineral build-up inside the shower head. Spray a penetrating oil or WD-40 on the joint and wait a few minutes. Cleaners remove grime that can block movement. A mild vinegar solution can dissolve mineral deposits. These products make unscrewing easier and protect your plumbing fixtures.
Preparation Steps
Preparing to remove a tight shower head is key for an easy job. Proper preparation helps prevent damage and saves time. Follow these steps to get ready before loosening the shower head.
Protecting Surrounding Area
Cover the shower floor with a towel or cloth. This stops scratches and catches dropped tools. Use painter’s tape around the shower arm to protect the wall. Remove any soap or shampoo bottles to clear space. Keep a small container nearby to hold screws or small parts.
Turning Off Water Supply
Locate the main water valve for your bathroom or house. Turn it off to stop water flow. Open the shower faucet to release any remaining water. This reduces pressure and prevents leaks while working. Keep a bucket or bowl nearby in case of drips.

Credit: www.reddit.com
Loosening Techniques
Getting a tight shower head to budge can be frustrating. Sometimes, it feels stuck like it’s glued in place. Luckily, there are simple loosening techniques that can help you free it without damaging the fixture or your plumbing.
Using Vinegar For Corrosion
Vinegar is a powerful natural solution to dissolve mineral deposits that often cause shower heads to stick. Soak a cloth or paper towel in white vinegar and wrap it around the joint where the shower head connects to the pipe.
Let it sit for at least 30 minutes, or longer if the corrosion is heavy. Vinegar breaks down rust and mineral buildup gently but effectively. After soaking, try twisting the shower head again—it should turn more easily.
Applying Heat To Metal
Heat can expand metal parts slightly, loosening the grip on the shower head. Use a hairdryer or heat gun on a low setting and warm the connection point for a few minutes.
Be cautious not to overheat or damage any plastic components nearby. Once warmed, test the shower head’s movement. You’ll often find it loosens up, making it easier to unscrew.
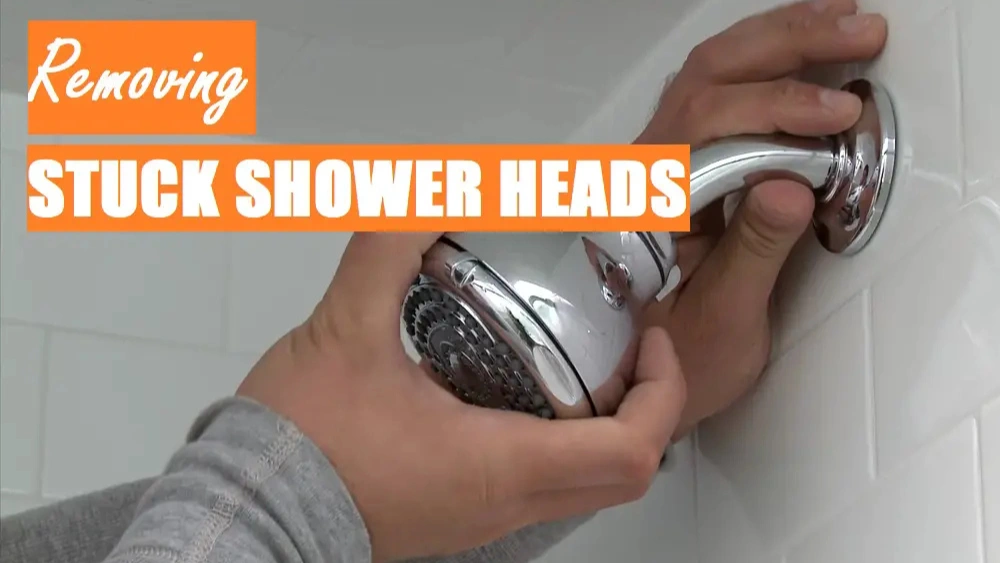
Removing The Shower Head
Removing a tight shower head can be frustrating, especially if it feels stuck or hard to turn. The key lies in using the right tools carefully and protecting your fixtures from damage. Taking a calm, step-by-step approach will save you time and avoid costly repairs.
Proper Use Of Tools
Start with adjustable wrenches or pliers designed for plumbing work. Wrap the jaws of your tool with a cloth to prevent scratching the shower head’s finish. Turn the shower head counterclockwise with steady pressure—jerky or excessive force can cause damage.
If the shower head is really stuck, try applying a penetrating oil like WD-40 around the connection. Let it sit for 10-15 minutes before attempting removal again. Have you ever tried using heat from a hair dryer? Gently warming the metal can sometimes loosen mineral deposits holding the shower head tight.
Avoiding Damage
Protect the shower arm and nearby tiles by covering them with painter’s tape or a soft cloth. Avoid using metal tools directly on the shower head surface to prevent dents and scratches. If you feel resistance, don’t force it—reassess your approach or try a different tool.
Remember that overtightening in the past often causes these tight fits. When you install a new shower head, use plumber’s tape on the threads to ensure a snug but not overly tight fit. This small step helps prevent future headaches and keeps your fixtures in good shape.
Post-removal Maintenance
After successfully removing a tight shower head, taking care of the exposed parts is essential to keep your plumbing in good shape. Post-removal maintenance not only prevents future issues but also extends the life of your fixtures. Paying attention to small details now can save you from costly repairs later.
Cleaning Threads And Connections
Once the shower head is off, inspect the threads on the pipe and inside the shower head. Dirt, mineral deposits, or old plumber’s tape can build up and cause problems during reinstallation.
Use a soft brush or an old toothbrush to gently scrub away any debris. If mineral deposits are stubborn, soak a cloth in vinegar and wrap it around the threads for 15-20 minutes before scrubbing again.
Don’t forget to remove any old plumber’s tape completely before applying a fresh layer. This ensures a tight seal and prevents leaks when you screw the shower head back on.
Inspecting For Leaks
After cleaning and reattaching the shower head, turn the water on slowly to check for leaks. Watch closely where the shower head meets the pipe for any drips or moisture.
If you notice leaks, try tightening the connection a bit more by hand. Avoid using tools that could overtighten and damage the threads.
Leaks might also indicate worn-out plumber’s tape or damaged threads. If tightening doesn’t help, consider reapplying tape or inspecting the pipe for damage before reinstalling.
Installing A New Shower Head
Installing a new shower head can refresh your bathroom and improve water flow. It is a simple task that anyone can handle with basic tools. The key is to pick the right fixture and make sure it fits properly. This guarantees a leak-free and stable installation. Follow these tips for a smooth process.
Choosing The Right Fixture
Select a shower head that matches your needs and style. Consider water pressure and spray patterns. Look for fixtures with good reviews and water-saving features. Choose materials like chrome or stainless steel for durability. Think about the height and reach to suit all users.
Ensuring Proper Fit
Check the size of your shower arm before buying. Most shower heads use a standard ½-inch thread. Wrap plumber’s tape around the shower arm threads to prevent leaks. Hand-tighten the new fixture, then use a wrench for a snug fit. Avoid overtightening to stop damage to the fixture or pipes.
Credit: www.tiktok.com
Frequently Asked Questions
How Do I Loosen A Stuck Shower Head?
Apply penetrating oil and let it sit for 10 minutes. Use an adjustable wrench to turn the shower head counterclockwise slowly. Wrap the wrench with a cloth to avoid scratches. If stuck, tap gently with a rubber mallet to loosen the threads.
What Tools Are Needed To Remove A Tight Shower Head?
You need an adjustable wrench or pliers, penetrating oil, and a cloth. A rubber mallet helps if the shower head is extremely tight. Having plumber’s tape is useful for reinstalling the shower head later without leaks.
Can Heat Help Remove A Tight Shower Head?
Yes, applying heat with a hairdryer can expand metal parts. Heat loosens corrosion and mineral deposits around the threads. Avoid using an open flame to prevent damage. Heat makes it easier to unscrew the shower head without damaging plumbing.
How To Avoid Damaging Pipes When Removing Shower Heads?
Use a cloth between the wrench and shower head to prevent scratches. Turn the wrench slowly and gently to avoid pipe bending. If the shower head is stuck, apply penetrating oil instead of forcing it. Stop if you feel resistance to prevent pipe damage.
Conclusion
Removing a tight shower head does not have to be hard. Use the right tools like a wrench or pliers. Protect the shower head with a cloth to avoid scratches. Turn slowly and apply steady force. If stuck, try a lubricant or warm water.
Taking time and care helps avoid damage. Now, you can clean or replace your shower head easily. Simple steps make the job smooth and quick. Give it a try, and enjoy your refreshed shower!


