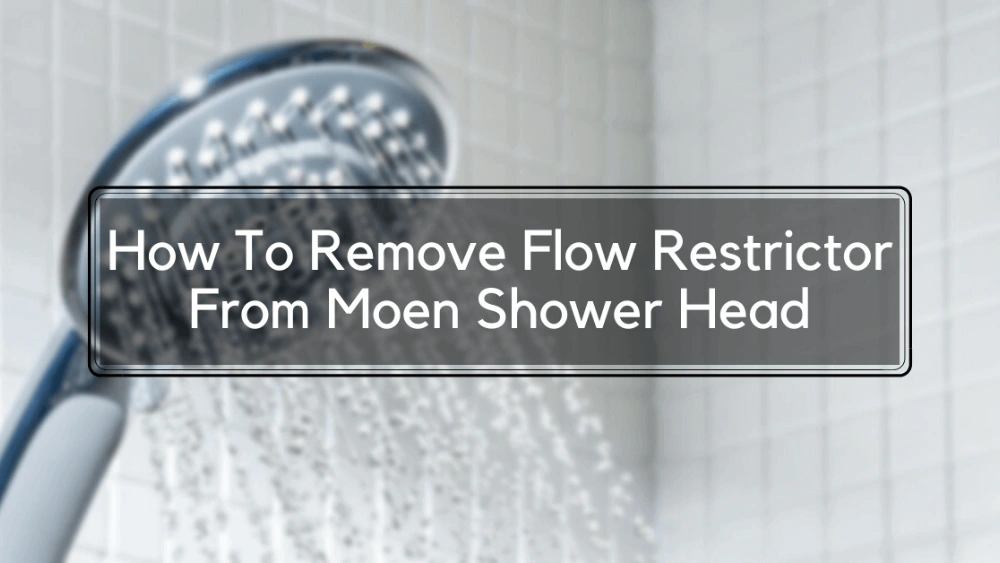
Are you tired of a weak, slow shower that just doesn’t give you the water pressure you want? The culprit might be the shower head restrictor.
This small device limits water flow to save water, but it can make your shower less enjoyable. If you want a stronger, more refreshing shower experience, removing the restrictor could be the simple fix you need. You’ll learn exactly how to remove your shower head restrictor quickly and safely—no plumber required.
Keep reading to unlock the full power of your shower and transform your daily routine.
Understanding Shower Head Restrictors
Understanding shower head restrictors is key if you want to improve your water flow or customize your shower experience. These small devices might seem insignificant, but they play a big role in how much water comes out of your shower head. Knowing what they do helps you decide if removing them is right for you.
Purpose Of Restrictors
Shower head restrictors are designed to limit the water flow coming through your shower head. Their main goal is to save water and reduce energy costs associated with heating water. By controlling the flow, they help conserve water without compromising the feeling of a good shower too much.
Many homes have restrictors already installed because of local regulations or company policies. If you’ve ever wondered why your shower feels weaker than you expected, the restrictor might be the reason. Have you ever stopped to think about how much water you might be missing out on?
Impact On Water Flow
Restrictors reduce the amount of water that passes through your shower head, which affects water pressure and spray intensity. This can make your shower feel less powerful, especially if your water pressure is already low. Sometimes, this leads to frustration when rinsing shampoo or soap off takes longer than you want.
However, the reduced flow also means lower water bills and less environmental impact. If you decide to remove the restrictor, you’ll notice an immediate boost in pressure and water volume. But remember, this can increase water usage, so it’s worth considering your priorities before making changes.
Tools Needed For Removal
Removing a shower head restrictor requires a few simple tools that you likely have around your home. Knowing exactly what you need can save time and prevent frustration. Let’s break down the tools that are essential and those that can make your job easier.
Essential Tools
- Adjustable Wrench:This is your primary tool. It helps loosen and remove the shower head without damaging the fixture.
- Needle-Nose Pliers:Ideal for gripping and pulling out the small restrictor inside the shower head.
- Flathead Screwdriver:Useful for gently prying the restrictor out if it’s stuck.
- Teflon Tape (Plumber’s Tape):Important for resealing the threads when you reattach the shower head to prevent leaks.
These tools cover the basics. If you’re missing any, a quick trip to the hardware store can set you up.
Optional Tools For Improved Efficiency
- Rubber Gloves:They give you a better grip and protect your hands from rough edges or grime.
- Magnifying Glass:Helps you see the small restrictor clearly, especially if it’s tucked deep inside.
- Small Flashlight:Lighting up the inside of the shower head makes locating the restrictor easier.
- Old Toothbrush:Useful for cleaning mineral deposits or buildup around the restrictor before removal.
Have you ever tried to remove something tiny and felt like you were fumbling in the dark? Adding just one or two of these optional tools can make a big difference in how smoothly the process goes.
Safety Precautions
Removing a shower head restrictor requires care to avoid injury and damage. Taking safety precautions protects both you and your plumbing. Simple steps can make the task safer and easier.
Protective Measures
Wear gloves to protect your hands from sharp edges. Use safety goggles to shield your eyes from small debris. Work in a well-lit area to see clearly. Turn off the water supply before starting the removal process. Lay down a towel to catch any falling parts and avoid slips.
Handling Tools Safely
Use the right tools, such as pliers or wrenches, with a firm grip. Avoid applying too much force to prevent tool slipping. Keep tools away from children and pets during use. Store tools properly after the job is done. Check tools for damage before use to ensure they work correctly.
Step-by-step Removal Process
Removing a shower head restrictor can improve water flow and enhance your shower experience. The process is simple and requires only basic tools. Follow these clear steps to safely remove the restrictor and enjoy stronger water pressure.
Disconnecting The Shower Head
Start by turning off the water supply to the shower. Use a wrench or pliers to loosen the shower head. Turn it counterclockwise to remove it from the shower arm. Protect the finish by wrapping the wrench jaws with a cloth. Place the shower head on a clean surface for the next step.
Accessing The Restrictor
The restrictor is usually a small plastic or rubber disc inside the shower head. Look inside the opening where water flows out. Use a flashlight to see clearly. Some restrictors are visible right away, while others may be deeper inside. If needed, remove any additional parts like rubber washers to reach the restrictor.
Removing The Restrictor
Use a small tool such as a flathead screwdriver or needle-nose pliers. Gently pry or pull the restrictor out of the shower head. Avoid damaging the shower head or internal parts. Once removed, rinse the shower head under water to clear any debris. Reattach the shower head to the shower arm by turning it clockwise. Turn the water back on and check the water flow.
Reassembling The Shower Head
Reassembling the shower head is a key step after removing the restrictor. This process restores the shower head to working condition. It ensures water flows smoothly and prevents leaks. Proper reassembly helps maintain water pressure and extends the shower head’s life.
Ensuring Proper Fit
Start by aligning all parts correctly. The washer must sit in its groove. Insert the spray plate carefully without bending it. Screw the shower head body back on by hand. Tighten it enough to hold firmly but avoid over-tightening. Over-tightening may damage the threads or plastic parts. Use a cloth and wrench if needed, to protect surfaces.
Testing For Leaks
Turn on the water slowly after reassembly. Check all joints and connections for dripping. Watch for any water escaping from the threads. If you spot leaks, tighten the shower head a bit more. Use plumber’s tape on threads to improve sealing if needed. Run water for a few minutes to confirm no leaks remain. A tight, leak-free fit ensures efficient shower use and saves water.
Credit: www.tiktok.com
Benefits Of Removing The Restrictor
Removing the shower head restrictor offers clear benefits for daily shower use. It helps increase water flow and improves the overall shower feel. Many people find their showers more refreshing and relaxing after removing the restrictor.
Improved Water Flow
The restrictor limits the water coming out of the shower head. Taking it out allows more water to flow freely. This means a stronger, more consistent stream of water. It helps rinse soap and shampoo faster, saving time and effort.
Enhanced Shower Experience
With better water flow, showers feel more enjoyable and comfortable. The water pressure feels fuller and more natural. A stronger flow can also help relieve muscle tension and boost relaxation. Many users report feeling more energized after showers without restrictors.
Potential Drawbacks
Removing a shower head restrictor may seem simple, but it has some important drawbacks. These issues can affect your water bills and even cause legal trouble. Understanding these risks helps you make a better decision.
Increased Water Usage
Taking out the restrictor lets more water flow through the showerhead. This higher flow rate means you use more water every time you shower. Water bills can rise quickly, especially in homes with many people.
More water use also means more energy to heat the water. This causes higher energy bills. It can strain local water supplies, especially in areas with drought or water restrictions.
Possible Legal Implications
Some places have laws about water-saving devices like restrictors. Removing the restrictor may break these rules. Violating water regulations can lead to fines or penalties.
Building codes and rental agreements might require water-saving fixtures. Removing restrictors could void warranties or cause problems with landlords. It is important to check local laws before making changes.

Credit: www.reddit.com
Maintenance Tips
Maintaining your shower head after removing the restrictor keeps water flow smooth. Regular care helps avoid clogs and preserves water pressure. Follow these simple tips for lasting shower performance.
Regular Cleaning
Clean your shower head once a month to remove mineral buildup. Use a vinegar soak or gentle brush to clear small holes. This prevents blockages that lower water flow and pressure. Wipe the surface to keep it shiny and clean.
Monitoring Water Pressure
Check water pressure regularly to ensure it stays steady. Low pressure might mean a clog or damaged parts. High pressure can cause leaks or wear out the shower head faster. Adjust your plumbing or replace parts if pressure changes suddenly.

Credit: www.instagram.com
Frequently Asked Questions
What Is A Shower Head Restrictor?
A shower head restrictor limits water flow to save water. It reduces pressure for efficiency and conservation. Removing it increases water flow and improves shower experience.
How Do I Safely Remove A Shower Head Restrictor?
To safely remove a restrictor, turn off water first. Unscrew the shower head and locate the plastic restrictor. Use pliers or a screwdriver to carefully remove it without damaging the shower head.
Will Removing The Restrictor Increase Water Pressure?
Yes, removing the restrictor increases water flow and pressure. It allows more water to pass through the shower head. This can improve shower comfort but may increase water usage.
Can Removing The Restrictor Cause Plumbing Issues?
Removing the restrictor usually doesn’t cause plumbing problems. However, higher water flow may strain old pipes. Ensure your plumbing can handle increased pressure before removing it.
Conclusion
Removing a shower head restrictor can help improve water flow easily. Follow the steps carefully to avoid damage. Use basic tools and take your time. Check your shower after removal to ensure proper function. Remember, some water-saving rules may apply in your area.
Enjoy a stronger, more comfortable shower experience daily. Simple changes can make a big difference. Keep your bathroom routine smooth and refreshing.


