Want to keep an eye on your home or office without spending a fortune? You can build your own security camera using a Raspberry Pi, and it’s easier than you might think.
Imagine having a powerful, customizable surveillance system that you control completely. In this guide, you’ll learn step-by-step how to set up your very own security camera with simple tools and clear instructions. By the end, you’ll have a smart, reliable way to watch over what matters most—giving you peace of mind every time you check your feed.
Ready to take control of your security? Let’s dive in.
Choosing The Right Raspberry Pi Model
Choosing the right Raspberry Pi model is key to building a reliable and efficient security camera. The model you pick affects performance, power consumption, and compatibility with camera modules. Understanding the strengths and limitations of each version helps you make a smart choice tailored to your needs.
Comparing Raspberry Pi Versions
Raspberry Pi models vary widely in processing power, RAM, and connectivity options. The Raspberry Pi 4 offers up to 8GB of RAM and USB 3.0 ports, making it powerful for video processing and fast data transfer. On the other hand, the Raspberry Pi Zero is compact and energy-efficient but has limited processing speed and memory.
Here’s a quick comparison table to clarify the differences:
| Model | CPU | RAM | USB Ports | Power Consumption | Price |
|---|---|---|---|---|---|
| Raspberry Pi 4 | Quad-core 1.5 GHz | 2GB / 4GB / 8GB | 2x USB 3.0, 2x USB 2.0 | Higher | $$$ |
| Raspberry Pi 3 B+ | Quad-core 1.4 GHz | 1GB | 4x USB 2.0 | Moderate | $$ |
| Raspberry Pi Zero W | Single-core 1 GHz | 512MB | 1x Mini USB | Low | $ |
Selecting The Best Model For Security Cameras
Ask yourself: How important is video quality and real-time streaming for your project? If you need HD video and smooth streaming, the Raspberry Pi 4’s processing power makes it the best pick. Its USB 3.0 ports also support faster external storage, useful for saving recorded footage.
If budget and size are your main concerns, the Raspberry Pi Zero W can work for basic, low-res monitoring. However, it may struggle with high-resolution video or multiple camera setups. The Raspberry Pi 3 B+ strikes a balance, offering decent performance at a moderate price.
Think about your power source too. Models like the Pi Zero consume less power, which is handy if your camera runs on batteries or solar panels. Your choice should match your project’s goals, whether it’s detailed surveillance or simple, low-maintenance monitoring.
Gathering Necessary Components
Before you dive into building your own security camera with a Raspberry Pi, gathering the right components is crucial. Having everything ready will save you time and frustration during assembly. Plus, knowing exactly what you need helps you avoid unnecessary expenses.
Essential Hardware Components
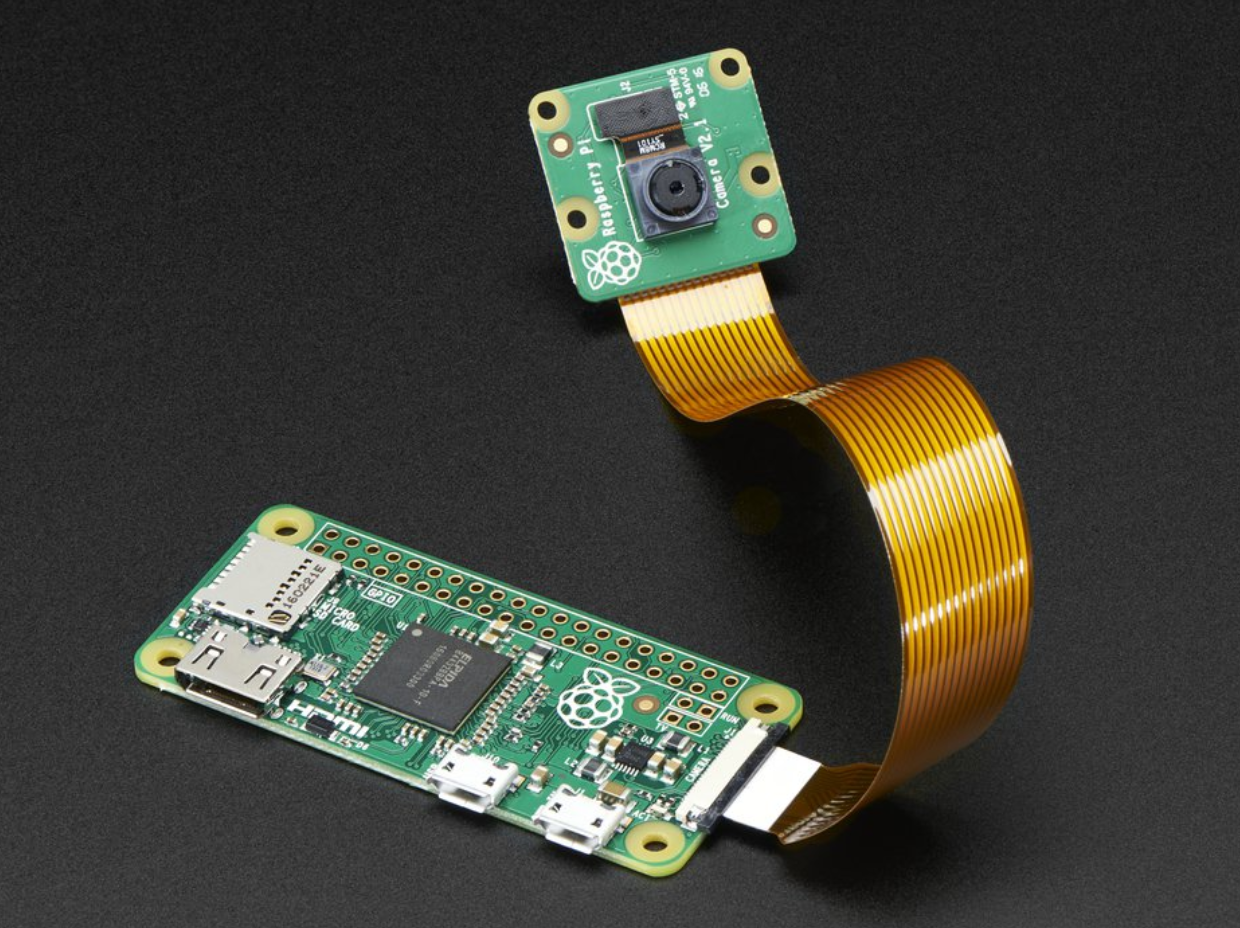
At the heart of your project is the Raspberry Pi itself. The Raspberry Pi 4 Model B is a great choice because of its speed and connectivity options, but older models can work too if you’re on a budget.
You’ll also need a camera module compatible with the Raspberry Pi. The official Raspberry Pi Camera Module V2 offers good quality and easy integration. Alternatively, USB webcams can be used if you prefer a plug-and-play option.
Don’t forget about power. A reliable 5V 3A power supply ensures your Pi runs smoothly without unexpected shutdowns.
- Raspberry Pi board (Model 4 recommended)
- Raspberry Pi Camera Module or USB webcam
- MicroSD card (16GB or higher) for the operating system
- Power adapter (5V 3A USB-C recommended for Pi 4)
- Case for protecting your Raspberry Pi and camera
- HDMI cable and monitor for initial setup (optional but helpful)
Recommended Software And Accessories
You need an operating system to run your security camera software. Raspberry Pi OS is the most straightforward choice, offering solid support and compatibility.
For the camera software, MotionEyeOS is popular because it’s designed specifically for security cameras and is easy to configure. If you want more control, you can try software like ZoneMinder or even write custom scripts using Python.
Additional accessories can improve your setup. Consider a Wi-Fi dongle if your Pi doesn’t have built-in Wi-Fi or Ethernet cables for wired connections. A heatsink or fan can prevent overheating during extended use.
- Raspberry Pi OS or MotionEyeOS
- Wi-Fi adapter or Ethernet cable for network connection
- Keyboard and mouse for setup
- Heatsinks or cooling fan
- Optional external storage for video backups
Have you thought about where you’ll place your camera? Your choice of components might change depending on whether it’s indoors, outdoors, or in a tricky location. Gathering the right parts tailored to your environment makes all the difference.
Setting Up The Raspberry Pi
Setting up your Raspberry Pi is the foundation for creating a reliable security camera. Getting this right ensures smooth operation and easy management later. The process involves installing the operating system and tweaking basic settings to suit your project needs.
Installing The Operating System
Start by downloading the official Raspberry Pi OS from the Raspberry Pi website. You’ll need a microSD card with at least 8GB of space—faster cards make a noticeable difference in performance.
Use software like Raspberry Pi Imager or balenaEtcher to flash the OS image onto the microSD card. This step is straightforward but crucial; a corrupted or incomplete installation can cause frustrating delays.
After flashing, insert the microSD card into the Pi, connect your peripherals (monitor, keyboard, mouse), and power it up. The initial boot takes a bit longer as the OS sets itself up, so be patient.
Configuring Basic Settings
Once the OS boots, the setup wizard will guide you through essential configurations like language, time zone, and Wi-Fi connection. These settings ensure your Pi communicates correctly with your network and matches your location.
Enable SSH if you want to access your Raspberry Pi remotely—this step is often overlooked but saves a lot of time later. You can do this through the Raspberry Pi Configuration tool or by placing a blank file named “ssh” on the boot partition.
Adjust your screen resolution and update the system software immediately. Keeping your Raspberry Pi updated protects it from security vulnerabilities and improves stability.
Have you thought about power supply stability? Using a reliable 5V/3A power adapter prevents unexpected shutdowns, which can corrupt your setup.
Credit: medium.com
Connecting The Camera Module
Connecting the camera module to your Raspberry Pi is a crucial step in building your security camera. This process involves selecting the right camera and making sure the physical connection is secure and properly aligned. Getting this part right ensures your camera captures clear images and videos, which is essential for effective security monitoring.
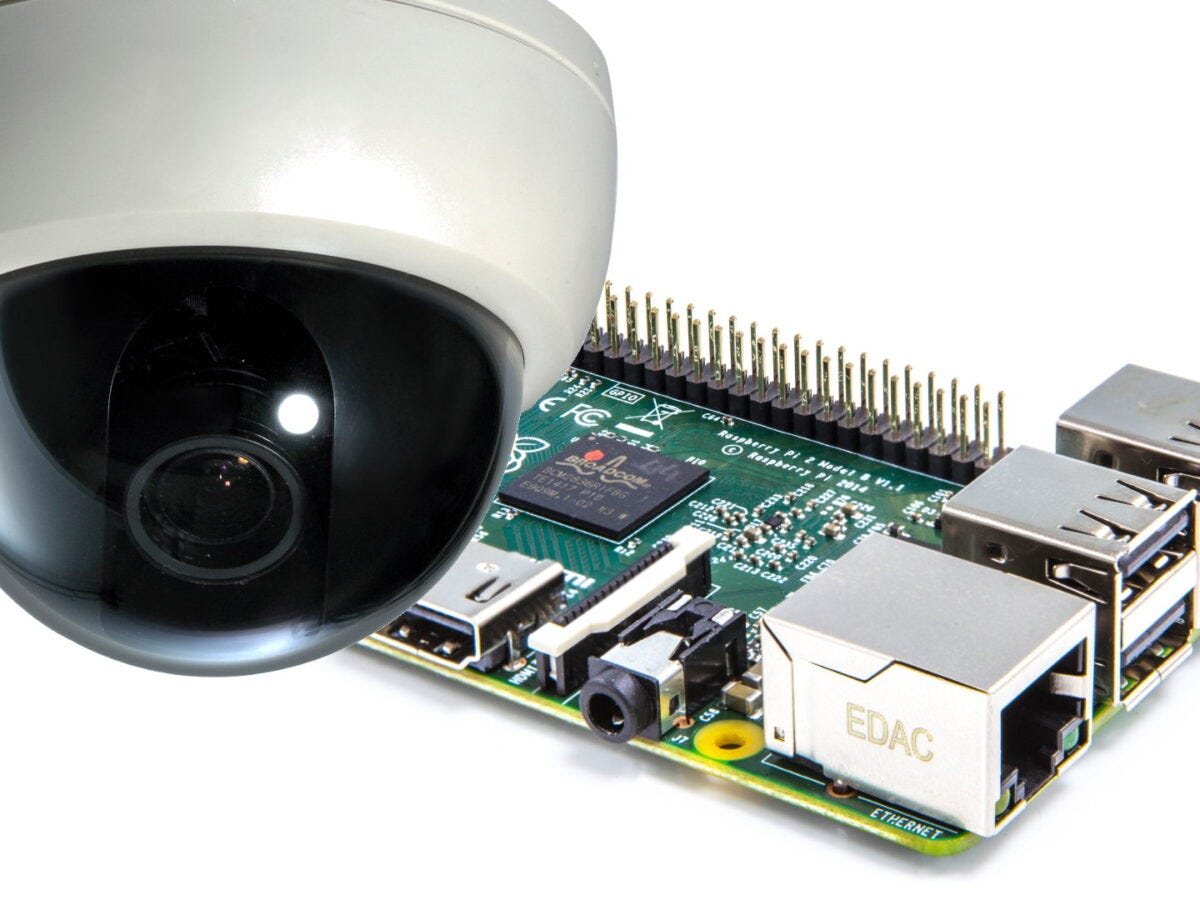
Choosing The Right Camera
You have several camera options compatible with Raspberry Pi, and your choice depends on your specific needs. The official Raspberry Pi Camera Module offers good image quality and easy integration. Alternatively, USB webcams can work but may require additional setup and drivers.
Consider your environment: low-light conditions may require cameras with infrared capabilities. If you want higher resolution, look for cameras supporting at least 1080p video. Ask yourself what you want to monitor closely—this helps narrow down the camera features you truly need.
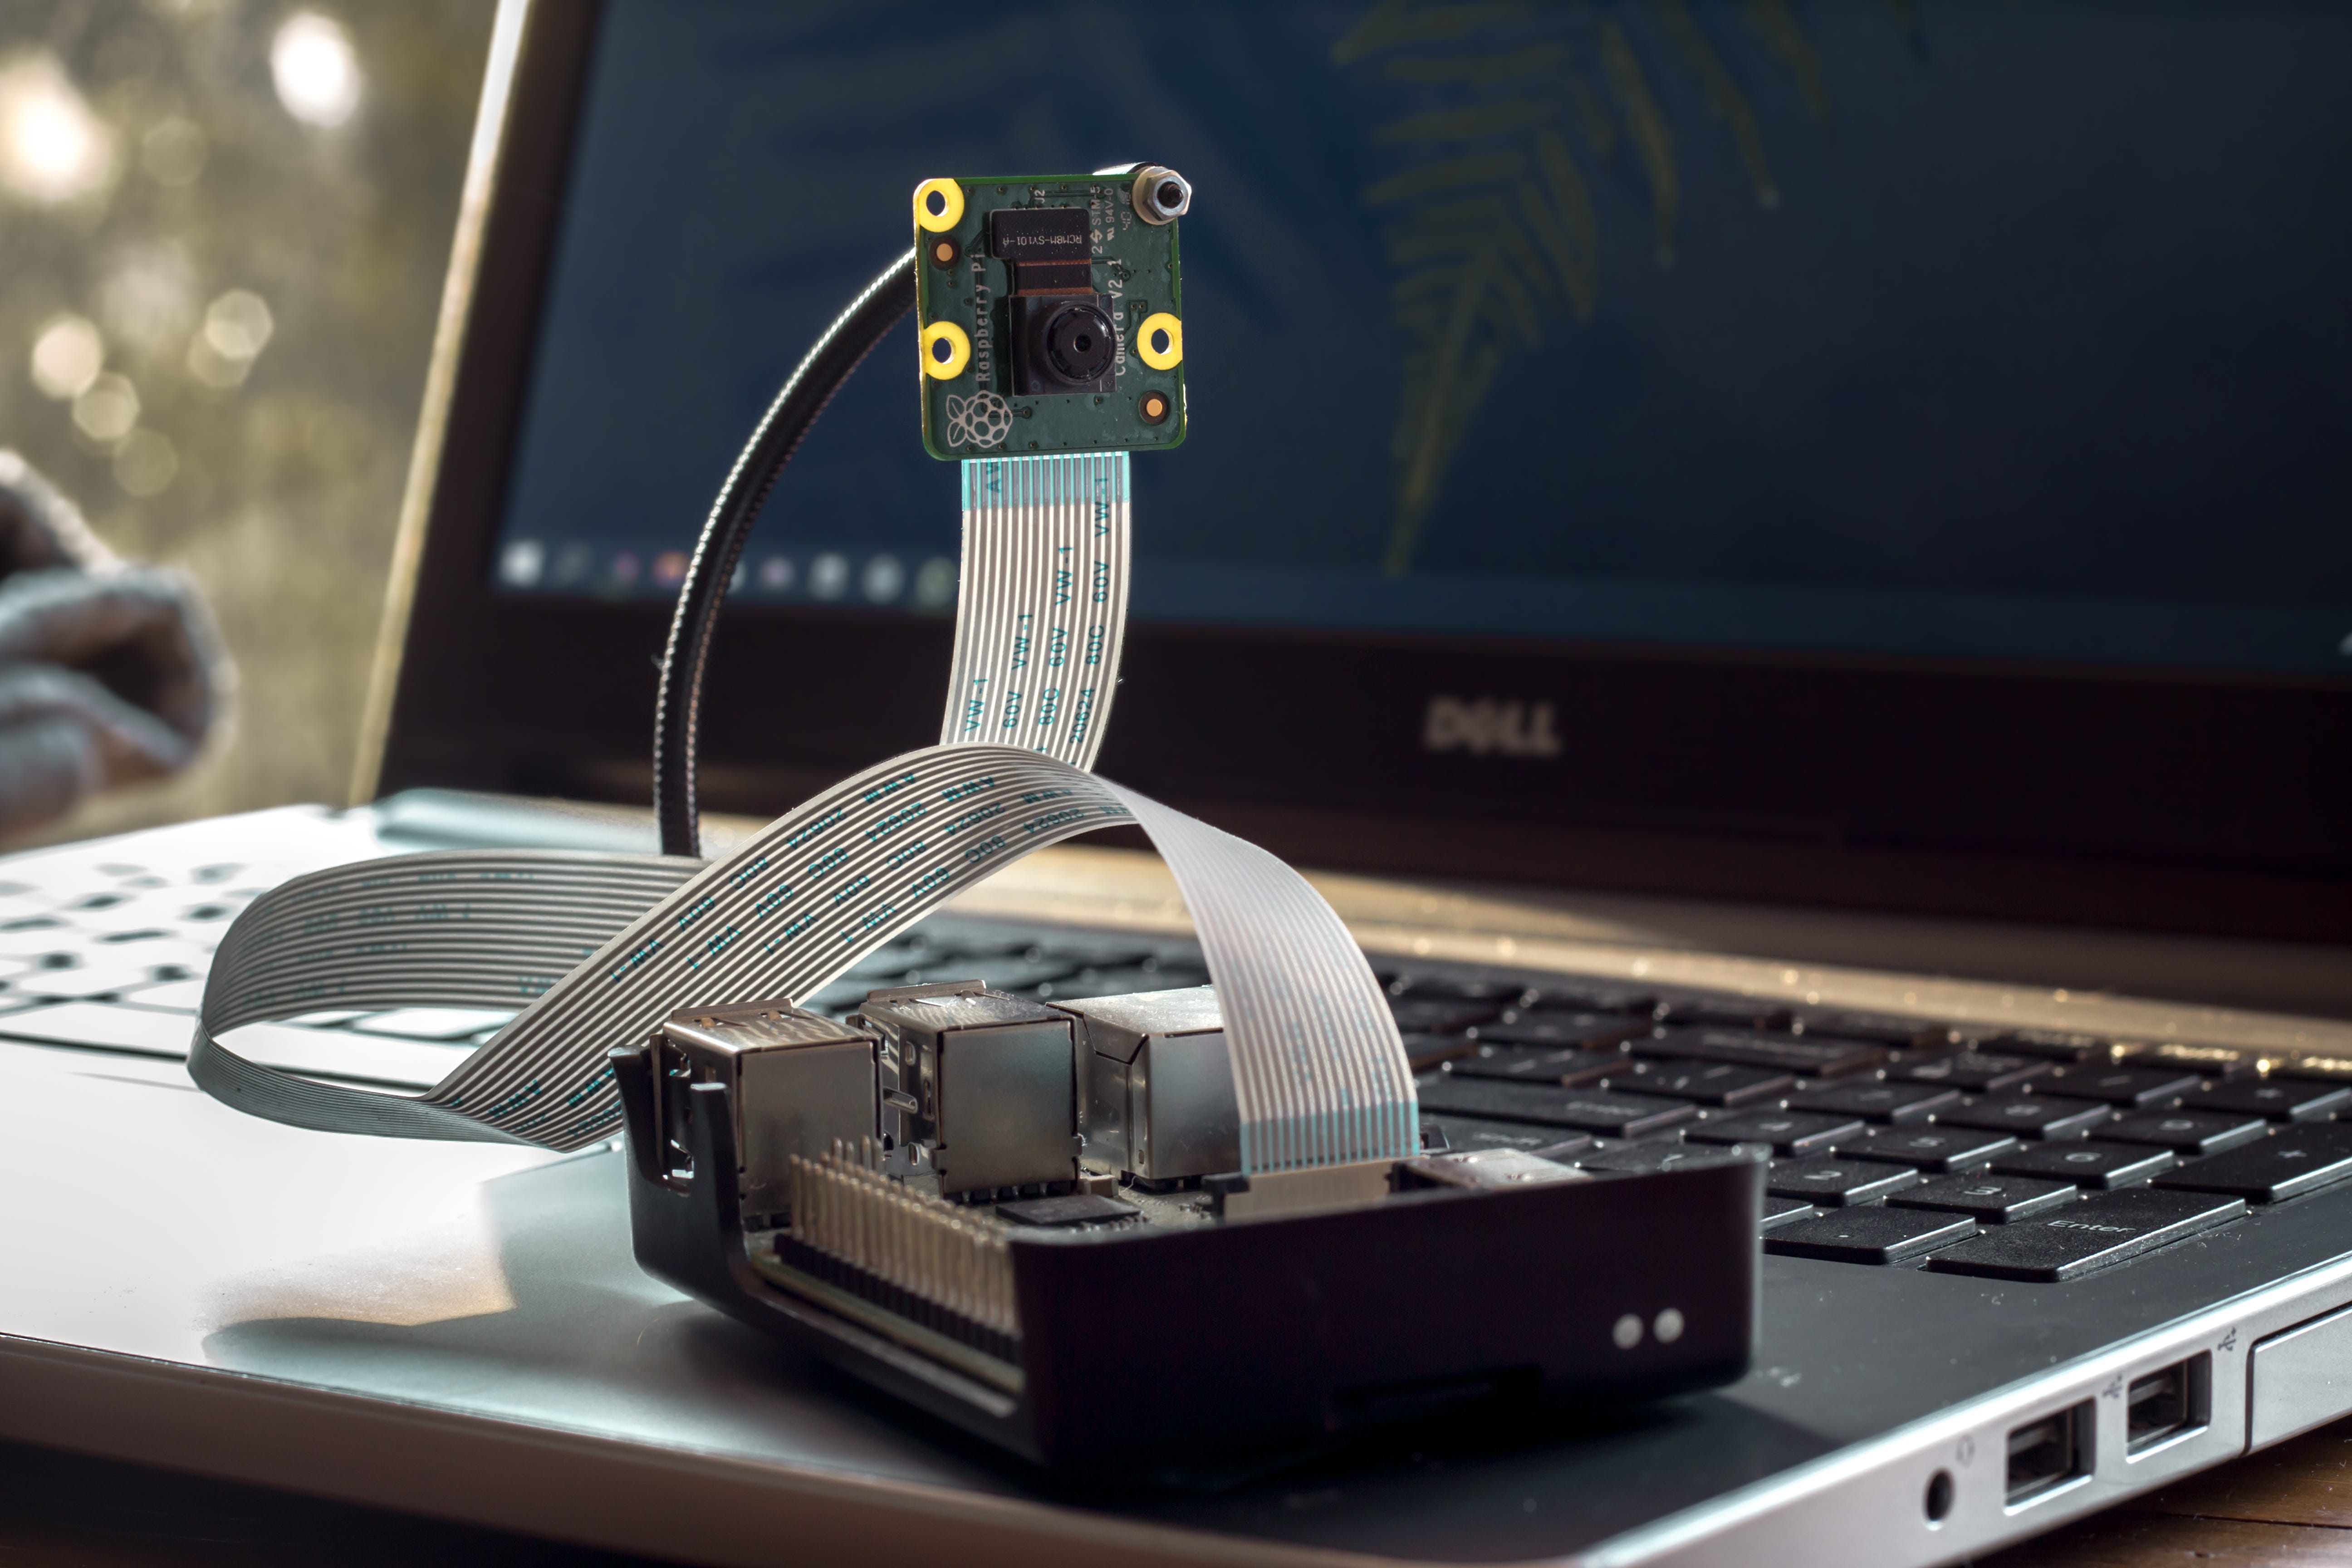
Physical Connection Setup
Start by powering off your Raspberry Pi to avoid any damage during the connection. Locate the CSI (Camera Serial Interface) port on your Pi board, usually near the HDMI port. Carefully lift the plastic clip on the CSI port before inserting the camera ribbon cable.
Make sure the shiny contacts on the ribbon cable face the correct direction, typically toward the HDMI port, but double-check your Pi model’s layout. Gently push the ribbon cable into the port and press the clip back down to secure it. A loose connection can lead to errors, so take your time ensuring a firm fit.
Once connected, power on your Raspberry Pi and enable the camera through the Raspberry Pi configuration settings. Have you ever struggled with loose cables causing interruptions? Taking these small precautions now saves you from frustrating troubleshooting later.
Installing Camera Software
Installing the right camera software on your Raspberry Pi is crucial to turn it into an effective security camera. The software controls how your camera captures video, records footage, and even alerts you about unusual activity. Choosing and installing the right program can save you hours of troubleshooting and ensure your system runs smoothly.
Popular Software Options
Several reliable software options work well with Raspberry Pi cameras. Here are some popular choices you can consider:
- MotionEyeOS– A lightweight operating system designed specifically for surveillance. It offers an easy-to-use web interface and supports multiple cameras.
- Motion– A command-line tool that detects motion and triggers video recording or snapshots. It’s highly customizable and works well for advanced users.
- Raspbian with VLC or ffmpeg– For users who want to build a custom setup, using Raspbian OS with video streaming tools like VLC or ffmpeg provides flexibility but requires more configuration.
Which features matter most to you—ease of use, advanced detection, or customization? Your choice will depend on how hands-on you want to be with your security setup.
Step-by-step Installation
Once you pick your software, the installation process can be straightforward. Here’s a simple guide to help you install MotionEyeOS, one of the most user-friendly options:
- Download the latest MotionEyeOS image from the official website.
- Use a tool like Balena Etcher to flash the image onto your microSD card.
- Insert the microSD card into your Raspberry Pi and power it on.
- Connect your Raspberry Pi to your network via Ethernet or Wi-Fi.
- Access the MotionEyeOS web interface by typing the Pi’s IP address into your browser.
- Configure your camera settings and storage options through the web interface.
Installing software may seem tricky at first, but the web interface simplifies most tasks. Have you thought about how you’ll manage your video storage? Deciding on local vs. cloud storage early on can influence your setup choices.
Configuring Motion Detection
Configuring motion detection is a key step in building a Raspberry Pi security camera. It allows the camera to sense movement and respond automatically. This feature saves storage space and makes monitoring easier.
Setting up motion detection requires fine-tuning to match your environment. Adjusting sensitivity ensures the camera triggers only for real movement. Alerts help notify you instantly when motion is detected.
Setting Up Alerts
Alerts keep you informed about any movement captured by the camera. You can set up email notifications or push alerts to your phone. This way, you receive updates in real time.
- Configure your email server settings in the motion software.
- Enter the recipient’s email address or phone number.
- Test alerts by triggering motion near the camera.
Alerts help you react quickly to unexpected activity. Choose the alert type that fits your needs best.
Adjusting Sensitivity
Sensitivity controls how easily the camera detects motion. Too high sensitivity causes false alarms from small changes like shadows. Too low sensitivity might miss important movements.
- Start with medium sensitivity settings.
- Test by walking in front of the camera.
- Lower sensitivity if you get many false alarms.
- Increase sensitivity if the camera misses some movements.
Adjust sensitivity until detection matches your environment perfectly.
Securing The Camera System
Securing your Raspberry Pi security camera system is as important as setting it up. Without proper protection, your camera can become a target for hackers or physical tampering. Taking the right steps ensures your footage stays private and your device remains safe.
Network Security Measures
Start by changing the default username and password of your Raspberry Pi. Default credentials are well-known and can leave your system exposed.
Use a strong, unique password that combines letters, numbers, and symbols. This simple step blocks many unauthorized access attempts.
Enable SSH only when necessary and consider changing its default port to reduce automated attacks. You can also set up a firewall using tools like UFW (Uncomplicated Firewall) to control incoming and outgoing traffic.
Don’t forget to keep your system updated. Regular updates patch security vulnerabilities that hackers might exploit.
Have you thought about isolating your camera on a separate network or VLAN? This limits access and protects your main network from potential breaches.
Physical Security Enhancements
Placing your Raspberry Pi and camera in a secure, hidden enclosure reduces the risk of theft or tampering. Choose a case that is sturdy and, if possible, tamper-evident.
Mount your camera high or in a corner to keep it out of easy reach. This also gives you better coverage and reduces blind spots.
Consider using cable locks or conduits to protect power and network cables from being cut.
Think about environmental factors too. Protect your device from moisture, dust, and extreme temperatures with appropriate housing or covers.
How secure is your current setup against a physical attack? Small adjustments here can prevent big problems later.
Testing And Troubleshooting
Testing and troubleshooting your Raspberry Pi security camera is crucial to ensure it works reliably when you need it most. This phase helps you catch glitches early and fine-tune your setup for smooth operation. Let’s dive into common issues you might face and ways to keep your camera performing at its best.
Common Issues And Solutions
One frequent problem is the camera not streaming video. Check if the camera module is correctly connected to the Raspberry Pi’s camera port and enabled via the Raspberry Pi configuration settings.
If the stream is laggy or freezes, your network might be the culprit. Try switching to a wired Ethernet connection or improving your Wi-Fi signal strength.
Another issue is the Raspberry Pi overheating, causing shutdowns or slowdowns. Make sure your Pi has adequate ventilation or add a small fan or heat sinks to keep temperatures down.
Sometimes, the software might throw errors or fail to start. Double-check your camera software installation and update your Raspberry Pi OS to the latest version.
Ensuring Optimal Performance
Test your camera during different times of the day to confirm it handles various lighting conditions well. Adjust the camera’s exposure and brightness settings through your software until you get clear, usable footage.
Set up alerts or motion detection triggers and verify they respond accurately. False alarms can be frustrating, so tweak sensitivity settings to match your environment.
Regularly monitor your storage space. Running out of memory can stop recordings, so configure automatic deletion of old footage or use cloud storage options.
Ask yourself: Is your setup ready to catch unexpected events without fail? Small adjustments now can save you headaches later.
Enhancing Features
Enhancing your Raspberry Pi security camera improves its functionality and usability. Adding special features can make your system smarter and more reliable. These upgrades help the camera work well in different situations and connect with other devices in your home.
Adding Night Vision Capabilities
Night vision lets your camera see clearly in the dark. It uses infrared (IR) light to capture images without visible light. You can add IR LEDs around the camera lens to provide this light. The Raspberry Pi camera module supports IR with a special filter removed, called the NoIR camera.
Install IR LEDs and connect them to the Pi’s power pins. Use a simple script to turn the LEDs on at night. This setup gives clear video even in complete darkness. Night vision makes your security camera useful 24/7.
Integrating With Smart Home Systems
Linking your camera with smart home systems adds convenience. It allows you to control the camera using apps or voice assistants. Popular platforms include Google Home, Amazon Alexa, and Apple HomeKit.
Use software like Home Assistant or openHAB on your Raspberry Pi. These tools help connect the camera to other smart devices. You can get alerts, view live feeds, and automate actions based on camera data.
- Set notifications for motion detection
- Turn on lights when movement is detected
- Access video streams from your smartphone
Integration makes your security system smarter and easier to manage.
Credit: python.plainenglish.io
Maintaining Your Diy Security Camera
Maintaining your DIY security camera is essential to keep it running smoothly and securely. Regular attention prevents unexpected failures and protects your data from vulnerabilities. Let’s look at key ways you can keep your Raspberry Pi security camera in top shape.
Regular Software Updates
Keeping your software up to date is crucial for security and performance. Updates often fix bugs, close security holes, and add new features that improve your camera’s functionality.
Set a reminder to check for updates at least once a month. You can run simple commands like sudo apt updateand sudo apt upgradeto keep your Raspberry Pi OS and camera software current.
Ignoring updates can leave your system exposed to hackers. Have you ever thought about how many devices in your home run outdated software? Your DIY camera should not be one of them.
Routine Hardware Checks
Physical maintenance is just as important as software upkeep. Regularly inspect your Raspberry Pi, camera module, and power supply for any signs of wear or damage.
Check cable connections to avoid loose contacts that can cause intermittent failures. Dust and moisture can also affect performance, so keep your setup clean and dry.
During one of my routine checks, I found a loose camera cable causing blurry images. Fixing it took just a minute but saved hours of troubleshooting later. What small hardware issue might be hiding in your setup right now?
Credit: medium.com
Frequently Asked Questions
What Components Do I Need For A Raspberry Pi Security Camera?
You need a Raspberry Pi board, a compatible camera module, a microSD card, power supply, and optional case. Additional parts include a Wi-Fi adapter and motion sensor for enhanced features.
How Do I Set Up The Raspberry Pi Camera Module?
Attach the camera module to the Raspberry Pi’s camera port. Enable the camera interface via Raspberry Pi Configuration settings. Install necessary software like raspistill or motion for capturing images or video.
Can I Stream Live Video From My Raspberry Pi Camera?
Yes, you can stream live video by installing and configuring software like MotionEyeOS or MJPG-streamer. These tools allow remote viewing through a web browser on your network.
How Secure Is A Raspberry Pi Security Camera System?
Security depends on your network setup and software updates. Use strong passwords, enable firewalls, and keep your Raspberry Pi software up-to-date to reduce vulnerabilities.
Conclusion
Building a security camera with Raspberry Pi is simple and rewarding. You control what it records and when it works. This project saves money and helps you learn new tech skills. You can add features like motion detection or alerts.
Small steps lead to a secure home or office. Give it a try and see how easy it is. Your own camera can watch over your space anytime. Start today, and protect what matters most.


