
Is that constant drip from your kitchen faucet driving you crazy? A leaking faucet not only wastes water but also raises your bills and creates annoying noise.
The good news? You don’t need to call a plumber or spend a fortune to fix it. If your kitchen faucet has two handles, you can stop that drip yourself with a few simple steps. Keep reading, and you’ll learn exactly how to fix your dripping faucet quickly and easily—saving water, money, and peace of mind.

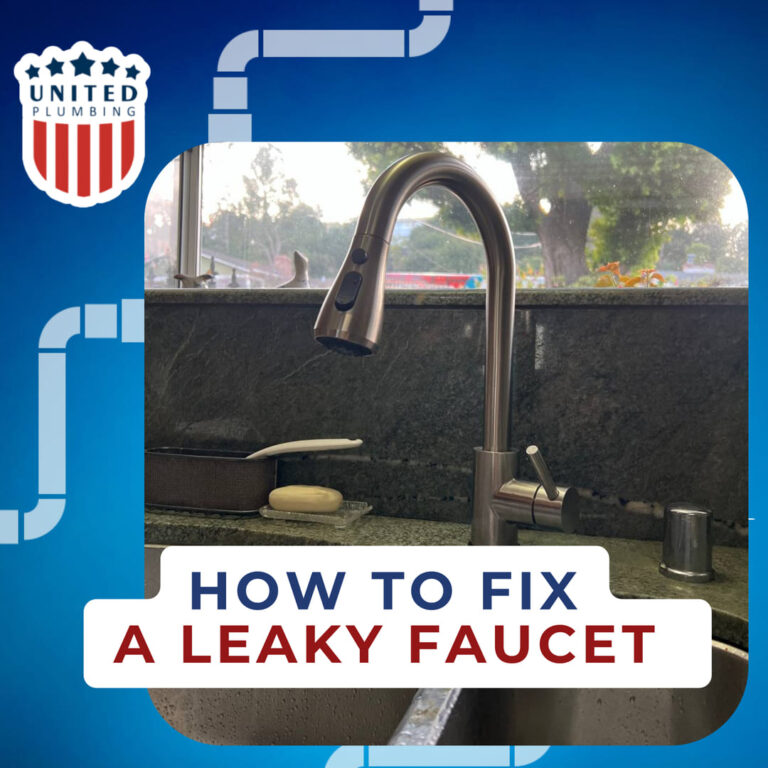
Credit: www.youtube.com
Tools And Materials Needed
Fixing a dripping kitchen faucet with two handles requires a few basic tools and materials. Having the right items ready makes the repair easier and faster. You can avoid frustration and save time by preparing in advance.
Use common tools that you may already have at home. Some specialty parts might be needed depending on the faucet type. Always check the faucet model to get the correct replacement parts.
Basic Tools For Faucet Repair
- Screwdrivers (flathead and Phillips)
- Adjustable wrench or basin wrench
- Pliers
- Allen wrench (hex key)
- Utility knife
- Flashlight
Materials To Replace Or Repair
- Replacement washers
- O-rings
- Valve seats
- Faucet grease
- Plumber’s tape (Teflon tape)
Additional Items To Have On Hand
- Bucket or bowl to catch water
- Clean cloth or rag
- Old toothbrush for cleaning parts
- Small container to hold screws and parts
Shutting Off The Water Supply
Before fixing a dripping kitchen faucet with two handles, stop the water flow first. Shutting off the water supply prevents leaks and makes repairs safer. You can do this at the main valve or the local shut-off valves under the sink.
Turning off the water supply is easy with the right steps. Follow the instructions carefully to avoid water damage and ensure a smooth repair process.
Locate The Shut-off Valves
Look under the kitchen sink for two small valves. One controls hot water, the other controls cold water. These valves usually sit near the wall or on pipes leading to the faucet. If you find them, you can shut off water directly to the faucet.
Turn Off The Valves
Use your hand or a wrench to turn the valves clockwise. Turn until they stop. This closes the water flow to the faucet. If the valves are stuck, try using a cloth for better grip. Avoid forcing them too hard to prevent damage.
Check The Water Is Off
Open both faucet handles slowly. No water should come out. If water still flows, the valves might not be fully closed. Turn them a little more. In some homes, you may need to shut off the main water supply instead.
Find The Main Water Valve
The main water valve controls water for the whole house. It is usually near the water meter or where the pipe enters your home. Turning this valve off stops all water flow. Use this only if under-sink valves do not work.
Removing The Faucet Handles
Removing the faucet handles is a key step in fixing a dripping kitchen faucet with two handles. It gives you direct access to the internal parts that often cause leaks. Knowing exactly how to take off the handles without damage saves you time and avoids extra repairs.
Locating The Screws
Start by looking closely at each handle. Screws are often hidden under decorative caps or plugs. These small covers can usually be pried off gently with a flathead screwdriver or even your fingernail.
Once the caps are removed, you should see the screws holding the handle in place. Sometimes these screws are on the front, side, or even underneath the handle. If you don’t find any screws, the handle might just pull off with a firm tug.
Using A Screwdriver
Choose the right screwdriver that fits the screw head perfectly, usually a Phillips or flathead. Using the wrong size can strip the screw, making removal harder. Turn the screw counterclockwise to loosen it.
If the screw feels stuck, apply a little penetrating oil and wait a few minutes before trying again. Keep the screws safe once removed; you’ll need them to put the handles back on. Have you ever struggled with a rusty screw? Patience and the right tools make all the difference.
Inspecting The Valve Stem
Before you replace any parts or call a plumber, inspecting the valve stem is key to fixing a dripping kitchen faucet with two handles. The valve stem controls water flow by opening and closing the valve inside the faucet. If this component is worn or damaged, it can cause that annoying drip you want to stop.
Checking For Wear And Tear
Start by removing the handle and exposing the valve stem. Look closely for any signs of damage like cracks, corrosion, or mineral build-up. These issues can prevent the valve from sealing properly and cause leaks.
Do you notice any rough spots or discoloration on the stem? That usually means it’s time to replace the washer or the entire stem. Even small wear can cause big drips over time, so don’t overlook these details.
Identifying The Type Of Stem
Not all valve stems are the same. Some faucets use a compression stem, while others might have a cartridge or ball type. Identifying your faucet’s stem type helps you find the right replacement parts quickly.
Check the shape and size of the stem and compare it with online guides or your faucet’s manual. You can also take the stem to a hardware store to match it directly. Knowing the exact type saves you from buying incompatible parts and wasting time.
Replacing The Washer Or O-ring
Replacing the washer or O-ring is a common fix for a dripping kitchen faucet with two handles. These small parts control the water flow inside the faucet. Over time, they wear out and cause leaks. Changing them can stop the drip and save water.
Selecting The Right Washer
Choose a washer or O-ring that fits your faucet model exactly. Check the size and shape before buying. Most hardware stores sell kits with various sizes. Bring the old washer to compare in-store. Using the wrong size can cause more leaks.
- Measure the old washer’s diameter carefully.
- Look for rubber or silicone materials for durability.
- Match the thickness to ensure a tight seal.
Installing The New Washer
Turn off the water supply before starting. Remove the faucet handle and the stem to access the washer. Take out the old washer and clean the area. Place the new washer in the exact spot. Reassemble the faucet parts carefully. Turn the water back on and check for leaks.
- Use a screwdriver to remove the screw holding the washer.
- Clean debris from the valve seat for a smooth fit.
- Do not overtighten the screw to avoid damage.

Credit: www.youtube.com
Reassembling The Faucet
Reassembling the faucet is the final part of fixing a dripping kitchen faucet with two handles. It involves putting all the pieces back in their correct places. This step needs care to avoid leaks or loose parts.
Securing The Handles
Start by placing the handles back onto their stems. Push them down firmly but gently. Use a screwdriver to tighten the screws that hold the handles in place. Avoid overtightening to prevent damage. Check that each handle turns smoothly. The handles should move without wobbling or stiffness.
Testing The Repair
Turn the water supply back on slowly. Open each handle and watch for drips. Check around the base of each handle for leaks. Run the faucet for a few minutes to ensure steady flow. If no water drips, the repair is successful. If leaks appear, tighten screws or recheck the assembly. Testing helps confirm the faucet works well and saves water.
Turning On The Water Supply
Turning on the water supply is a key step in fixing a dripping kitchen faucet with two handles. It allows you to test your repair and ensures water flows correctly through the pipes. Before starting, make sure the main water valve is open.
Carefully open both hot and cold water shutoff valves under the sink. Turn them slowly to avoid pressure shocks. Listen for any unusual sounds as water begins to flow.
Checking For Leaks
Watch closely around the faucet base and under the sink. Look for any drops or wet spots. Use a dry cloth to wipe areas and then check again for new moisture. Leaks can signal loose connections or damaged parts.
Check the supply lines and valve stems for drips. Tighten fittings gently if needed. Avoid overtightening to prevent damage.
Ensuring Proper Functionality
Turn both handles to test water flow. Water should come out smoothly and stop completely when handles close. Check the faucet spout for steady water stream without sputtering.
Listen for any noises like banging or whistling. These may indicate air in pipes or pressure issues. Adjust valves slowly to balance water pressure.
Confirm hot and cold water are working separately and mixing well. This step ensures your repair is effective and the faucet operates properly.
Maintenance Tips
Keeping your two-handle kitchen faucet in good shape needs regular care. Small efforts prevent leaks and save money on repairs. Simple maintenance extends the faucet’s life and keeps water flow smooth.
Regular Checks
Check your faucet often for drips or loose handles. Tighten any loose screws to stop wobbling. Look under the sink for water puddles or damp spots. Early spotting of leaks helps avoid big problems.
Listen for strange sounds when turning the handles. Noises can signal worn parts inside. Test both hot and cold water for steady flow. Uneven water pressure may mean clogged valves.
Preventive Measures
- Clean faucet aerators regularly to remove mineral buildup.
- Avoid using harsh chemicals that can damage seals.
- Turn handles gently to prevent wear on washers and cartridges.
- Replace old washers before they cause leaks.
- Use silicone-based grease on moving parts for smooth action.
- Install water softeners if water is hard to reduce scale.
Credit: plumbing-united.com
Frequently Asked Questions
How Do I Stop A Two-handle Faucet From Dripping?
To stop a two-handle faucet from dripping, first turn off the water supply. Then, replace worn-out washers or O-rings inside each handle. Tighten all parts securely to prevent leaks. Regular maintenance helps avoid future drips and saves water effectively.
What Tools Are Needed To Fix A Dripping Faucet?
You will need a wrench, screwdriver, replacement washers or O-rings, and plumber’s grease. Having a towel and bucket handy helps manage water spills. These basic tools allow you to disassemble and repair the faucet efficiently.
How Long Does It Take To Fix A Dripping Faucet?
Fixing a dripping two-handle faucet usually takes 30 to 45 minutes. The time depends on your familiarity with plumbing and the faucet’s condition. Taking your time ensures a proper repair and prevents further leaks.
Can I Fix A Dripping Faucet Without A Plumber?
Yes, you can fix a dripping two-handle faucet yourself. With basic tools and instructions, most homeowners can replace washers or seals. This DIY approach saves money and prevents water waste efficiently.
Conclusion
Fixing a dripping kitchen faucet with two handles is doable. Just follow each step carefully and take your time. Small leaks waste water and can raise bills. Checking and replacing worn parts stops drips fast. Keep tools and new washers ready before you start.
This simple task saves money and frustration later. A quiet, drip-free faucet feels great in your kitchen. You can handle this repair yourself with confidence. No need to call a plumber right away. Try it today and enjoy a peaceful sink.


