
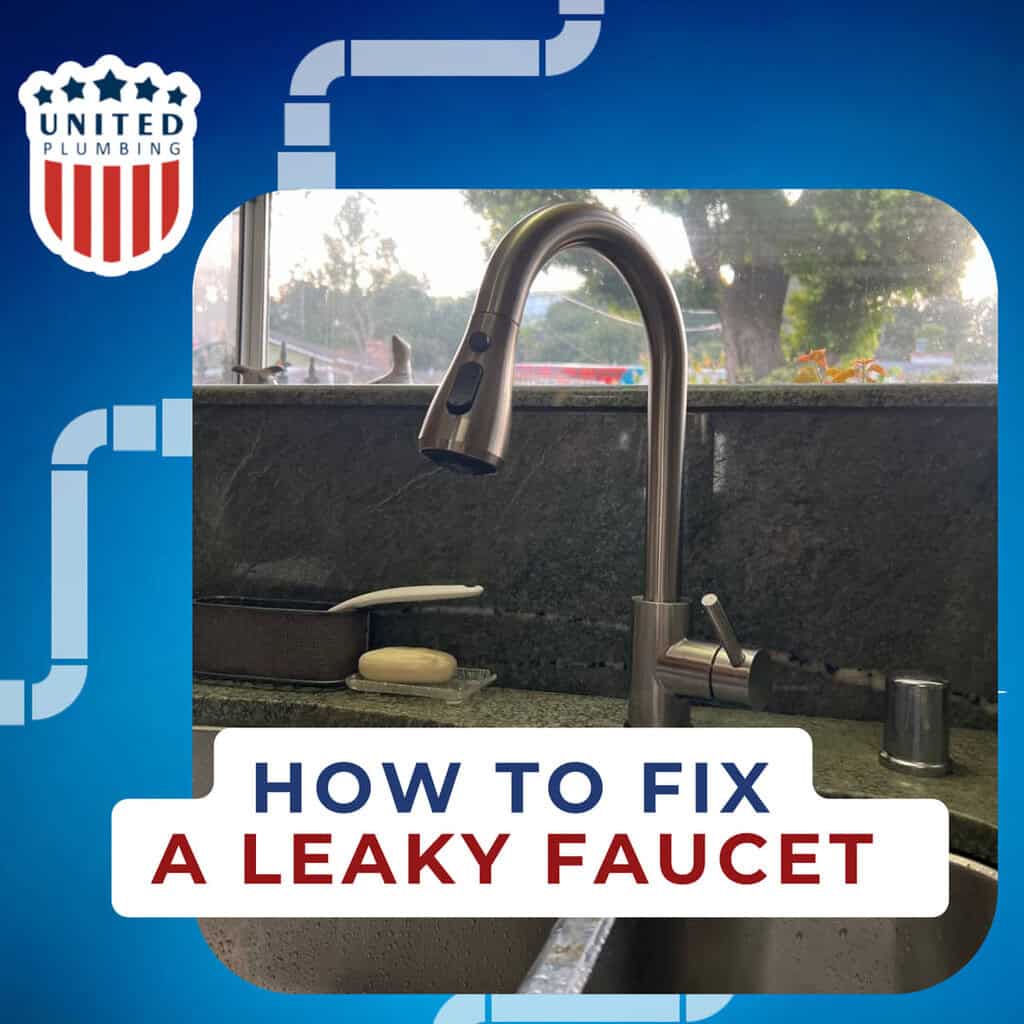
Is that constant drip from your kitchen sink faucet driving you crazy? You’re not alone, and the good news is—you don’t need to call a plumber right away.
Fixing a dripping faucet is easier than you think, and you can save money and water by tackling it yourself. You’ll discover simple steps that anyone can follow to stop that annoying leak for good. Ready to take control and fix your faucet today?
Let’s dive in!
Credit: www.tiktok.com
Common Causes Of A Dripping Faucet
A dripping kitchen sink faucet can be more than just an annoying sound; it often signals a specific problem within your faucet’s components. Identifying the common causes helps you understand what needs fixing and can save you money on unnecessary replacements. Let’s look at the typical reasons behind that persistent drip and what you might find under the sink.
Worn Out Washer
The washer is a small rubber part that seals the faucet valve. Over time, constant water pressure and movement cause it to wear down or become stiff. When this happens, the washer no longer fits snugly, allowing water to leak through and drip.
Have you ever noticed a steady drip after turning off the faucet tightly? That’s often the washer failing. Replacing it is usually straightforward and can stop the drip quickly.
Damaged Cartridge
Many modern faucets use a cartridge to control water flow. If the cartridge gets damaged or clogged with debris, it can cause water to leak even when the faucet is off. The cartridge’s seals and valves inside can wear out or crack.
Think about how smoothly your faucet handle moves—if it feels stiff or loose, the cartridge might be the culprit. Swapping it out can restore proper function and end the dripping.
Faulty O-ring
The O-ring is a small ring that fits around the faucet’s stem to hold it in place and prevent leaks. If the O-ring becomes damaged or loose, water can escape around the handle area. This often causes dripping near the faucet base.
If you see water pooling or dripping near the handle, check the O-ring. Replacing this tiny part often fixes leaks without needing to replace the entire faucet.
Corroded Valve Seat
The valve seat connects the faucet to the spout and directs water flow. Over time, it can corrode from constant water exposure and mineral buildup. Corrosion creates gaps that let water leak and drip.
Have you noticed rough edges or mineral deposits inside the faucet where the water comes out? That’s a sign of valve seat corrosion. Cleaning or replacing the valve seat can stop leaks and improve water flow.
Tools And Materials Needed
Before you fix that annoying drip from your kitchen sink faucet, gathering the right tools and materials is crucial. Having everything ready saves you from mid-task frustration and unexpected trips to the store. Let’s break down what you need to get the job done efficiently and safely.
Basic Tools
- Adjustable wrench:Essential for loosening and tightening nuts without damaging them.
- Screwdrivers:Both flathead and Phillips types, since faucet parts vary widely.
- Allen wrench (hex key):Many faucets have set screws that require this tool.
- Pliers:Great for gripping small parts or stubborn pieces that don’t budge easily.
- Utility knife:Helpful for cutting old seals or trimming excess material.
Think about whether you have these tools handy. If you don’t, a quick check around your toolbox might surprise you.
Replacement Parts
- O-rings and washers:These small parts often cause leaks and need replacing.
- Cartridge or valve:Depending on your faucet type, this might be the main culprit behind the drip.
- Plumber’s grease:Keeps parts moving smoothly and prevents future leaks.
Not all faucets are the same, so identifying the exact model helps you pick the right parts. Have you ever tried fixing a faucet only to realize the replacement part was wrong? It’s a hassle you can avoid with a little research upfront.
Safety Gear
- Gloves:Protect your hands from sharp edges and cleaning chemicals.
- Safety glasses:Prevent any debris or splashes from getting into your eyes.
- Old towels or rags:Useful for catching drips and keeping your workspace clean.
Safety might feel like a small detail, but it’s easy to overlook until something goes wrong. Are you prepared to protect yourself while doing this simple home repair?
Preparation Steps
Fixing a dripping kitchen sink faucet starts with good preparation. Proper steps make the repair easier and faster. Take time to prepare well for a smooth fix.
Turn Off Water Supply
Stop the water flow before starting. Locate the shut-off valves under the sink. Turn both valves clockwise to close them. Test the faucet to ensure no water comes out.
Clear The Work Area
Remove items from under and around the sink. Clear space for tools and parts. Use a bucket or towel to catch any drips. Good lighting helps see small parts clearly.
Gather Necessary Tools
Collect all tools before beginning the repair. Common tools include:
- Adjustable wrench
- Screwdrivers (flathead and Phillips)
- Replacement washers or O-rings
- Pliers
- Towels or rags
- Flashlight
Having everything ready saves time and avoids interruptions.

Credit: www.youtube.com
Repairing A Washer-type Faucet
Repairing a washer-type faucet is a common solution to stop a dripping sink. The washer inside the faucet can wear out over time. Replacing it can save water and reduce noise. The process requires a few tools and basic skills.
Remove The Faucet Handle
First, turn off the water supply under the sink. Open the faucet to release any water pressure. Use a screwdriver to remove the handle screw. Carefully lift the handle off the faucet body. Keep all screws and parts safe.
Inspect And Replace Washer
Look inside the faucet for the rubber washer. Check it for cracks or signs of wear. Remove the old washer with a wrench or pliers. Buy a new washer that matches the size of the old one. Place the new washer in the correct spot.
Reassemble The Faucet
Put the faucet handle back in place. Tighten the handle screw securely but not too tight. Turn on the water supply slowly. Test the faucet to ensure the dripping stops. Adjust the handle if needed for smooth operation.
Fixing A Cartridge Faucet
Fixing a cartridge faucet is a common task for a dripping kitchen sink. Cartridge faucets control water flow using a movable cartridge inside the handle. Over time, the cartridge wears out or gets clogged, causing leaks. Replacing the cartridge can stop the drip and restore smooth operation.
Detach The Handle
Start by turning off the water supply under the sink. Use a screwdriver or Allen wrench to remove the handle’s set screw. The screw is often hidden under a cap or decorative cover. Carefully lift the handle off the faucet body. Place the handle and screws somewhere safe.
Remove And Replace Cartridge
Use pliers or a cartridge puller to gently pull out the old cartridge. Note how the cartridge sits inside the faucet. Compare the old cartridge with the new one to confirm they match. Insert the new cartridge in the same position. Push it down firmly until it fits snugly.
Reattach The Handle
Put the handle back onto the cartridge stem. Tighten the set screw securely to hold the handle in place. Replace any caps or covers removed earlier. Turn the water supply back on. Test the faucet by turning it on and off to check for leaks.
Addressing O-ring Issues
Addressing O-ring issues is a common fix for a dripping kitchen sink faucet. The O-ring is a small rubber ring that helps seal the faucet and stop leaks. Over time, O-rings can wear out or get damaged. Replacing a faulty O-ring often stops the drip and saves water.
Access The O-ring
Start by turning off the water supply under the sink. Open the faucet to release any remaining water pressure. Use a screwdriver or wrench to remove the faucet handle. Look for a small cap or cover near the base of the handle. Carefully remove this cover to expose the O-ring inside. Keep track of all parts and screws for reassembly.
Replace The O-ring
Gently slide the old O-ring off the faucet stem. Check the O-ring for cracks, dryness, or flattening. Purchase a new O-ring that matches the size and type of the old one. Before installing, apply a small amount of plumber’s grease to the new O-ring. Slide the new O-ring onto the stem, ensuring it sits properly in its groove.
Test The Faucet
Reassemble the faucet handle and tighten screws securely. Turn the water supply back on slowly. Open the faucet and watch for any leaks around the handle. Check if the dripping has stopped completely. If the drip continues, the O-ring may not be seated correctly or other parts might need attention.
Cleaning The Valve Seat
Cleaning the valve seat is a crucial step in fixing a dripping kitchen sink faucet. Over time, mineral deposits and debris can build up, causing the valve seat to wear out or become clogged. This can lead to leaks, even after replacing washers or cartridges.
Disassemble The Faucet
Start by turning off the water supply to your sink to avoid any unexpected sprays. Then, remove the faucet handle carefully using a screwdriver or Allen wrench, depending on your model. Keep track of all small parts—you’ll need them later to put everything back together.
Scrub The Valve Seat
The valve seat is the area where the faucet’s valve presses down to stop water flow. Use a small brush, like an old toothbrush, and some white vinegar to scrub the seat gently. Vinegar helps dissolve mineral buildup without damaging the metal.
If the seat looks rough or has deep deposits, you can use a valve seat grinder or a fine piece of sandpaper to smooth it out. Be cautious—removing too much material can cause more leaks. Have you noticed any unusual texture or damage on your valve seat before?
Reassemble And Test
Once the valve seat is clean and smooth, reassemble the faucet by reversing the disassembly steps. Make sure each part fits snugly to prevent leaks. Turn the water supply back on and test the faucet by turning it on and off a few times.
If the dripping stops, you’ve successfully cleaned the valve seat. If not, the problem might lie elsewhere, but this cleaning often solves many common leaks. Was the faucet drip bothering you more than you expected?
Preventive Measures
Stopping a kitchen sink faucet from dripping often feels like a quick fix, but preventing future leaks saves you time, money, and frustration. Taking a few simple preventive steps can keep your faucet working smoothly for years. Let’s look at easy ways to protect your faucet and avoid those annoying drips.
Regular Maintenance
Check your faucet regularly for signs of wear or leaks. Small drips often start as loose parts or worn-out washers that you can spot before they cause bigger problems.
Clean aerators and faucet heads every few months to prevent buildup that can damage seals. Have you noticed slower water flow? That might be a clue to clean or replace parts early.
Quality Replacement Parts
Using cheap parts might save money upfront but often leads to more leaks and repairs. Investing in high-quality washers, O-rings, and cartridges ensures longer-lasting repairs.
Ask your local hardware store for parts that match your faucet model exactly. This avoids compatibility issues that cause dripping and frustration later on.
Professional Help
Sometimes a drip signals a bigger plumbing issue that you can’t see. If your faucet keeps leaking despite your efforts, it might be time to call a plumber.
Professionals have the tools and experience to diagnose hidden problems quickly. Could a small leak be costing you more on your water bill than you realize?
Credit: plumbing-united.com
Frequently Asked Questions
Why Is My Kitchen Sink Faucet Dripping?
A dripping faucet often results from worn-out washers, O-rings, or valve seats. These parts degrade over time due to constant use. Mineral buildup or loose parts can also cause leaks. Identifying the exact cause helps in applying the right fix and prevents water waste.
How Can I Stop A Kitchen Faucet From Dripping?
To stop dripping, first turn off the water supply. Then, disassemble the faucet to check washers and O-rings. Replace any damaged parts carefully. Reassemble the faucet and test for leaks. Regular maintenance helps avoid frequent drips and saves water.
What Tools Are Needed To Fix A Dripping Faucet?
Basic tools include an adjustable wrench, screwdrivers, pliers, and replacement washers or O-rings. Having a flashlight helps inspect small parts. A cloth can protect your sink surface. These tools make the repair process straightforward and efficient.
Can I Fix A Dripping Faucet Without A Plumber?
Yes, most dripping faucets can be fixed without professional help. Following step-by-step guides and using basic tools usually suffices. However, complex issues or unfamiliar faucet types might require expert assistance. DIY fixes save money and reduce water waste.
Conclusion
Fixing a dripping kitchen sink faucet saves water and money. Start with the right tools and simple steps. Check the washer, cartridge, or O-ring for wear or damage. Tighten or replace parts as needed. Test the faucet after repairs to ensure the drip stops.
Small fixes keep your sink working well longer. Don’t ignore a drip—it wastes water every day. You can handle this repair without calling a plumber. Save time and avoid bigger problems by fixing leaks soon. A quiet, drip-free faucet makes your kitchen better and more efficient.


