Is your shower not working quite right? Maybe the water pressure feels weak, or the showerhead drips constantly.
Replacing your shower arm and head can fix these issues quickly—and you don’t need to be a plumbing expert to do it. In this guide, you’ll learn simple, step-by-step instructions to upgrade your shower with tools you probably already have at home.
By the end, you’ll enjoy a fresh, powerful shower experience that feels like a spa every day. Ready to get started? Let’s dive in and make your shower work perfectly again.
Tools And Materials Needed
Before you start replacing your shower arm and head, gathering the right tools and materials can save you time and frustration. Having everything at hand means you won’t have to stop midway to hunt for that one wrench or tape. It also helps you avoid damage to your plumbing by using improper tools.
Essential Tools
- Adjustable Wrench:This is your go-to tool for loosening and tightening nuts without damaging them.
- Pliers:Useful for gripping and turning hard-to-move parts, especially if they’re stuck.
- Pipe Wrench:Sometimes the shower arm is tightly fixed; a pipe wrench gives you extra leverage.
- Rag or Cloth:Wrap around fittings to protect their finish when using wrenches.
- Teflon Tape (Plumber’s Tape):This helps create a watertight seal on threaded joints to prevent leaks.
Have you ever tried to loosen a stubborn pipe fitting only to scratch or damage it? Using a rag between your wrench and the metal can keep things looking new and avoid extra repairs.
Recommended Materials
- Replacement Shower Arm:Choose the right length and style to fit your shower setup.
- Replacement Shower Head:Consider water pressure and spray patterns that suit your preferences.
- Cleaning Supplies:A small brush or cloth to clean old pipe threads before installing new parts.
- Optional Sealant:While Teflon tape is usually enough, some prefer a pipe joint compound for extra security.
Picking the right shower head isn’t just about looks. Think about how it will feel during your daily routine. Would you prefer a gentle rainfall or a powerful massage spray? Choosing wisely can make a big difference in your shower experience.
Preparing Your Workspace
Preparing your workspace is a crucial step before replacing your shower arm and head. A well-organized and safe area makes the task smoother and helps avoid unnecessary frustration. Taking a bit of time upfront to set things right can save you from headaches later.
Ensuring Safety
Safety should be your top priority. Start by turning off the water supply to avoid unexpected leaks. If you skip this, you might end up with a mini indoor waterfall—not something anyone wants.
Make sure the floor is dry and free of clutter to prevent slips. Wearing gloves can protect your hands from sharp edges and provide a better grip. Also, if your bathroom has electrical outlets nearby, cover them to prevent water damage or shocks.
Organizing Materials
Gather all the tools and parts you’ll need before you begin. Lay them out on a towel or tray to keep them from rolling away or getting lost.
- Adjustable wrench or pliers
- Plumber’s tape (Teflon tape)
- Replacement shower arm and head
- Rag or cloth for cleaning
- Bucket or small container to catch water
Having everything within reach prevents you from scrambling mid-project. Ever had to stop because you couldn’t find a simple tool? Avoid that disruption by organizing your materials in advance. It also helps you spot if you’re missing something important before you start.
Removing The Old Shower Arm
Removing the old shower arm is a crucial first step in upgrading your shower setup. It requires some care to avoid damaging the plumbing behind the wall. With the right approach, you can make this process smooth and stress-free.
Turning Off Water Supply
Before you touch the shower arm, make sure the water supply to the bathroom is completely off. This prevents any unexpected leaks or water spraying out while you work. You can usually find the main water shutoff valve near your home’s water meter or under the sink.
If you’re unsure where it is, test by turning on the shower briefly—if no water flows, you’re good to go. Remember, even a small drip can cause a mess or damage, so double-checking is worth the extra moment.
Loosening The Arm
Start loosening the shower arm by wrapping a cloth around it to protect the finish. Use an adjustable wrench or pliers to turn the arm counterclockwise gently. If it feels stuck, apply a penetrating oil and wait a few minutes to help break the rust or mineral buildup.
Try not to force it too hard; sudden jerks can crack the pipe inside the wall. If you find it difficult to loosen, tapping lightly on the wrench handle can sometimes free up stubborn threads.
Detaching The Arm
Once the shower arm is loosened, unscrew it by hand the rest of the way. Carefully pull it away from the wall, checking for any old plumber’s tape or debris on the threads. Cleaning these off will help you install the new arm securely and prevent leaks.
Have you noticed any corrosion or damage on your old arm? This might be a sign to inspect the plumbing behind the wall before moving forward. Taking a moment here can save you from future headaches.
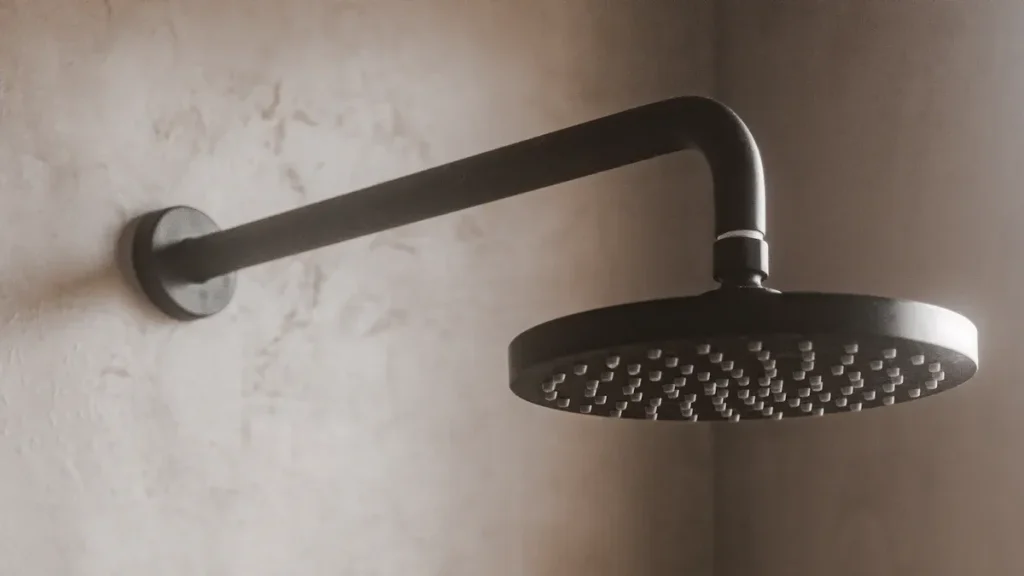
Credit: tapron.co.uk
Installing The New Shower Arm
Installing the new shower arm is a key part of replacing your shower head. It ensures a secure fit and proper water flow. Taking the right steps will help avoid leaks and ensure a solid connection.
Preparing The New Arm
Start by cleaning the threads on the new shower arm. Wrap plumber’s tape around the threads. This tape helps create a tight seal and prevents leaks. Make sure to wrap it clockwise so it doesn’t unravel during installation.
Securing The Arm
Insert the new arm into the wall pipe gently. Turn it clockwise by hand until it feels snug. Use a wrench or pliers to tighten it further. Protect the arm’s finish with a cloth while tightening. Avoid over-tightening, as it can damage the pipe or arm.
Checking For Leaks
Turn on the water slowly and watch the connection point. Look for any water drips around the arm. If you see leaks, tighten the arm a little more. Dry the area and check again. No leaks mean the installation is successful.
Replacing The Shower Head
Replacing the shower head is a straightforward way to upgrade your bathroom’s look and improve your shower experience. Whether you want better water pressure, a new spray pattern, or a stylish design, changing the shower head can make a big difference. Let’s look at how to choose the right one, attach it properly, and test the water flow to make sure everything works perfectly.
Choosing The Right Shower Head
Start by thinking about what you want from your new shower head. Do you prefer a strong, focused spray or a gentle, wide mist? Consider features like multiple spray settings, water-saving technology, or easy-clean nozzles.
Check the size and style to match your bathroom decor. Also, make sure the shower head fits your existing shower arm thread, usually ½ inch. Choosing the right shower head means you won’t need extra adapters or tools during installation.
Attaching The New Head
Before attaching, clean the threads on the shower arm to remove any old plumber’s tape or debris. Wrap fresh plumber’s tape clockwise around the threads to create a tight, leak-free seal.
Then screw the new shower head onto the arm by hand. Avoid using tools that might damage the finish. If the head feels loose, tighten it gently with an adjustable wrench using a cloth to protect the surface.
Testing Water Flow
Turn on the water slowly and check for leaks around the connection. Is the spray pattern what you expected? Adjust the angle of the shower head to your liking.
If you notice dripping or low pressure, turn off the water and tighten the connection or add more plumber’s tape. Testing the flow ensures you enjoy your new shower head without surprises.
Maintenance Tips
Maintaining your shower arm and head ensures a steady water flow and extends the lifespan of your fixtures. Simple care routines can prevent common issues like clogging and corrosion. These maintenance tips help you avoid frequent replacements and keep your shower experience enjoyable.
Regular Cleaning
Clean your shower head and arm regularly to remove soap scum and grime. Use a soft cloth or an old toothbrush with mild soap to scrub the surfaces gently. Avoid harsh chemicals that can damage the finish or the internal parts.
Try soaking the shower head in a mixture of warm water and vinegar for about 30 minutes to dissolve dirt inside the nozzles. After soaking, rinse thoroughly and wipe dry. This simple step can improve water flow and prevent leaks.
Preventing Mineral Build-up
Hard water can cause mineral deposits that block water flow and damage your shower head. To prevent this, use a water softener or install a filter system if you notice white or crusty residue on your fixtures.
You can also wipe your shower head dry after each use to reduce mineral buildup. If buildup appears, gently scrub with a brush dipped in vinegar to loosen deposits. Regular attention here saves you from costly repairs later.
Troubleshooting Common Issues
Troubleshooting common issues during a shower arm and head replacement can save you time and frustration. Many problems are easy to fix once you understand the cause. Let’s dive into two frequent issues: leaks and loose connections, and how you can tackle them effectively.
Addressing Leaks
Leaks are the most common problem after installing a new shower arm or head. They usually happen because the connections aren’t sealed properly.
Start by turning off your water supply. Then, check if the threads on the shower arm and head have enough plumber’s tape (Teflon tape). This tape creates a watertight seal.
If you notice water dripping from the joint, remove the shower head, wrap the threads with fresh plumber’s tape, and reattach it tightly. Avoid over-tightening, as this can damage the fittings.
Have you checked if the leak is coming from the shower arm itself or the connection point? Sometimes, cracks in the arm cause leaks that tape won’t fix, meaning you’ll need a replacement arm.
Fixing Loose Connections
Loose connections can cause your shower head to wobble or even fall off. This usually happens if the fittings weren’t tightened enough or if the wrong size parts were used.
Use an adjustable wrench to gently tighten the connection between the shower arm and the head. Be careful not to use excessive force, which could strip the threads.
If the shower head still feels loose, check if the rubber washer inside is properly seated. This washer helps keep the connection snug and prevents leaks.
Have you ever felt unsure about tightening something too much? It’s better to tighten gradually and test the fit to avoid damaging your new shower setup.

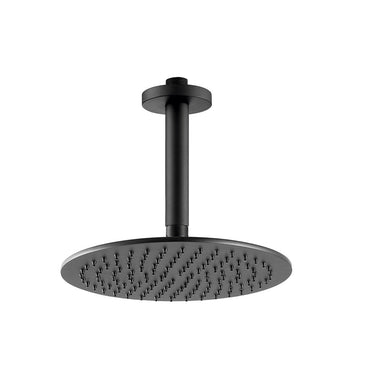
Credit: en.cobbe.com

Credit: www.mineralstream.co
Frequently Asked Questions
How Do I Remove An Old Shower Arm Safely?
Turn off the water supply first. Use a wrench to loosen the old shower arm by turning it counterclockwise. Protect the fixture with a cloth to avoid scratches. Apply steady pressure and remove the arm carefully.
What Tools Are Needed To Replace Shower Head And Arm?
You need an adjustable wrench, plumber’s tape, a cloth, and possibly a screwdriver. These tools help remove the old parts and install the new ones securely and leak-free.
How To Prevent Leaks When Installing A Shower Arm?
Wrap plumber’s tape around the shower arm threads before installation. Tighten the arm firmly but avoid over-tightening. This ensures a watertight seal and prevents leaks.
Can I Replace A Shower Arm Without A Plumber?
Yes, replacing a shower arm is a simple DIY task. With basic tools and instructions, most homeowners can do it safely and effectively.
Conclusion
Replacing a shower arm and head is simple and quick. Gather basic tools and follow easy steps. Turn off water first to avoid leaks. Unscrew the old parts and clean the pipe threads. Wrap new parts with plumber’s tape for a tight seal.
Screw in the new arm and head carefully. Test for leaks by turning water back on. A new shower head can improve water flow and comfort. Save money by doing this job yourself at home. Enjoy your refreshed shower experience with little effort.


