You’ve just finished an amazing painting session, but now comes the messy part—cleaning your oil paint brushes. If you don’t wash them properly, your brushes can become stiff and ruined, making your next project frustrating.
But don’t worry, cleaning oil paint off brushes doesn’t have to be hard or time-consuming. You’ll discover simple, effective steps to get your brushes spotless and ready to use again. Keep reading, and you’ll never stress about brush cleaning again!
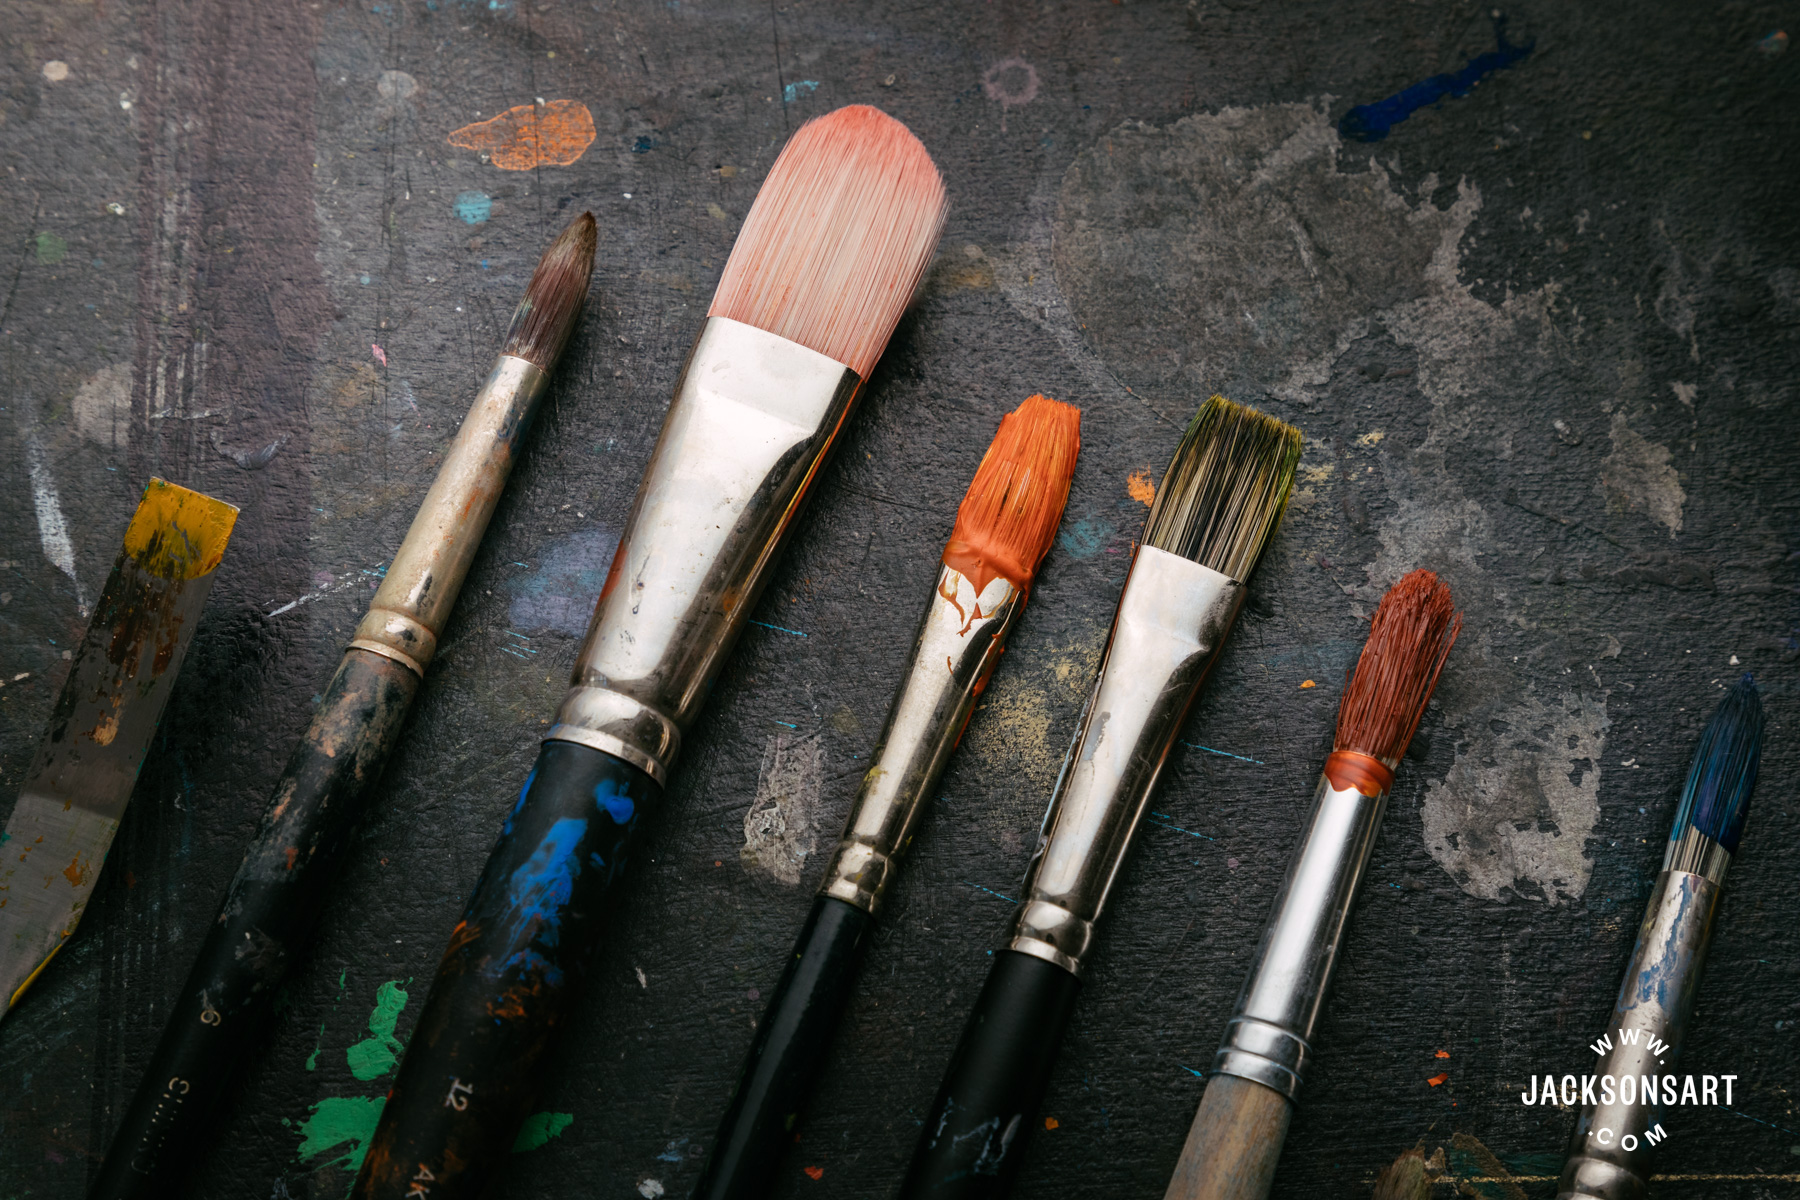
Credit: www.jacksonsart.com
Tools Needed
Cleaning oil paint off brushes can be a challenge. To make this task easier, gather the right tools. This section will guide you through the essential supplies and optional cleaning aids needed for this process.
Essential Supplies
- Solvent:Use turpentine or mineral spirits for effective cleaning.
- Container:A glass jar or metal cup for soaking brushes.
- Soap:Mild dish soap or specialized brush soap.
- Water:Warm water to rinse after cleaning.
- Paper Towels:Absorbent towels for drying brushes.
Optional Cleaning Aids
- Brush Comb:Helps remove paint stuck in bristles.
- Gloves:Protects hands from solvents and paint.
- Vinegar:Natural alternative for cleaning brushes.
- Bristle Conditioner:Keeps brush bristles soft and flexible.
Credit: www.tiktok.com
Initial Brush Cleaning
Initial brush cleaning is a crucial step to keep your oil painting brushes in good shape and ready for the next use. It prevents paint from drying deep into the bristles, which can ruin your brush over time. Handling this stage carefully saves you money and frustration later.
Removing Excess Paint
Start by wiping off as much paint as you can while the brush is still wet. Use a rag or paper towel to gently press the bristles and pull out the bulk of the paint. Avoid scrubbing hard, as this can damage the bristles.
Next, run the brush through some newspaper or an old cloth to remove even more leftover paint. This simple step reduces the amount of solvent you’ll need later. Have you noticed how much easier cleaning is when you do this first?
Using Solvents Safely
Choose a solvent like mineral spirits or turpentine for cleaning oil paint from brushes, but always work in a well-ventilated area. Pour a small amount into a container and gently swirl your brush in it to break down the paint.
Be careful not to soak your brushes too long, as it can weaken the glue holding the bristles. Wear gloves to protect your skin and avoid breathing in fumes. Have you tried natural alternatives like citrus-based solvents? They are less harsh but still effective.
Deep Cleaning Techniques
Deep cleaning oil paint brushes removes stubborn paint and extends brush life. Simple rinses do not clean brushes fully. Deep cleaning breaks down dried oil paint and clears bristles completely. This process keeps brushes soft and ready for the next use. Two popular deep cleaning techniques work well for artists at all levels.
Soap And Water Method
Start by wiping off excess paint with a cloth or paper towel. Use warm water to wet the brush bristles gently. Apply a mild soap, like dish soap or brush cleaner, directly to the bristles. Work the soap into a lather by rubbing the bristles in your palm. Rinse the brush under warm running water. Repeat soap and rinse steps until no paint remains. Gently reshape the bristles and let the brush dry flat or hanging with bristles down. This method is safe and effective for daily brush care.
Alternative Cleaning Solutions
Some artists prefer special solvents to clean oil paint brushes. These include mineral spirits, turpentine, or odorless paint thinners. Pour a small amount of solvent into a container. Swirl the brush in the solvent to dissolve paint. Use a brush comb or old toothbrush to loosen paint from bristles. Rinse the brush in warm soapy water after solvent cleaning. Allow brushes to dry naturally. Alternative solutions work well for heavy paint build-up but use them in a well-ventilated space. Always follow safety instructions on solvent containers.
Drying And Brush Care
Taking care of your brushes after washing oil paint off them is just as important as cleaning them. How you dry your brushes and maintain their shape affects their lifespan and performance in future projects. Proper drying prevents damage, while maintaining the shape ensures your brushes stay ready for precise strokes.
Proper Drying Methods
Always dry your brushes by gently shaking off excess water or solvent after washing. Avoid letting brushes sit with bristles pointing downward; this can cause water to seep into the ferrule, loosening the glue over time.
Lay your brushes flat on a clean towel or hang them with bristles facing down to allow air circulation without bending the tips. This simple habit can save you from prematurely ruining your favorite brushes.
Have you noticed how some brushes lose their stiffness after drying? That often happens when they dry improperly or stay wet too long. Keep drying time short and in a well-ventilated area to avoid this issue.
Maintaining Brush Shape
After cleaning, reshape the bristles with your fingers while they are still damp. This step helps keep the brush’s original form and prevents splaying.
Store brushes with bristles upright or lying flat, never crammed in a jar with the tips bent. Using a brush holder or case can be a game changer to preserve shape and prevent dust from settling on the bristles.
Think about how much easier it is to paint with a well-maintained brush. Taking a few extra seconds to reshape and store your brushes properly ensures smooth application and consistent results every time you pick them up.
Tips For Brush Longevity
Keeping your brushes in good shape saves money and improves your painting. Caring for brushes properly helps them last longer and perform better. It also keeps bristles soft and prevents damage. Follow simple tips to protect your investment and enjoy painting more.
Regular Cleaning Habits
Clean brushes right after use to stop paint from drying. Use a suitable solvent to remove oil paint thoroughly. Rinse brushes with warm soapy water to clear leftover paint and solvent. Gently reshape bristles before drying to keep their form. Avoid soaking brushes for too long to prevent loosening bristles.
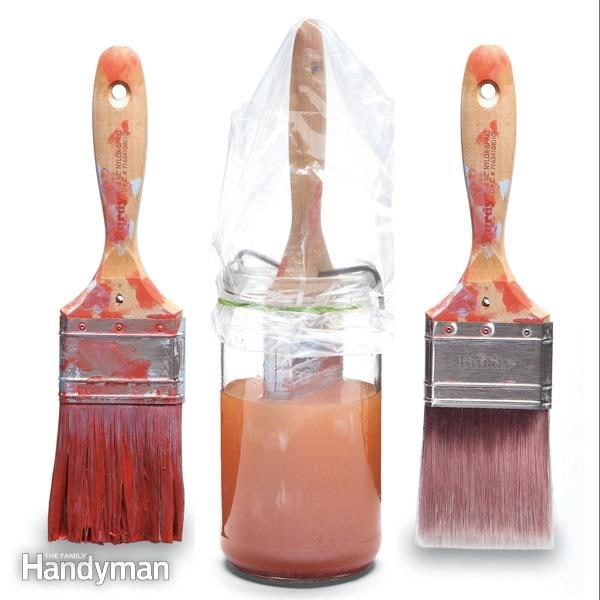
Storage Recommendations
Store brushes horizontally or hanging with bristles down to keep shape. Keep brushes dry and away from dust or direct sunlight. Avoid crushing bristles by storing brushes separately or in a holder. Cover brush tips with a protective sleeve or wrap to avoid damage. Use proper containers to keep brushes neat and ready.
Credit: www.ninjacart.com
Frequently Asked Questions
How Do I Remove Oil Paint From Brushes Quickly?
Use a solvent like mineral spirits or turpentine first. Then wash brushes with soap and warm water. Repeat if needed to fully remove paint residues.
What Is The Best Solvent For Cleaning Oil Paint Brushes?
Mineral spirits and turpentine are the most effective solvents. They dissolve oil paint efficiently without damaging brush bristles.
Can I Use Dish Soap To Clean Oil Paint Brushes?
Dish soap helps remove paint after using solvents. It breaks down oils and cleans bristles gently, prolonging brush life.
How Often Should I Clean Oil Paint Brushes?
Clean brushes immediately after painting. Dry paint hardens and becomes difficult to remove, reducing brush lifespan and performance.
Conclusion
Cleaning oil paint from brushes takes patience and the right steps. Start by wiping off extra paint, then use a suitable solvent. Gently work the brush to loosen the paint. Rinse with soap and warm water until the brush feels clean.
Dry the brush well before storing it. Clean brushes last longer and keep your work neat. Regular care saves money and time. Simple habits make a big difference in your painting routine. Keep your brushes ready for the next creative project.


