
Have you ever noticed your shower head dripping or spraying water unevenly? Taking your shower head apart might sound tricky, but it’s easier than you think.
By learning how to do this yourself, you can save money, fix common problems, and even improve your water flow. In this guide, you’ll discover simple steps to take your shower head apart quickly and safely. Keep reading—you’re just moments away from becoming your own bathroom hero.
Tools Needed
Taking a shower head apart requires a few simple tools. These tools help remove the shower head without damage. Having the right tools makes the job easier and faster.
Most tools needed are common and easy to find. A basic set of tools can handle most types of shower heads.
Adjustable Wrench
An adjustable wrench fits different sizes of nuts and bolts. It helps loosen the shower head from the pipe. Use it carefully to avoid scratching the finish.
Pliers
Pliers provide extra grip and leverage. They work well for tight or stuck parts. Choose slip-joint or locking pliers for best control.
Cloth Or Rag
Wrap a cloth around the shower head before using tools. It protects the surface from scratches and dents. Soft cotton or microfiber cloths work well.
Screwdriver
Some shower heads have screws securing parts. A flathead or Phillips screwdriver helps remove these screws. Check the head type before starting.
Bucket Or Towel
Place a bucket or towel under the shower head. It catches water or small parts that might fall. Keeps the area clean and dry.
Credit: www.tiktok.com
Safety Precautions
Taking a shower head apart can be simple but requires care. Safety is key to avoid injuries or damage. Follow these safety tips to protect yourself and your bathroom fixtures.
Turn Off The Water Supply
Stop water flow before starting work. Find the main valve or shower valve and close it. This prevents water from spraying out unexpectedly.
Wear Protective Gloves
Use gloves to protect your hands. Shower heads can have sharp edges or build-up that irritates skin. Gloves also improve grip on slippery parts.
Use The Right Tools
Choose tools that fit the shower head parts well. Avoid makeshift tools that can slip or damage fittings. This keeps the task safer and easier.
Handle Parts Gently
Be careful with small pieces. Shower heads have delicate washers and seals. Rough handling can break them and cause leaks later.
Work In A Dry Area
Keep the floor and working area dry. Wet floors increase the risk of slipping. Use a towel or mat to absorb water.
Check For Electrical Hazards
Ensure no nearby electrical outlets or devices are wet. Water and electricity are a dangerous mix. Keep tools and hands dry to avoid shocks.
Shutting Off Water Supply
Before taking your shower head apart, shutting off the water supply is crucial. This step prevents water from spraying everywhere and causing a mess. It also protects your plumbing system from damage during the process.
Water supply can come from different sources. Knowing where to find the shut-off valve saves time and effort. You can avoid unexpected water flow and keep the workspace dry.
Locate The Main Water Shut-off Valve
The main water shut-off valve controls water flow to the entire house. Find it near the water meter or where the main pipe enters your home. Turn the valve clockwise to stop the water supply.
Find The Shower-specific Shut-off Valve
Some homes have a separate valve for the bathroom or shower. Look under the sink or behind an access panel near the shower. Turning this valve off stops water flow only to the shower area.
Test Water Flow After Shutting Off
Turn on the shower handle to check if water stops flowing. If water still runs, the valve may not be fully closed. Tighten the valve more or try the main water shut-off valve instead.
Use Towels And Containers To Catch Residual Water
Water may remain in the pipes even after shutting off the supply. Place towels or a small container under the shower head. This catches leftover water when you remove the shower head.
Credit: www.youtube.com
Removing The Shower Head
Removing the shower head is the first step in cleaning or replacing it. This process requires simple tools and a little effort. The goal is to loosen the connection without damaging the shower arm or the head itself.
Unfastening With A Wrench
Use an adjustable wrench to grip the base of the shower head. Turn the wrench counterclockwise to loosen the connection. Apply steady pressure but avoid forcing it too hard. If the shower head is stuck, try tapping the wrench gently with a rubber mallet. This helps break the seal without causing damage.
Using A Towel For Grip
Wrap a thick towel around the shower head before using the wrench. The towel protects the finish from scratches and dents. It also improves grip, making it easier to turn. Hold the towel-covered head firmly and twist counterclockwise. This method works well for plastic or painted shower heads that scratch easily.
Disassembling The Shower Head
Disassembling your shower head might seem tricky at first, but breaking it down into simple parts makes the task manageable. Understanding each component helps you handle the shower head confidently and avoid damage. Let’s look at how to identify the parts and loosen the screws effectively.
Identifying Parts
Start by examining your shower head closely. Most shower heads consist of a few key parts:
- Faceplate:The front where water sprays out.
- Body:The main housing connecting to the water pipe.
- Spray nozzles:Small holes or rubber tips on the faceplate.
- Screws or clips:Holding the faceplate or internal parts in place.
- Filter or flow restrictor:Inside the body to control water pressure.
Knowing these parts helps you figure out what to remove first and where to apply pressure without breaking anything.
Loosening Screws
Once you spot the screws, you’ll need the right tools—usually a Phillips or flathead screwdriver. If screws look rusted or stuck, apply a little penetrating oil and wait a few minutes before trying again.
Turn screws counterclockwise gently to avoid stripping them. If screws don’t come out easily, check if there are hidden covers or caps hiding additional fasteners. Sometimes, plastic clips snap apart rather than unscrewing, so test gently to see which action fits your model.
Cleaning Components
Cleaning the shower head components is essential for a good water flow. Over time, mineral deposits and grime build up inside. This build-up can block water and reduce pressure. Taking the shower head apart lets you clean these parts deeply.
Proper cleaning keeps the shower head working well and extends its life. Use simple household items for safe and effective cleaning. Make sure each part is cleaned gently to avoid damage.
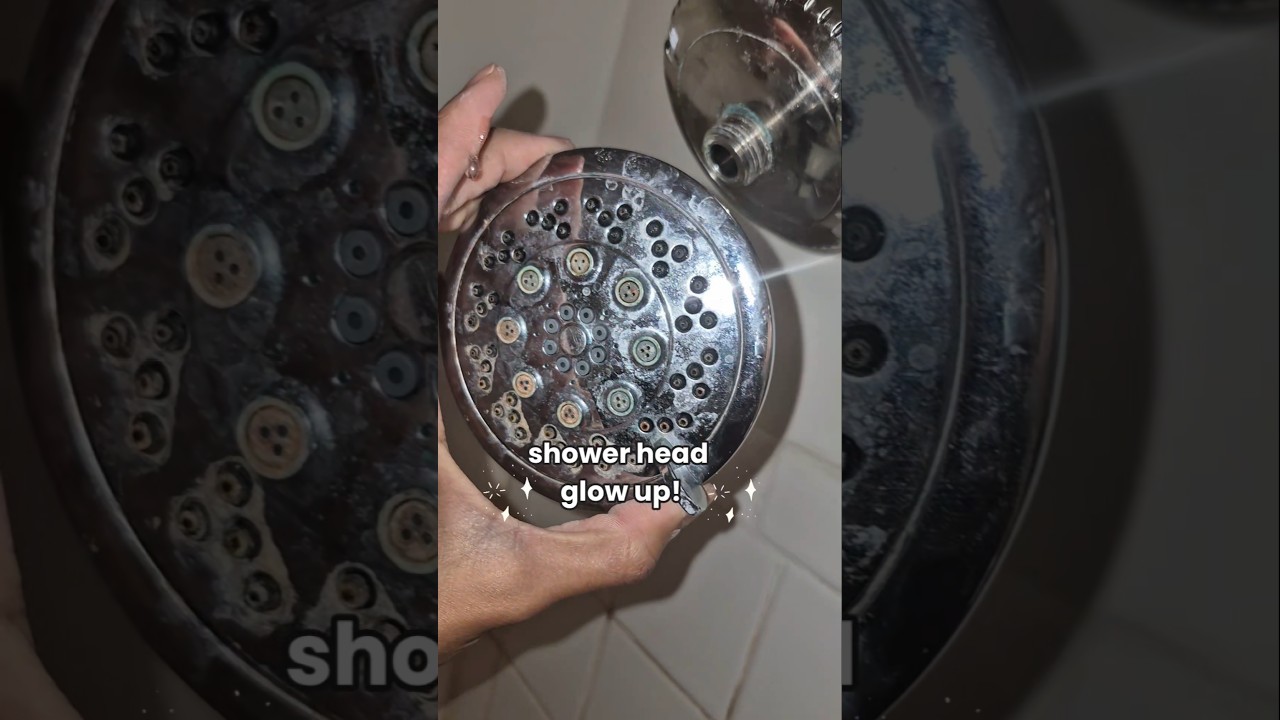
Removing Mineral Deposits
Mineral deposits often appear as white or green crusty spots. These form from hard water minerals like calcium. Use a soft brush or toothpick to scrape off loose deposits. Avoid using sharp tools that can scratch the surface.
Soak small parts in warm water to soften the minerals. This makes cleaning easier. Wipe each piece with a damp cloth after soaking. Repeat if deposits remain stubborn.
Using Vinegar Solution
Vinegar is a natural cleaner for shower heads. It dissolves mineral build-up safely and quickly. Mix equal parts of white vinegar and water in a bowl.
- Place the shower head parts in the vinegar solution.
- Let them soak for 30 to 60 minutes.
- Use a soft brush to scrub away loosened deposits.
- Rinse all parts thoroughly with clean water.
Dry each component before reassembling the shower head. This prevents new build-up and rust. Vinegar cleaning keeps water flowing strong and clear.
Inspecting For Damage
Inspecting your shower head for damage is a crucial step before you decide to clean or repair it. Small cracks or worn-out seals can cause leaks and reduce water pressure, making your shower less effective. Taking a close look now can save you time and prevent bigger problems later.
Checking For Cracks
Start by examining the shower head’s body and nozzle closely. Look for any visible cracks or fractures in the plastic or metal parts. Even hairline cracks can let water escape, leading to inefficient water flow and potential water damage around your shower area.
Feel the surface with your fingers to detect any rough or uneven spots that might indicate hidden damage. If you spot cracks, ask yourself if the damage is repairable or if you should replace the entire unit. Sometimes a small crack near a connection point can cause leaks that are hard to fix.
Examining Rubber Seals
Next, check the rubber seals inside the shower head. These seals prevent water from leaking at the joints and connections. Over time, seals can dry out, crack, or become misshapen, which often leads to drips or reduced water pressure.
Remove the seals carefully and inspect them for brittleness or breaks. If they feel stiff or show visible damage, replacing them is usually a simple and inexpensive fix. Have you ever noticed a steady drip even after tightening the shower head? The seals are often the culprit behind that.

Credit: www.amazon.com
Reassembling The Shower Head
Reassembling the shower head is an important step after cleaning or fixing it. Taking time to put the parts back correctly ensures the shower works well. A properly reassembled shower head prevents leaks and maintains water flow. Focus on aligning the parts carefully before securing them tightly. This process helps your shower last longer and function smoothly.
Aligning Parts
Start by matching each piece to its original place. Look for grooves, notches, or shapes that fit together. Hold the faceplate and the body so the holes line up. Check the rubber washer or gasket is seated correctly. Misalignment can cause leaks or poor water flow. Turn parts gently to avoid damage. Proper alignment makes the next step easier and safer.
Securing With Screws
Once parts are aligned, grab the screws used before. Insert screws into their holes carefully. Tighten them with a screwdriver, but not too hard. Over-tightening can crack plastic or strip threads. Tight screws keep the shower head secure and stable. Check that no parts move after tightening. Secure screws prevent leaks and keep water pressure steady.
Reattaching The Shower Head
Reattaching the shower head is a crucial step to ensure your shower functions properly without any water wastage or unexpected drips. Taking the time to secure it correctly can save you from future headaches and costly repairs. Let’s focus on how to make sure the connection is tight and how to test for leaks effectively.
Ensuring Tight Connection
Before you screw the shower head back on, check the shower arm threads for any old tape or debris. Clean them thoroughly with a cloth to ensure a smooth fit.
Wrap fresh plumber’s tape (also called Teflon tape) around the threads in a clockwise direction. This helps create a watertight seal and prevents leaks.
When reattaching the shower head, hand-tighten it first. Then use a wrench or pliers to give it a gentle turn, but be careful not to overtighten. Too much force can crack the fittings or strip the threads.
Testing For Leaks
Once the shower head is in place, turn the water on slowly and watch closely for drips around the connection. Even a small leak can waste water and cause damage over time.
If you spot any leaks, try tightening the connection a bit more. Sometimes loosening and reapplying the plumber’s tape can solve the problem if leaks persist.
Have you ever ignored a tiny drip only to find it caused bigger plumbing issues later? Catching leaks early can save you both time and money.
Maintenance Tips
Maintaining your shower head ensures a steady water flow and extends its life. Simple care steps prevent clogs and damage. Regular attention keeps your shower experience fresh and clean.
Regular Cleaning Schedule
Clean the shower head every month to avoid buildup. Use a soft cloth or brush to remove dirt. Soak the shower head in vinegar for 30 minutes to clear mineral deposits. Rinse well with warm water before reattaching. This routine stops blockages and keeps water flowing evenly.
Avoiding Hard Water Damage
Hard water can cause mineral buildup inside the shower head. Use a water softener or install a filter to reduce minerals. After each shower, wipe the shower head dry to prevent residue. Check for leaks or cracks regularly and fix them fast. These steps help protect your shower head from damage and wear.
Frequently Asked Questions
How Do I Safely Remove A Shower Head?
Turn off the water supply first. Use a wrench or pliers with a cloth to avoid scratches. Twist the shower head counterclockwise. Clean threads before reassembly to ensure a proper seal.
What Tools Are Needed To Take A Shower Head Apart?
You typically need an adjustable wrench or pliers. A cloth helps protect the fixture’s finish. Optional tools include plumber’s tape and a small brush for cleaning.
How Can I Clean Inside A Shower Head?
Remove the shower head and soak it in vinegar for an hour. Use a toothbrush to scrub away mineral deposits. Rinse thoroughly before reattaching to restore water flow.
Can I Disassemble Any Shower Head Easily?
Most standard shower heads are easy to take apart. Specialty or fixed models might require extra steps. Always check the manufacturer’s instructions to avoid damage.
Conclusion
Taking a shower head apart is easier than it seems. Just follow the steps carefully and use simple tools. You can clean or fix your shower head yourself. This saves money and keeps water flowing well. Always remember to turn off the water first.
Take your time and avoid forcing parts. Soon, your shower will work like new again. Give it a try—you might be surprised at how simple it is.


