Are you tired of your vinyl floors looking dull and sticky because of old wax buildup? Stripping wax from vinyl floors can seem tricky, but it doesn’t have to be a hassle.
Imagine walking barefoot on floors that feel fresh, clean, and smooth again. In this guide, you’ll discover simple, effective steps to remove that stubborn wax and bring your vinyl floors back to life. Keep reading—you’re just moments away from making your floors shine like new.
Preparing The Floor
Preparing the floor is a key step before stripping wax from vinyl floors. It ensures the process goes smoothly and helps avoid damage. Taking time to prepare sets a good foundation for effective waxing removal.
Gathering Supplies
Collect all needed supplies before starting. This saves time and keeps you organized. Essential items include:
- Rubber gloves to protect your hands
- A mop or scrubber
- Bucket with warm water
- Vinyl floor stripper or a gentle cleaning solution
- Soft cloths or rags
- A vacuum or broom
- Safety goggles for eye protection
Clearing The Area
Remove all furniture and objects from the floor area. This prevents obstacles during cleaning. Clearing the space helps you reach every corner easily. It also protects your belongings from any cleaning solution spills.
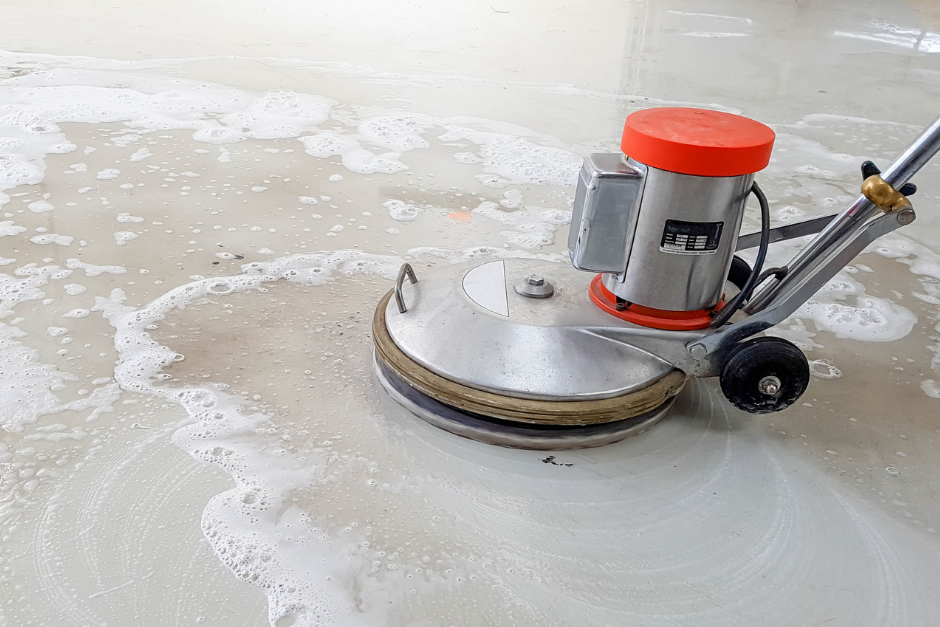
Sweeping And Vacuuming
Start by sweeping the floor to remove loose dirt and dust. Follow with vacuuming to pick up finer particles. Clean floors prevent scratches during waxing removal. A dust-free surface also improves stripper effectiveness.

Credit: www.instagram.com
Choosing The Right Wax Remover
Choosing the right wax remover plays a key role in safely stripping wax from vinyl floors. The right product cleans effectively without harming the floor’s surface. Different types of removers suit various needs and preferences. Understanding their features helps pick the best one for your floor.
Chemical Strippers
Chemical strippers work fast and remove thick wax layers easily. They contain strong ingredients that break down wax quickly. These products often require gloves and good ventilation during use. Choose one made for vinyl floors to avoid damage. Follow instructions carefully for safe application.
Natural Alternatives
Natural alternatives offer a gentler way to remove wax. Common options include vinegar, baking soda, and citrus-based cleaners. These are safer for the environment and less harsh on floors. They may need more time and effort to work well. Ideal for light wax buildup or sensitive surfaces.
Testing On A Small Area
Always test any wax remover on a small, hidden spot first. This step checks for any discoloration or damage. Apply a small amount and wait a few minutes. Look closely before proceeding with the full floor. This simple test protects your vinyl from unwanted harm.
Applying The Wax Remover
Applying the wax remover is a crucial step in restoring your vinyl floors to their original shine. This process requires attention to detail and patience to ensure the old wax lifts effectively without damaging the surface. Let’s focus on how to do this safely and efficiently.
Safety Precautions
Wax removers contain strong chemicals that can irritate your skin and lungs. Always wear rubber gloves and a mask to protect yourself from harmful fumes and direct contact. Open windows or use fans to keep the area well-ventilated, reducing the risk of inhaling toxic vapors.
Think about the last time you ignored safety measures—did it slow you down or cause discomfort? Taking these precautions upfront saves time and effort later.
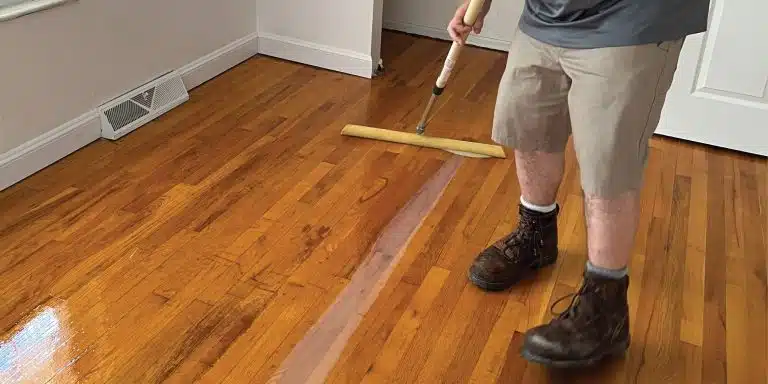
Proper Application Techniques
Start by pouring a small amount of wax remover onto a clean cloth or mop. Avoid pouring it directly on the floor, as this can cause uneven application and pooling. Work in small sections to maintain control and ensure thorough coverage.
Apply the remover in gentle, circular motions to break down the wax layer. Don’t rush—pressing too hard can scratch your vinyl. Instead, let the remover do the work as you glide over the surface.
Allowing Time To Work
After applying the wax remover, give it time to soak into the wax. Usually, 10 to 15 minutes is enough, but check the product instructions for specific timing. This waiting period lets the chemicals soften the wax for easier removal.
Patience here pays off. Have you ever tried to scrub off dried paint or glue immediately? It’s frustrating and often damages the surface. Letting the remover work avoids unnecessary effort and protects your vinyl floor.

Credit: corporatecleanservices.com
Removing The Wax
Wax buildup on your vinyl floors can be a stubborn adversary, but fear not! Removing it is not as daunting as it may seem. With the right techniques, your floors can regain their original shine. The key is to approach the task with patience and care. Let’s explore some effective methods.
Scraping Gently
Begin with a gentle scrape. Use a plastic scraper or an old credit card to lift wax from the floor’s surface. Avoid metal tools that might damage the vinyl. Apply slight pressure and scrape in a single direction to minimize scratches.
While scraping, pay attention to the sound and feel of the tool against the floor. You might discover that certain angles or pressures work better. What’s your secret scraping technique?
Using A Mop Or Cloth
Once the bulk of the wax is removed, switch to a mop or cloth. Dampen it with warm water mixed with a mild detergent, and gently wipe the area. The heat and soap help break down remaining wax residues.
This step requires a bit of elbow grease, so be prepared to put in some effort. As you mop, notice how the floor responds. Does the shine start to peek through? Your persistence will pay off.
Repeating If Necessary
Sometimes, a single pass isn’t enough. If remnants linger, repeat the process. Wax can be stubborn, and it might take a few rounds to completely clear the floor.
Remember, persistence is key. Each attempt brings you closer to a clean, gleaming surface. Are you noticing progress with every repetition? Celebrate small victories, and keep at it until the wax is gone.
Cleaning The Floor After Stripping
Cleaning the floor after stripping wax is essential for a smooth, clean vinyl surface. Proper cleaning removes leftover residue and prepares the floor for new treatments or finishes. Taking time to clean well improves the floor’s look and longevity.
Rinsing Residue
Use clean, warm water to rinse the floor thoroughly. A mop or soft cloth works well for this job. Rinse multiple times until the water runs clear. This step removes all wax stripper and loosened wax bits.
Drying The Surface
Dry the floor completely to avoid streaks and water spots. Use a dry mop or towels to soak up moisture. Open windows or use fans to speed drying. A dry floor is ready for inspection and any further care.
Inspecting For Remaining Wax
Look closely for shiny or sticky spots on the vinyl. These areas may still have wax residue. Use a clean cloth with a little water to test these spots. Repeat cleaning if needed to ensure full wax removal.
Preventing Future Wax Buildup
Wax buildup on vinyl floors can quickly turn a shiny surface dull and sticky. Preventing this buildup saves you time and effort in stripping and rewaxing. Taking a few smart steps now will keep your floors looking fresh and smooth for longer.
Choosing Appropriate Floor Finishes
Not all floor finishes work well with vinyl surfaces. Selecting a finish designed specifically for vinyl helps avoid sticky residue and uneven wear. Look for water-based or acrylic finishes that dry quickly and resist scuffing.
Some finishes are labeled “no-wax” or “self-polishing.” These reduce the need for frequent stripping and recoating, making your maintenance routine easier. Have you checked the label to ensure compatibility with your floor type?
Using the wrong product can cause buildup faster than you expect. I once used a heavy wax meant for hardwood on my vinyl and ended up with layers that wouldn’t come off without harsh chemicals. Choosing the right finish upfront can save you that headache.
Regular Maintenance Tips
Keeping wax buildup at bay means sticking to a cleaning schedule. Dust and mop your vinyl floors regularly with a damp mop and a gentle cleaner. Avoid harsh detergents that can leave residues contributing to buildup.
Periodic light buffing can keep the finish smooth and reduce the need for deep stripping. Also, limit the number of wax layers you apply; thin, even coats work best. Ask yourself if a fresh coat is necessary or if a simple cleaning will do.
- Use microfiber mops to catch dust without scratching.
- Wipe up spills immediately to prevent damage to the finish.
- Place mats at entrances to reduce dirt tracked onto the floor.
Taking small maintenance steps consistently helps you avoid the frustration of thick, stubborn wax layers. What small change can you make today to protect your floors tomorrow?
Credit: recoatrevolution.com
Frequently Asked Questions
How Do I Remove Wax From Vinyl Floors Safely?
Use a wax stripper designed for vinyl floors. Apply it with a mop, wait a few minutes, then scrub gently. Rinse thoroughly with water to remove residue, and dry the floor completely to prevent damage.
What Household Items Remove Wax From Vinyl Floors?
Vinegar mixed with warm water works well. Apply with a mop or cloth, scrub gently, and rinse. Avoid harsh chemicals to protect the vinyl surface and maintain floor integrity.
Can I Use A Steam Cleaner To Strip Wax?
Steam cleaners can soften wax but might damage vinyl if too hot. Use low heat and test a small area first. For best results, combine steam with a wax stripper solution.
How Often Should I Strip Wax From Vinyl Floors?
Strip wax every 6 to 12 months, depending on wear and buildup. Regular maintenance ensures the floor stays clean and prolongs its lifespan. Avoid over-stripping to prevent surface damage.
Conclusion
Stripping wax from vinyl floors does not have to be hard. Use gentle cleaners and soft tools to protect your floor. Take your time and work in small sections. Rinse well to remove all residue and avoid slipperiness. Dry the floor completely before applying new wax or finish.
Clean floors look fresh and last longer. Following these simple steps keeps your vinyl floor bright and smooth. You can maintain your floors without stress or damage. A little care goes a long way in home cleaning.


