
Is your Delta single handle kitchen faucet leaking or not working smoothly? Replacing the cartridge might be the simple fix you need.
Imagine turning your faucet handle and having water flow perfectly every time, without drips or stiffness. In this guide, you’ll learn exactly how to replace your Delta faucet cartridge step-by-step—no plumber required. By the end, you’ll save money, avoid frustration, and enjoy a kitchen faucet that works like new.
Ready to get started? Let’s dive in.

Credit: www.amazon.com
Tools And Materials Needed
Replacing a Delta single handle kitchen faucet cartridge requires a few simple tools and materials. Having everything ready saves time and avoids frustration. Gather all items before starting the job.
The list below covers all essentials for this task. Each tool plays a key role in removing the old cartridge and installing the new one properly. Use quality tools for the best results.
Basic Tools Required
- Adjustable wrench – to loosen and tighten nuts
- Screwdriver (Phillips and flathead) – for screws and handles
- Allen wrench – to remove handle set screws
- Pliers – to grip and pull parts if needed
- Utility knife – to cut any seal or tape
Materials Needed
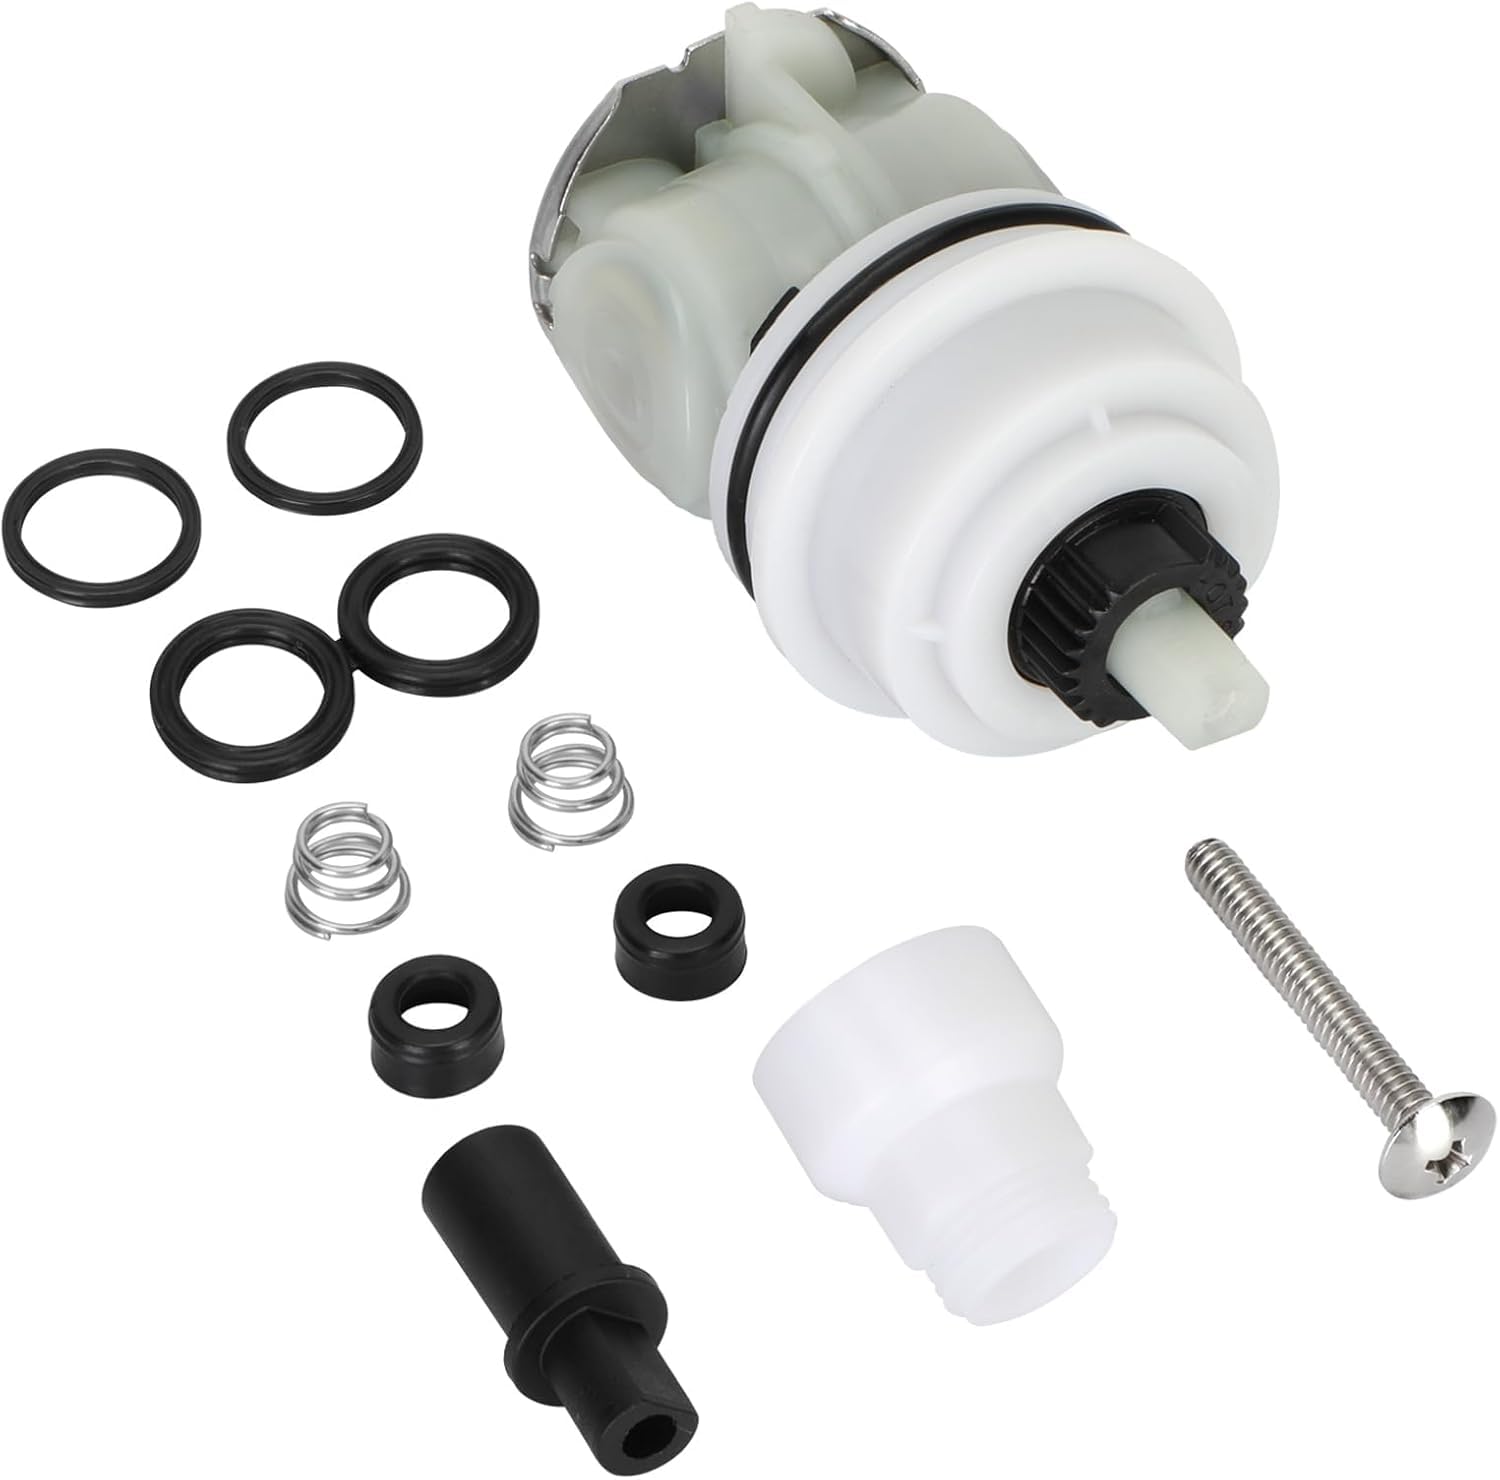
- Replacement cartridge specific to your Delta faucet model
- Plumber’s grease – to lubricate the cartridge and seals
- Plumber’s tape (Teflon tape) – for sealing threaded connections
- Clean cloth – for wiping and drying parts
- Bucket or towel – to catch any water drips
Safety And Preparation Items
- Shut-off valve access – to turn off water supply
- Flashlight – to see clearly under the sink
- Protective gloves – to keep hands clean and safe
- Eye protection – to guard against splashes
Credit: www.amazon.com
Identifying The Cartridge Model
Identifying the cartridge model is the first step to replace a Delta single handle kitchen faucet cartridge. Each cartridge type fits specific faucet models. Using the wrong cartridge can cause leaks or poor water flow. Finding the exact model ensures a smooth repair process.
Start by turning off the water supply and removing the faucet handle. This exposes the cartridge for inspection. Look for any numbers or letters printed on the cartridge body. These markings help identify the model.
Keep the cartridge handy. You might need it to compare with new parts at the store or online. Knowing the model saves time and prevents guesswork.
Checking The Cartridge For Model Numbers
Examine the cartridge closely. Use a flashlight if needed. Look for engraved or printed codes on the side or top. Common Delta cartridge numbers include RP19804, RP19804-UNBX, and RP19804-UNBX.
Write down any codes you find. If no numbers appear, note the cartridge’s shape and color instead. These clues help match the correct replacement.
Consulting The Faucet Model Number
Look under the sink or on the faucet base for the faucet model number. This number often appears on a label or stamped metal plate. It can be a series of letters and numbers.
Use this faucet model number online or in stores. It directs you to the exact cartridge type made for that faucet.
Using Online Tools And Resources
Delta’s website offers tools to identify cartridge models by faucet type. Enter your faucet model number or upload a photo of the cartridge.
Other plumbing websites provide guides and charts. They compare cartridge shapes and sizes for easy identification.
Taking Photos For Reference
Take clear photos of the cartridge from different angles. Capture close-ups of any markings. Include photos of the faucet handle and base.
Show these photos to store staff or use them in online forums. Visuals help find the right cartridge faster.
Preparation Steps
Before diving into the actual cartridge replacement, taking a few preparation steps can save you time and frustration. Proper preparation ensures safety and makes the process smoother. Let’s look at what you need to do before starting.
Turning Off Water Supply
First, locate the water shutoff valves under your sink. These valves control the flow of water to your faucet. Turn both the hot and cold water valves clockwise until they stop to cut off the water supply.
If you don’t find individual shutoff valves, you may need to turn off the main water supply for your home. After shutting off the water, open the faucet to drain any remaining water in the lines. This step prevents water from spilling out when you remove the cartridge.
Clearing Workspace
Clear the area around your sink to create enough room to work comfortably. Remove items like dish racks, soap dispensers, or cleaning supplies that could get in the way. A tidy workspace helps you focus and reduces the risk of accidents.
Lay down a towel or small bucket under the faucet to catch drips or dropped parts. Have your tools and new cartridge within easy reach. Being organized ahead of time makes the repair process more efficient and less stressful.
Removing The Faucet Handle
Removing the faucet handle is the first step in replacing the cartridge. It allows access to the internal parts of the faucet. This step requires care to avoid damage to the handle or faucet body.
Use the right tools to make the process smooth. A small screwdriver or Allen wrench often works well. Take your time to ensure each screw is properly loosened.
Loosening Handle Screws
Locate the screws holding the handle in place. They may be under a decorative cap or on the side. Carefully pry off the cap if needed.
Use a screwdriver or Allen wrench to turn screws counterclockwise. Apply steady pressure to avoid stripping the screw heads. Keep screws in a safe place for reassembly.
Detaching Handle
After loosening screws, gently pull the handle upward. If the handle is stuck, wiggle it slightly to loosen. Avoid using excessive force to prevent damage.
Once detached, set the handle aside on a soft surface. This keeps it safe from scratches or dents. Now, the faucet cartridge is ready for replacement.
Accessing The Cartridge
Accessing the cartridge in your Delta single handle kitchen faucet is a crucial step for a smooth replacement. Knowing exactly how to get to the cartridge saves you time and prevents damage to other faucet parts. Let’s break down this process into manageable actions so you can confidently handle it yourself.
Unscrewing Retaining Nut
First, you need to locate the retaining nut that holds the cartridge in place. This nut is usually found right beneath the handle assembly. Using an adjustable wrench or pliers, carefully unscrew the retaining nut by turning it counterclockwise.
Be gentle but firm—too much force can damage the faucet body. If the nut feels stuck, applying a small amount of penetrating oil and waiting a few minutes can help loosen it. Have you ever tried to force a part only to make the problem worse? Taking your time here pays off.
Removing Old Cartridge
Once the retaining nut is off, the cartridge becomes accessible. You might notice it’s snugly fitted, so grip it firmly and pull straight up to remove it. If it resists, wiggle it gently side to side while pulling.
Take note of the cartridge orientation before removal—this detail makes installing the new one much easier. Handling the old cartridge can show you signs of wear or damage that explain faucet issues. Have you checked your cartridge before? It’s often the hidden culprit behind leaks and drips.
Installing The New Cartridge
Installing the new cartridge is a key moment in fixing your Delta single handle kitchen faucet. This step determines how smoothly your faucet will work and how long the repair lasts. Pay close attention to the details as you fit the new cartridge into place.
Positioning New Cartridge
Before placing the cartridge, compare it with the old one to ensure it’s the exact match. Align the cartridge so the tabs and notches fit perfectly into the faucet body. If it’s off by even a little, the handle might not move correctly or you could get leaks.
Gently push the cartridge straight into the faucet, avoiding any tilting or forcing. If it doesn’t slide in smoothly, double-check the alignment rather than applying more pressure. A snug, correct fit sets the foundation for a leak-free faucet.
Securing With Retaining Nut
Once the cartridge is positioned, grab the retaining nut that holds it firmly in place. Screw the nut on by hand at first to avoid cross-threading. It should turn easily and sit flush against the cartridge.
Use an adjustable wrench or a suitable tool to tighten the retaining nut securely. But be careful not to overtighten—it can crack the cartridge or damage the faucet body. A firm, steady grip is all you need to keep the cartridge stable.
Have you noticed how a small mistake in alignment or tightening can cause problems later? Taking your time here avoids headaches and extra work down the line. This part of the installation might seem simple, but it’s where precision truly pays off.
Reattaching The Faucet Handle
Reattaching the faucet handle is a crucial step after replacing the cartridge. This part controls water flow and temperature, so it must fit perfectly. Proper alignment ensures smooth operation without leaks or looseness.
Aligning Handle
Place the handle over the cartridge stem carefully. Match the handle’s opening with the stem’s shape. Avoid forcing it to prevent damage.
Check if the handle sits flush against the faucet body. Slight adjustments may be necessary to align the screw holes. Proper alignment helps the handle move easily.
Tightening Screws
Locate the screw or screws that secure the handle. Use the right screwdriver to avoid stripping the screw head.
Tighten the screws evenly but do not overtighten. Over-tightening can crack the handle or strip the threads. The handle should feel firm and stable.
Test the handle by turning it on and off. It should move smoothly without wobbling or resistance.
Testing The Installation
Testing the installation ensures the new cartridge works properly. This step prevents water damage and saves time. Check the faucet’s function and connections carefully before finishing the job.
Turning On Water Supply
Locate the shut-off valves under the sink. Slowly open both hot and cold water valves. Listen for any unusual sounds like hissing or dripping. Turn the faucet handle to let water flow out. Watch for steady water pressure and smooth handle movement. Close the faucet and watch for any changes in water flow.
Checking For Leaks
Inspect all visible pipes and connections around the faucet base. Use a dry cloth to wipe the area and check for moisture. Look closely at the cartridge housing for drips or puddles. Run water through both hot and cold settings for several minutes. Check under the sink for any signs of leaks. Tighten connections if you notice any water escaping.
Maintenance Tips
Proper maintenance helps your Delta single handle kitchen faucet work smoothly. It extends the life of the cartridge and prevents leaks. Follow these simple tips to keep your faucet in great condition.
Regular Cleaning
Clean your faucet regularly to remove dirt and mineral buildup. Use a soft cloth and mild soap. Avoid harsh chemicals that can damage the finish. Wipe the handle, spout, and base gently. This stops grime from clogging the cartridge.
For tough spots, soak a cloth in vinegar and place it on the faucet. Let it sit for a few minutes before wiping. This helps dissolve mineral deposits without harming the faucet.
Periodic Inspections
Check your faucet often for leaks or drips. Inspect the handle and spout for any looseness or unusual movement. Tighten screws if needed to avoid damage to the cartridge. Look under the sink for water leaks too.
Replace the cartridge at the first sign of wear or damage. Early action saves you time and money on bigger repairs. Keep an eye on water flow to spot issues quickly.

Credit: www.amazon.com
Frequently Asked Questions
How Do I Identify The Right Delta Faucet Cartridge?
Check your faucet model number usually found under the sink or in the manual. Match it with the Delta cartridge specifications for a perfect fit.
What Tools Are Needed To Replace The Cartridge?
You typically need an Allen wrench, adjustable wrench, and a flathead screwdriver to remove and install the cartridge.
How Long Does It Take To Replace The Cartridge?
Replacing a Delta single handle cartridge usually takes 15 to 30 minutes with basic tools and instructions.
Can I Replace The Cartridge Without Turning Off Water?
No, always turn off the water supply to avoid leaks and water damage during replacement.
Conclusion
Replacing a Delta single handle kitchen faucet cartridge is simple. Follow the steps carefully and take your time. You can fix leaks and improve water flow yourself. No need to call a plumber or spend extra money. With the right tools and instructions, anyone can do it.
Keep your faucet working well and avoid damage. A little effort saves frustration later. Try it today and enjoy a smooth-running kitchen faucet.


