
Are you ready to give your walls a fresh new look but unsure how to get started with your paint roller? Applying paint smoothly and evenly might seem tricky at first, but with the right technique, you can achieve professional results without the hassle.
In this guide, you’ll discover simple steps to load your roller correctly, avoid messy drips, and save time on your painting project. Keep reading, and soon you’ll feel confident turning any room into a masterpiece with just your roller and a little know-how.
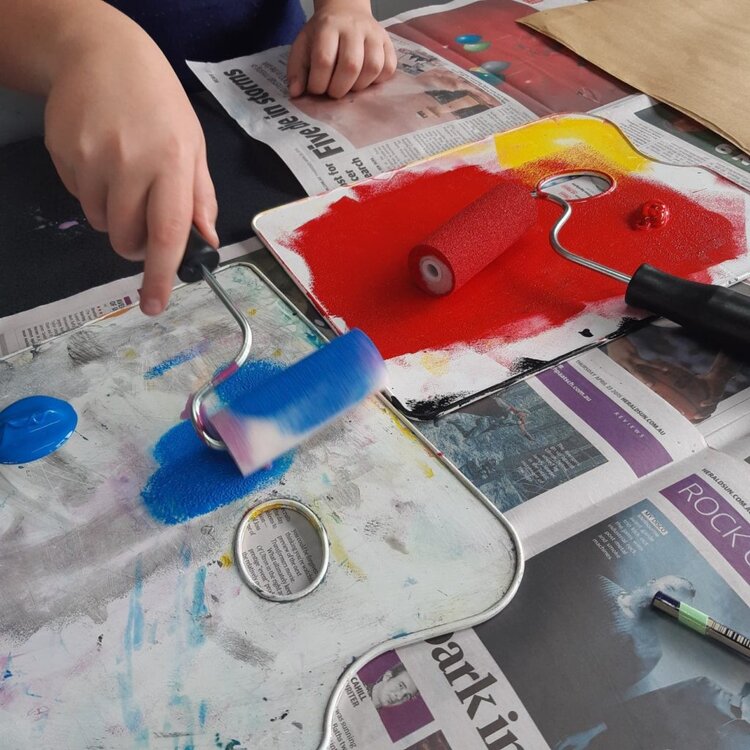
Credit: www.artwithgeorgie.com
Choosing The Right Roller
Choosing the right roller is key to achieving a smooth paint finish. Rollers come in various types and sizes, each suited for different surfaces and paints. Selecting the correct roller can save time and effort while ensuring an even coat.
Types Of Rollers
Different rollers suit different tasks. Foam rollers are ideal for smooth surfaces like doors and cabinets. Wool rollers work best on textured walls. Synthetic rollers handle latex paints well. Each type has unique benefits and limitations. Understanding these helps make informed choices.
Selecting The Correct Nap Length
Nap length affects the paint finish. Short naps, under 1/4 inch, are best for smooth surfaces. Medium naps, around 3/8 inch, suit semi-smooth surfaces like drywall. Long naps, over 1/2 inch, tackle rough surfaces like stucco.
Choose a nap length based on the surface texture. The right nap ensures even paint distribution and reduces splatter. Proper nap selection is crucial for a professional look.
Preparing Your Workspace
Preparing your workspace before you start painting can save you time and prevent unnecessary mess. A well-organized area lets you focus on the painting itself rather than cleaning up spills or hunting for tools. How would your painting experience change if everything was within easy reach and your floors and furniture stayed spotless?
Protecting Surfaces
Cover floors, furniture, and any surfaces that might get splattered. Use drop cloths, old sheets, or plastic sheeting to shield your space. Tape edges securely to avoid paint seeping underneath.
Don’t forget to protect electrical outlets and switches—plastic wrap or painter’s tape works well. This simple step keeps cleanup quick and spares your belongings from damage.
Setting Up Paint Trays
Choose a sturdy paint tray that fits your roller size perfectly. Pour just enough paint to cover the tray’s well without flooding the ridged area, which helps remove excess paint from the roller.
Place the tray on a level surface close to your painting area. This prevents spills and makes it easier to reload your roller quickly. Have some paper towels or rags nearby to wipe drips immediately.
Pouring Paint Into The Tray
Pouring paint into the tray is the first step for a smooth painting process. It sets the stage for an even coat on your roller. Pour carefully to avoid spills and messes. The right amount and spread of paint in the tray matter a lot.
Amount Of Paint To Use
Pour just enough paint to cover the tray’s well. Overfilling causes spills and waste. Underfilling means you will keep refilling often. Aim for a layer about one inch deep. This gives the roller enough paint without dripping.
Distributing Paint Evenly
Spread the paint evenly across the tray’s ridged area. This helps the roller pick up paint smoothly. Tilt the tray gently to move paint around if needed. Make sure paint covers the roller’s full width. Avoid thick pools or dry spots on the tray surface.
Loading The Roller With Paint
Loading the roller with paint is a key step for a smooth paint job. It ensures even coverage and avoids drips. Using the right technique helps spread paint uniformly on walls or ceilings. Follow simple steps to load your roller correctly and save time.
Rolling In The Paint Tray
Pour paint into the tray’s deep end. Dip the roller into the paint gently. Roll it back and forth on the tray’s flat surface. This spreads paint evenly on the roller. Continue rolling until the roller is well coated but not soaked.
Removing Excess Paint
Too much paint causes drips and uneven lines. Roll the roller on the tray’s ridged section. This removes extra paint and balances coverage. Check the roller for paint dripping. Adjust by rolling more on the ridges if needed.
Applying Paint To The Surface
Applying paint to the surface with a roller might seem straightforward, but achieving a smooth, professional finish takes some practice and attention. The key is to focus on how you load the roller and distribute the paint evenly. This part of the process decides how your wall or ceiling will look once dry, so it’s worth mastering these techniques.
Techniques For Even Coverage
Start by dipping the roller into the paint tray’s shallow end, then roll it back and forth over the tray’s ridged area. This helps spread the paint evenly across the roller and avoids overloading it. Too much paint on the roller causes drips; too little leaves gaps.
Try to maintain a consistent pressure as you roll on the surface. Pressing too hard can squeeze out extra paint, creating streaks. Instead, use a light, steady touch and overlap each stroke slightly to blend the edges smoothly.
Avoiding Drips And Streaks
Drips often appear when the roller holds too much paint or when you pause mid-stroke. If you notice drips forming, catch them quickly by smoothing with a dry roller or brush. It’s easier to fix drips right away than after the paint dries.
To prevent streaks, avoid stopping abruptly or lifting the roller suddenly. Keep your movements fluid and continuous. If streaks happen, try rolling over the area lightly while the paint is still wet to blend lines.
Have you ever been frustrated by a wall that looks patchy after painting? The secret often lies in how you apply paint with the roller, not just the paint quality. Paying close attention to these details changes your results from amateur to impressive.

Credit: harrisbrushes.com
Cleaning And Maintaining Your Roller
Keeping your paint roller clean and well-maintained is key to getting smooth, even coverage every time you paint. Neglecting this step can lead to dried paint buildup, uneven texture, and wasted materials. You might think cleaning is tedious, but it actually saves you money and frustration in the long run.
Proper Washing Methods
Right after you finish rolling, remove excess paint by rolling the roller on old newspaper or cardboard. This simple trick reduces the amount of paint you need to wash out.
Use warm water for water-based paints and mineral spirits for oil-based paints. Gently squeeze and rinse the roller until the water runs clear or the solvent is free of paint.
Never twist or pull the roller cover harshly—this can damage the fibers and reduce its effectiveness. Instead, use your hands to gently work the paint out.
Storing Rollers For Reuse
If you plan to continue painting the next day, wrap your roller tightly in plastic wrap or place it in a sealed plastic bag. This keeps the roller moist and prevents paint from drying out.
For longer storage, clean the roller thoroughly and let it dry completely before putting it away. Store it in a dry place to avoid mildew and damage to the fibers.
Have you ever tried reusing a roller that wasn’t stored properly? You’ll notice it doesn’t perform as well and can leave streaks. Proper storage helps maintain the roller’s quality, saving you time and effort on future projects.
Credit: www.tiktok.com
Frequently Asked Questions
How Do You Load Paint Onto A Roller Evenly?
Dip the roller lightly into the paint tray’s well. Roll it back and forth on the tray’s ramp to spread paint evenly and remove excess. This prevents drips and ensures smooth, consistent coverage on your wall.
What Is The Best Roller For Smooth Paint Application?
Use a medium-nap roller (3/8 to 1/2 inch) for most walls. It holds enough paint and spreads it evenly. Choose synthetic fibers for latex paint and natural fibers for oil-based paint for best results.
How Much Paint Should A Roller Hold?
A roller should hold enough paint to cover about 2-3 square feet per load. Avoid overloading to prevent drips. Reload the roller when paint coverage thins or starts unevenly applying.
Can I Use A Roller Without A Tray?
Yes, but a paint tray or bucket lid is recommended. It helps control paint quantity on the roller and reduces mess. Using a tray ensures even paint distribution and better roller performance.
Conclusion
Applying paint on a roller is simple with the right steps. Pour paint evenly on the tray’s well. Roll the roller back and forth to spread paint. Avoid overloading the roller to prevent drips. Keep a steady hand and smooth strokes for even coverage.
Clean your roller after use to keep it ready. Practice makes the process easier and faster. Now, you can paint your walls with confidence and ease.


