
Are you ready to give your home a fresh new look? Before you grab that paintbrush, there’s one crucial step you can’t skip: preparing your walls.
How you get your walls ready can make all the difference between a smooth, professional finish and a frustrating, messy job. You’ll discover simple, effective ways to prepare your walls for painting interior spaces. Follow these tips, and you’ll save time, avoid common mistakes, and achieve the perfect paint job you’ve been dreaming of.
Keep reading to learn how to transform your walls and make your painting project a true success.
Assess Wall Condition
Assessing the wall condition is essential before painting. It ensures a smooth and lasting finish. This step helps spot problems that could affect paint adhesion and durability. A careful check saves time and effort later. Knowing the wall’s state allows proper preparation and repair. Follow these checks to get your walls ready.
Check For Cracks And Holes
Look closely for any cracks or holes on the wall surface. Small cracks may be invisible from a distance. Use a flashlight at an angle to reveal them. Holes can appear from nails, screws, or damage. Mark all areas needing repair. Filling these defects with spackle or putty creates a smooth base. Sand the patches after drying for even texture.
Identify Moisture Issues
Moisture can ruin paint jobs quickly. Look for signs like damp spots, peeling paint, or mold growth. Use your hand to feel for wetness on the wall. Check near windows, pipes, and corners. Moisture problems must be fixed before painting. Otherwise, paint will bubble and peel. Consider using a dehumidifier or fixing leaks to dry walls.
Evaluate Surface Texture
Wall texture affects paint application and appearance. Rough or uneven surfaces may need sanding or priming. Smooth surfaces allow paint to glide on easily. Run your hand over the wall to sense texture changes. Decide if sanding, scraping, or applying a primer is necessary. A uniform surface helps paint stick better and look professional.
Gather Necessary Tools
Gathering the right tools is the first step to prepare your walls for painting. Having all supplies ready keeps the process smooth and saves time. It also ensures a neat and professional finish. Knowing what you need helps avoid last-minute runs to the store.
Essential Painting Supplies
- Sandpaper or sanding block to smooth the wall surface
- Putty knife for filling holes and cracks
- Spackle or wall filler for patching imperfections
- Painter’s tape to protect trims and edges
- Drop cloths or plastic sheets to cover floors and furniture
- Paint trays for easy paint access
- High-quality brushes and rollers suitable for your wall type
- Bucket with clean water for cleaning tools and surfaces
- Stir sticks to mix paint evenly
Safety Gear To Use
- Protective gloves to keep hands clean and safe
- Safety goggles to shield eyes from dust and paint splashes
- Dust mask to avoid breathing in sanding dust
- Old clothes or a painting apron to protect your clothing
- Proper ventilation in the room to reduce fumes
Clean The Walls
Cleaning your walls before painting is a crucial step that directly affects how well the new paint will stick and look. Dirt, dust, and grease can prevent paint from adhering properly, leading to peeling or uneven finish. Taking the time to clean thoroughly ensures a smooth, lasting result and saves you from costly touch-ups later.
Remove Dust And Dirt
Start by dusting the walls with a microfiber cloth or a soft-bristle brush. Pay special attention to corners, baseboards, and ceiling edges where dust tends to accumulate.
If you skip this, paint might not spread evenly, and tiny particles can get trapped under the paint, ruining the finish. You can also use a vacuum cleaner with a brush attachment for larger areas to speed up the process.
Wash Grease And Stains
Grease spots and stains are common in kitchens and near light switches. Use a mixture of warm water and mild dish soap to scrub these areas gently with a sponge.
For tougher stains, a solution of water and white vinegar or a commercial degreaser works well. Rinse the walls with clean water afterward to avoid residue that could interfere with the paint.
Have you ever painted over a greasy wall and noticed the paint peeling off within weeks? Cleaning thoroughly will help you avoid that disappointment and give you a professional-looking finish every time.
Credit: www.familyhandyman.com
Repair Imperfections
Preparing walls for painting involves repairing imperfections. Smooth walls enhance the final look. Repairing ensures paint adheres well and lasts longer. This process requires attention to detail. Imperfections like cracks and rough areas must be addressed. Proper repair prevents future damage and ensures a professional finish.
Fill Cracks And Holes
Start by inspecting the wall closely. Look for any cracks or holes. Use a putty knife and spackle to fill them. Press firmly to ensure the filler sticks well. Allow it to dry completely. Drying time depends on the size of the repair. Check the filler instructions for guidance. Once dry, check for any shrinkage. If needed, apply another layer. Repeat until the surface is smooth.
Sand Rough Areas
After filling cracks, focus on sanding. Sanding smooths out rough surfaces. Use sandpaper or a sanding block for best results. Choose a medium-grit sandpaper for initial sanding. Move in circular motions to avoid scratches. For large areas, consider an electric sander. Finish with fine-grit sandpaper for a silky smooth surface. Wipe away dust with a damp cloth after sanding. Dust can affect paint adhesion.
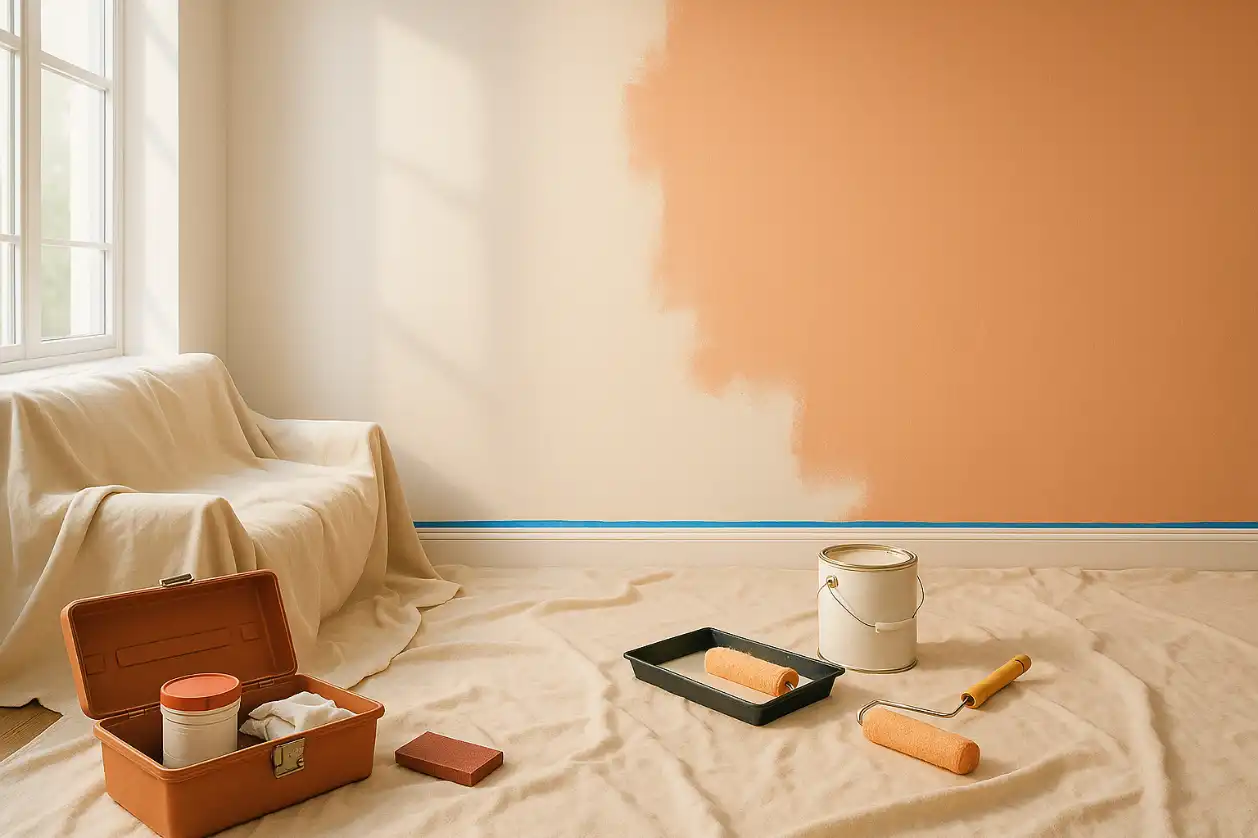
Protect Surrounding Areas
Protecting the surrounding areas before painting your interior walls saves you from hours of cleanup and potential damage. It’s easy to overlook this step, but a little preparation goes a long way in keeping your space neat and your furniture intact. Have you ever painted a wall only to find paint splatters on your favorite rug or a chair?
Cover Furniture And Floors
Start by moving smaller furniture out of the room if possible. If not, group pieces in the center and cover them tightly with plastic sheets or old drop cloths. Make sure the coverings extend beyond the furniture legs to catch any drips or spills.
For floors, use heavy-duty drop cloths or painter’s plastic sheeting. Tape the edges down with painter’s tape to prevent them from shifting as you work. Protecting your floors is especially important if you have hardwood or carpet that can stain easily.
Tape Edges And Trim
Use painter’s tape to mask off baseboards, window frames, door trims, and any other areas adjacent to the wall. This creates a sharp, clean line and prevents paint from bleeding onto surfaces you don’t want to paint.
Press the tape down firmly to ensure no paint seeps underneath. When you remove the tape, pull it off slowly at a 45-degree angle for the best results. Have you noticed how much neater your paint job looks when you take the time to tape carefully?
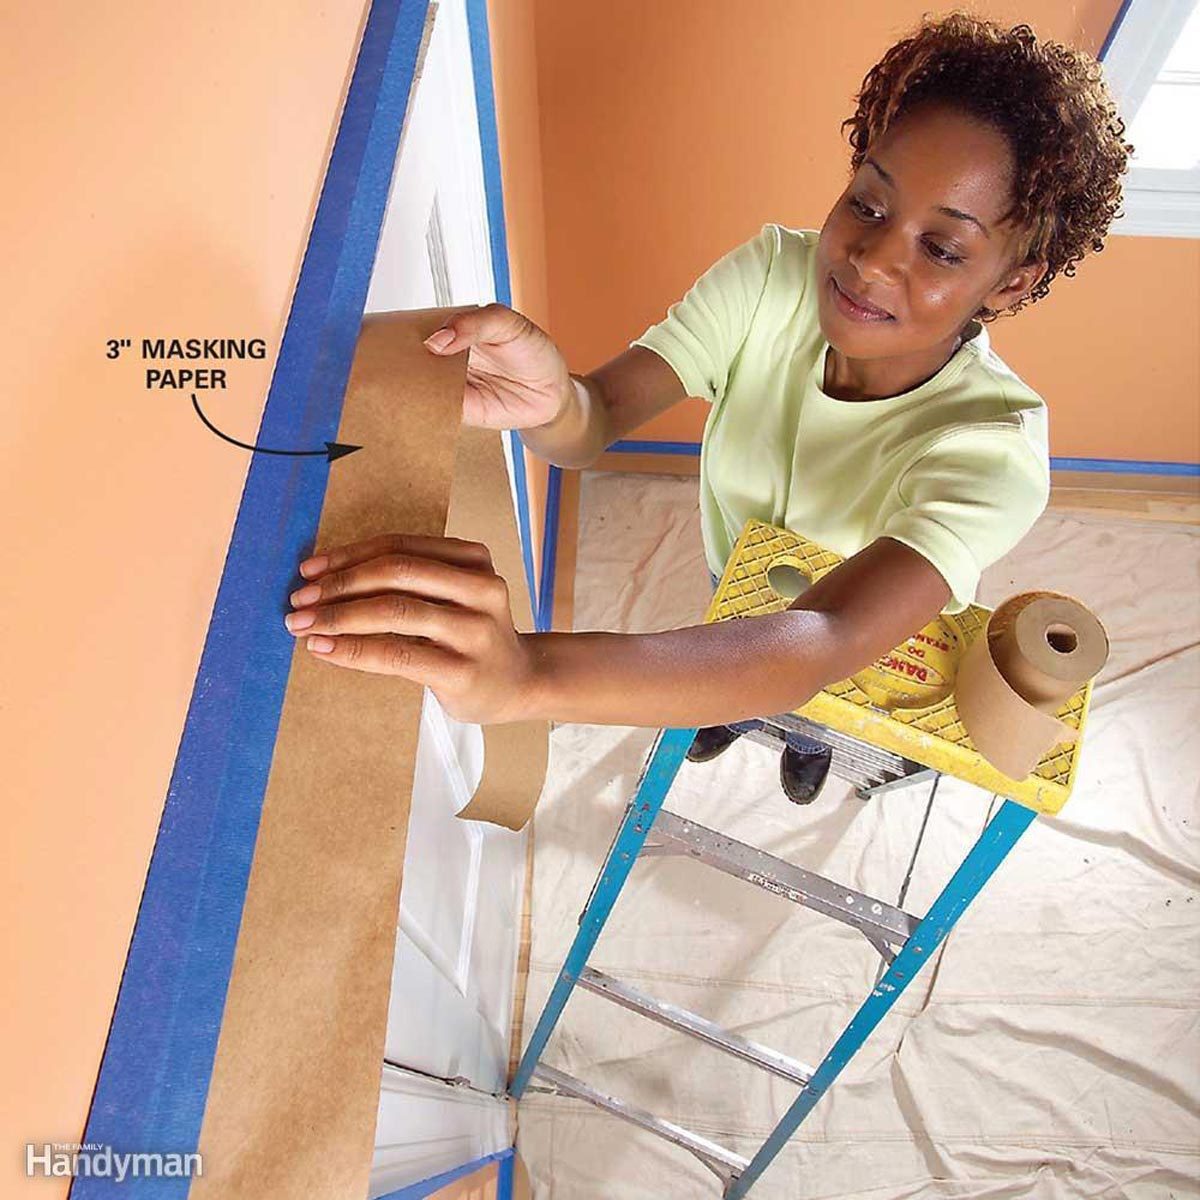
Credit: www.familyhandyman.com
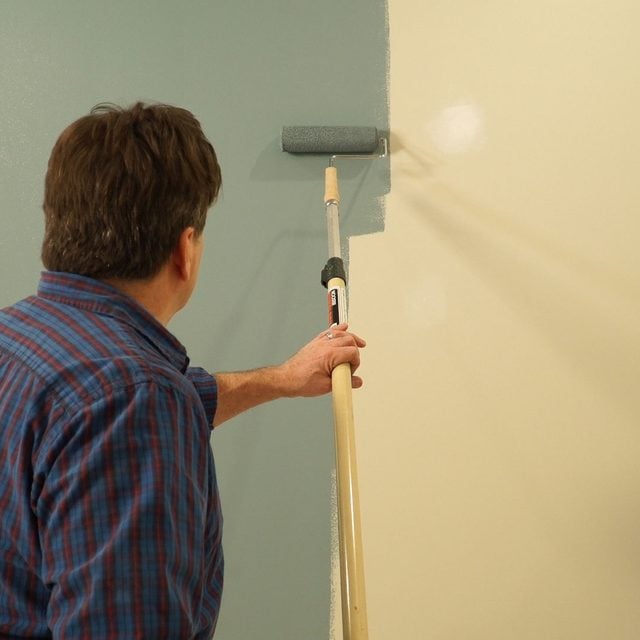
Prime The Walls
Priming the walls is a key step before painting any interior space. It creates a smooth surface and helps paint stick better. Primer also blocks stains and evens out the wall color. Skipping this step can lead to uneven paint and poor finish. A well-primed wall ensures your paint job lasts longer and looks professional.
Choose The Right Primer
Select a primer based on your wall type and paint choice. For drywall, a latex primer works well. Use an oil-based primer for wood or metal surfaces. Stained or damaged walls need a stain-blocking primer. Some primers are designed for high humidity rooms like kitchens or bathrooms. Always check the label to match the primer with your project needs.
Apply Primer Evenly
Use a roller for large areas and a brush for corners or edges. Apply the primer in thin, even coats to avoid drips. Roll in a “W” or “M” pattern for smooth coverage. Let the primer dry completely before applying paint. This usually takes a few hours but check the product instructions. Proper application prevents peeling and ensures a smooth paint finish.
Final Inspection
Final inspection is the last chance to catch any issues before painting. It ensures the walls are smooth and ready. Skipping this step can lead to poor paint results. Take your time to review every inch carefully. This step helps achieve a clean, professional finish.
Check For Flaws
Look closely for cracks, holes, or dents. Small imperfections can ruin the paint job. Use a bright light or flashlight to see subtle flaws. Run your hand over the surface to feel bumps or rough areas. Mark any spots that need extra attention. Fix these before moving forward.
Prepare For Painting
Remove dust and dirt from the walls. Use a damp cloth or sponge to wipe down surfaces. Let the walls dry completely before painting. Cover outlets, switches, and trim with painter’s tape. Lay drop cloths on the floor to catch spills. Make sure the room is well ventilated for drying and safety.
Credit: www.cardinaldecor.com
Frequently Asked Questions
How Do I Clean Walls Before Painting Interior?
Clean walls with mild soap and water to remove dirt and grease. Use a sponge or cloth, then let dry fully before painting.
What Repairs Are Needed Before Painting Walls?
Fill holes and cracks with spackle or putty. Sand smooth after drying to ensure an even paint surface.
Should I Prime Walls Before Interior Painting?
Yes, priming seals surfaces and improves paint adhesion. It helps achieve a smooth, uniform finish and covers stains.
How To Protect Floors And Furniture During Wall Painting?
Cover floors and furniture with drop cloths or plastic sheets. Secure edges with painter’s tape to prevent paint spills.
Conclusion
Preparing walls well makes painting easier and lasts longer. Clean and smooth surfaces help paint stick better. Fix cracks and holes before you start. Use primer for even color and finish. Take time with each step; it pays off. A good base shows in the final look.
Ready walls mean a fresh, beautiful room. Start right, and enjoy your painted space!


