Have you ever finished painting a wall only to find those annoying roller marks ruining the smooth finish? It’s frustrating when your hard work doesn’t look as professional as you hoped.
But what if you could learn simple tricks to paint with a roller and get a flawless, even coat every time? You’ll discover easy steps and expert tips that help you avoid roller marks and achieve the perfect finish. Keep reading, and you’ll be painting like a pro in no time.
Credit: www.owatroldirect.co.uk
Choosing The Right Roller
Choosing the right roller is key to painting without marks. The roller affects how paint spreads and how smooth the finish looks. Picking the best roller depends on the surface and paint type. A proper roller reduces streaks and gives even coverage. Focus on material, nap length, size, and handle comfort for best results.
Material And Nap Length
The roller material should match the paint and wall texture. Synthetic rollers work well with latex paints. Natural fibers suit oil-based paints better.
Nap length means how long the roller fibers are. Short naps (1/4″ to 3/8″) are best for smooth surfaces like drywall. Medium naps (1/2″ to 3/4″) fit semi-rough surfaces such as plaster. Long naps (1″ to 1 1/4″) work on rough surfaces like brick or stucco.
Choosing the right nap length helps hold the right amount of paint. It spreads paint evenly and prevents roller marks.
Size And Handle Comfort
Rollers come in various sizes, usually 4″, 7″, or 9″. Small rollers are good for tight spaces and trims. Larger rollers cover big walls faster.
Choose a roller with a comfortable handle. A good grip reduces hand fatigue. It also improves control and precision.
Look for rollers with ergonomic handles. They make long painting sessions easier and more efficient.
Preparing The Surface
Preparing the surface is the foundation of a flawless paint job with a roller. If the walls are not properly cleaned and prepped, roller marks are almost guaranteed to appear. Taking the time to get your surface ready can save you frustration and extra work later.
Cleaning And Repairing
Start by removing any dust, dirt, or grease from the surface. Use a mild detergent solution and a sponge, then rinse with clean water and let it dry completely. You’ll notice how a clean surface helps the paint spread evenly.
Inspect the wall for cracks, holes, or peeling paint. Fill small holes and cracks with spackle or filler, then sand smooth once dry. If you skip this step, those imperfections will make your roller marks stand out even more.
Priming For Better Coverage
Priming is crucial, especially on new or patched surfaces. It creates a uniform base that allows the paint to adhere better and reduces the chances of roller marks. Consider using a high-quality primer suited to your wall type.
Applying primer also helps seal porous surfaces, preventing uneven absorption of paint. Have you ever noticed how paint soaks into drywall unevenly? Primer fixes that problem, so your roller glides over the surface smoothly.
Using Quality Paint
Using quality paint is crucial to achieve a smooth finish without roller marks. Paint that spreads evenly and adheres well reduces the chance of visible lines. Poor paint quality often causes streaks and uneven texture, making your work look unprofessional.
Choosing the right paint and preparing it properly helps rollers glide smoothly. This ensures a clean, flawless wall surface that looks fresh and neat.
Selecting Paint Type
Pick paint designed for roller application. These paints have a thicker consistency that covers surfaces better. Look for labels like “roller-friendly” or “smooth finish.”
Water-based paints dry faster and are easier to clean. Oil-based paints offer a durable finish but take longer to dry. Choose based on your project needs and room conditions.
Mixing And Consistency
Stir paint thoroughly before starting. This blends pigments and prevents color variation. Use a paint stick or drill mixer for even mixing.
Paint consistency affects roller marks. Too thick paint leaves thick lines. Too thin paint drips and runs.
- Add small amounts of water or paint conditioner for water-based paint.
- Test the paint on a scrap surface before full application.
- Adjust thickness until paint flows smoothly but is not runny.

Credit: www.youtube.com
Proper Roller Technique
Mastering the proper roller technique is key to achieving a smooth, flawless finish without roller marks. It’s not just about what paint you use, but how you apply it. Small changes in your approach can make a big difference in your results.
Loading The Roller Correctly
Loading your roller with the right amount of paint is crucial. Too much paint causes drips and thick patches; too little leads to uneven coverage and visible strokes.
Roll the roller slowly in the paint tray’s well, then move it back and forth on the ridged area. This spreads paint evenly across the roller’s surface.
Ask yourself: Does the roller look saturated but not dripping? That balance is what prevents roller marks.
Maintaining Even Pressure
Applying consistent pressure keeps the paint layer uniform. Pressing too hard pushes paint off the roller and onto the wall in uneven amounts.
Hold the roller handle lightly and let the roller do the work. Move in steady, overlapping strokes to blend the edges seamlessly.
Think about how a painter’s touch can create texture or smoothness. Your goal is smoothness, so keep your hand steady and pressure even throughout the job.
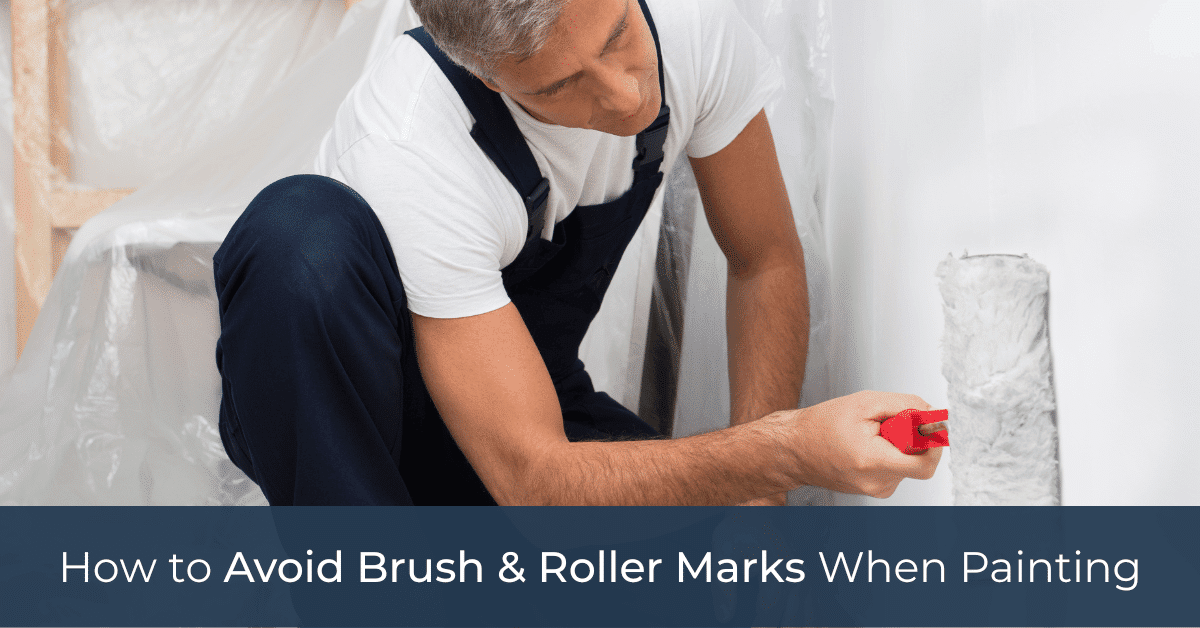
Avoiding Common Mistakes
Avoiding common mistakes helps achieve a smooth paint finish without roller marks. Many beginners make simple errors that lead to uneven paint layers and visible streaks. Learning these pitfalls can save time and improve results.
Painting with a roller requires control and attention to detail. Small changes in technique prevent roller marks and create a professional look. Focus on how you apply paint and handle edges for a flawless wall.
Overloading Paint
Loading too much paint on the roller causes drips and uneven coverage. Excess paint pools on the wall and creates thick spots that dry with marks. Roll the roller lightly in the tray to pick up just enough paint.
Spread paint evenly in one direction to avoid buildup. Use smooth, gentle strokes and avoid pressing the roller too hard. Keep a wet edge by working quickly to blend paint lines before they dry.
Skipping Edges And Corners
Edges and corners often get missed or get uneven paint layers. Use a smaller brush for tight areas before rolling the main wall space. This ensures full coverage and smooth transitions.
Roll near edges carefully without pushing paint beyond the trim. Overlapping paint slightly into corners helps blend roller marks. Take time to paint these areas fully for a consistent finish.
Finishing Touches
The finishing touches are crucial for a flawless paint job with a roller. Even after careful rolling, tiny spots might be missed or uneven. Paying close attention at this stage can make the difference between a professional-looking wall and one that needs repainting.
Touching Up Missed Spots
Missed spots often hide in corners or near edges. Use a small brush or a mini roller to gently blend these areas into the surrounding paint. Avoid overloading the tool with paint; a light touch prevents new roller marks.
If you spot streaks or uneven patches, lightly feather the edges with a dry roller in one smooth pass. Have you noticed how a gentle, consistent touch can erase imperfections better than heavy pressure?
Cleaning And Storing Tools
Cleaning your roller and brushes immediately after painting keeps them in good shape for next time. Use warm water and mild soap for latex paints, or the appropriate solvent for oil-based paints.
After washing, spin or shake excess water off the roller cover to help it dry faster. Store tools in a dry, dust-free place to avoid damage or contamination. Taking care of your tools saves time and money on future projects.

Credit: harrisbrushes.com
Frequently Asked Questions
How Do I Avoid Roller Marks When Painting Walls?
Use a high-quality roller and apply even pressure. Roll in a “W” pattern and finish with light, vertical strokes to blend paint seamlessly.
What Type Of Roller Prevents Visible Paint Marks?
Choose a roller with the correct nap length for your surface. Smooth surfaces need shorter naps; textured walls require longer naps for even coverage.
Should I Use Primer Before Rolling Paint?
Yes, primer helps paint adhere better and reduces roller marks. It creates a uniform base, ensuring smoother and more consistent paint application.
How Long Should I Wait Between Roller Passes?
Wait until the paint starts to set but is still wet. This allows you to blend strokes without leaving marks or streaks.
Conclusion
Painting with a roller can be smooth and even. Avoiding roller marks takes patience and the right steps. Use good quality tools and apply paint evenly. Roll in one direction, then lightly cross-roll for a smooth finish. Keep a wet edge to prevent lines.
Clean your roller often to stop clumps. Practice helps you get better and faster. Enjoy a fresh, clean wall without marks. Simple tricks make a big difference in your painting. Try these tips for a neat, professional look every time.


