Are you ready to give your walls a fresh, new look without the hassle? Painting a wall with a roller is one of the easiest and most effective ways to transform any room quickly.
Whether you’re a beginner or just want to improve your technique, this guide will show you step-by-step how to get smooth, even coverage every time. Keep reading, and you’ll discover simple tips that save you time, avoid common mistakes, and make your walls look professionally painted.
Let’s get started and turn your space into something you’ll love!

Credit: www.youtube.com
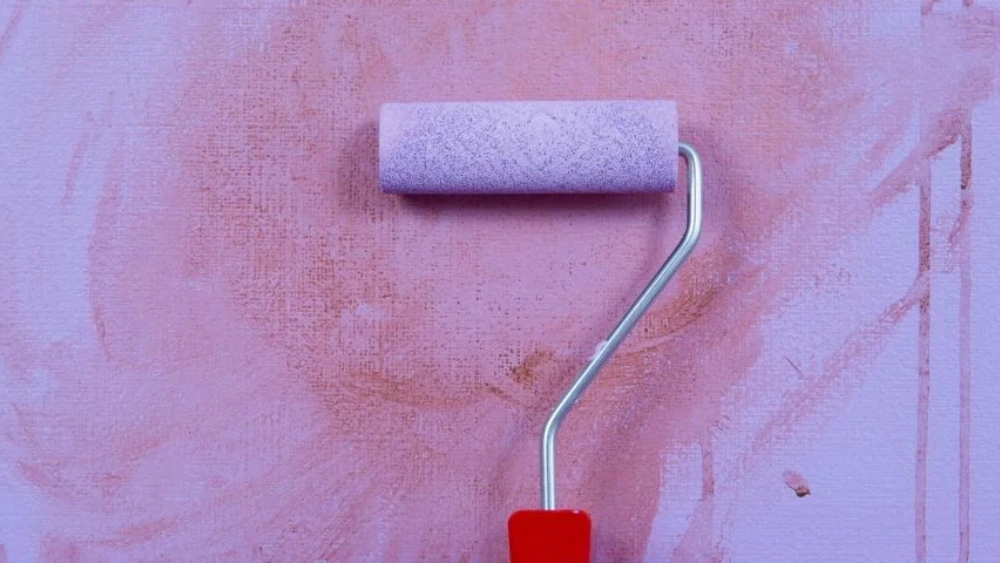
Choose The Right Roller
Choosing the right roller is crucial for a smooth painting experience. It ensures even coverage and saves time. With the right roller, your walls will look professional and polished. Selecting the perfect roller involves considering several factors. Let’s explore these important aspects.
Select Roller Nap Based On Wall Texture
Roller nap refers to the thickness of the roller cover. Different wall textures require different naps. For smooth walls, a short nap, around 1/4 inch, works well. It provides a sleek finish without leaving marks. For textured walls, a thicker nap, such as 3/4 inch, is ideal. It helps to cover rough surfaces efficiently. Choose wisely for the best results.
Pick The Appropriate Roller Size
Rollers come in various sizes. The most common size is 9 inches. This size covers large areas quickly. For smaller spaces, use a mini roller, around 4 inches. It offers precision for tight corners and edges. Selecting the right size speeds up the painting process.
Consider Roller Frame Quality
The roller frame holds the roller cover. A sturdy frame enhances control while painting. Look for frames with solid handles and metal construction. Cheap frames may wobble or break. A high-quality frame provides stability and ease of use. Investing in a good frame pays off with a perfect finish.
Prepare The Wall
Preparing the wall is a crucial step before painting with a roller. It ensures a smooth finish and helps the paint stick better. Taking time to ready the surface saves effort and improves the final look.
Clean And Repair Surface
Start by cleaning the wall to remove dust, dirt, and grease. Use a damp cloth or sponge with mild soap. Rinse with clean water and let it dry completely.
Check for cracks, holes, or peeling paint. Fill holes with spackle or filler. Smooth the repairs with sandpaper once dry. Remove loose paint by scraping gently. A smooth surface is key for even paint coverage.
Tape Edges And Protect Surroundings
Apply painter’s tape along edges, trim, and corners to create clean lines. Cover floors and furniture with drop cloths or plastic sheets. This protects surfaces from paint splatters and drips.
Press tape firmly to avoid paint bleeding. Remove tape while paint is still slightly wet to prevent peeling.
Prime The Wall If Needed
Prime walls that have stains, dark colors, or bare drywall. Primer improves paint adhesion and hides imperfections. Choose a primer suited for your wall type and paint.
Apply primer evenly with a brush or roller. Allow it to dry fully before painting. Priming helps achieve a uniform color and texture.
Set Up Your Painting Area
Setting up your painting area properly is key to a smooth and stress-free wall painting experience. Taking the time to prepare will save you from mess, wasted paint, and frustration. Here’s how to get your space ready so you can focus on creating a flawless finish.
Arrange Drop Cloths And Furniture
Start by moving furniture out of the room or pushing it to the center, then cover it with drop cloths. Use heavy-duty cloths or plastic sheets to protect floors and any items you can’t move. Securing the edges with painter’s tape prevents slips and catches accidental drips.
Have you ever started painting and then had to stop because a chair was in the way? Clearing space ahead of time lets you work freely and avoids last-minute scrambles.
Gather All Painting Supplies
Collect everything you need before you open the paint can. This includes your roller, roller tray, painter’s tape, brushes for edges, stir sticks, and a ladder if needed. Having all tools within arm’s reach keeps your momentum going without unnecessary breaks.
Think about your painting technique and the wall size to decide if you need multiple rollers or different nap lengths. This small planning step can make a big difference in coverage and texture.
Mix And Pour Paint
Open your paint and stir it thoroughly to blend pigments and achieve an even color. Pour a manageable amount into the roller tray’s well—too much can cause drips, too little means constant refills.
Wondering how much to pour? Fill the tray just enough to soak the roller evenly. This balance helps you maintain a steady rhythm without overloading your roller or leaving patches behind.

Credit: www.homedepot.com
Load The Roller With Paint
Loading the roller with paint is a key step for a smooth wall finish. Proper loading prevents drips and uneven coverage. The roller must hold enough paint to cover the wall without dripping.
Using the right technique saves time and effort. It also helps avoid paint splatters and streaks on the wall. Follow simple steps to load the roller correctly for the best results.
Dip Roller Evenly
Dip the roller into the paint tray’s deep well. Submerge the roller about half its nap length. Avoid pushing the roller too deep. This stops paint from gathering inside the roller frame. Roll the roller gently to soak up paint evenly.
Remove Excess Paint
Roll the loaded roller on the tray’s textured slope. This step removes extra paint that causes drips. Roll slowly back and forth until the roller looks evenly covered. The roller should feel wet but not dripping.
Use A Paint Tray Effectively
- Pour paint into the tray’s deep end only.
- Keep the textured slope clean and free of dried paint.
- Replenish paint when the tray runs low to avoid dry patches.
- Use a liner for easy cleanup and longer tray life.
Following these tips keeps paint loading efficient and mess-free. The roller will deliver smooth and even coats every time.
Apply The Paint
Applying paint with a roller might seem straightforward, but the way you move the roller across the wall can make a huge difference in the final look. You want smooth, even coverage without streaks or missed spots. Paying attention to your technique helps you achieve that professional finish without extra hassle.
Start With A ‘w’ Or ‘m’ Pattern
Begin by rolling the paint onto the wall in a large ‘W’ or ‘M’ shape. This motion spreads the paint evenly and covers a wide area quickly.
Don’t lift the roller while creating the pattern. Keeping it in contact with the wall ensures you don’t leave harsh lines or patches.
I once rushed this step and ended up with uneven spots that took extra coats to fix. Taking your time here prevents that problem.
Fill In Gaps With Vertical Strokes
After creating the initial pattern, fill in the empty spaces with straight vertical strokes.
These strokes help blend the paint smoothly and eliminate any visible roller marks.
Try to keep a consistent pressure on the roller. Too much pressure can cause drips, and too little leaves thin spots.
Maintain A Wet Edge
Always work from the freshly painted area toward the unpainted section to keep a wet edge. This practice prevents lap marks where the paint overlaps.
If you notice the paint is drying before you can blend, slow down or work in smaller sections.
Ask yourself: How can I keep the paint wet long enough to achieve a seamless finish? Adjusting your pace and paint load on the roller is key.
Smooth Out The Finish
Smoothing out the finish after painting your wall with a roller is key to achieving a professional look. It’s not just about covering the surface; it’s about how the paint settles and reflects light. A smooth finish gives your room a fresh, clean feeling and shows off your hard work.
Lightly Roll For Even Coverage
After applying the paint, go over the wall lightly with a nearly dry roller. This helps spread the paint evenly and blends any thick spots. Avoid pressing hard—gentle strokes keep the surface uniform and prevent streaks.
Think of it like ironing clothes—too much pressure can create unwanted marks, while a light touch smooths everything out. You’ll notice the difference when the light hits the wall just right.
Avoid Overworking The Paint
It’s tempting to keep rolling until the wall looks perfect, but overworking the paint can cause problems. The paint starts to dry as you work, and too much rolling can lift it off or create bubbles.
Stop once the paint feels evenly spread and the roller doesn’t pick up more paint. Trust the process and give the paint time to dry before deciding if another coat is needed.
Check For Missed Spots
Stand back and scan your wall from different angles. Light reflects differently depending on the time of day, so checking in natural and artificial light helps you spot missed spots.
If you find areas that look thin or patchy, carefully fill them in with your roller, using light pressure. Catching these spots early saves you from uneven patches that stand out later.
Allow Paint To Dry
Allowing paint to dry properly is a crucial part of achieving a smooth, professional-looking wall finish. Rushing this step can lead to streaks, uneven color, or peeling later on. Understanding how to manage drying times and room conditions will save you from common painting frustrations.
Follow Recommended Drying Times
Every paint type has a specific drying time listed on the can—don’t ignore it. Waiting the full recommended time before touching or recoating ensures the paint sets correctly. Have you ever tried to speed up drying by applying heat? It often backfires and damages the finish.
Keep in mind that temperature and humidity affect drying speed. Cooler or more humid rooms slow down drying, so add extra time if needed. Checking the paint’s surface gently with your finger can help you judge if it’s ready for the next step.
Ventilate The Room
Good airflow speeds up drying and reduces paint fumes. Open windows and doors to create a cross breeze if weather permits. Using a fan can also help move air around without blowing dust onto your fresh paint.
Be cautious about dust and insects flying onto wet paint when ventilating. A balance between airflow and protection keeps your wall clean and dry. Have you noticed how a stuffy room can make paint smell linger longer?
Prepare For Second Coat If Necessary
Once the first coat is fully dry, decide if a second coat is needed based on coverage and color richness. Some colors require two or more coats for true vibrancy and durability. Skipping this step might save time but can affect the final look.
Before applying the second coat, lightly sand any rough spots or drips for a smooth finish. Clean your roller and tools thoroughly to avoid clumps or streaks. Are you ready to invest a little more time now for a result that lasts years?
Clean Up Tools And Area
Cleaning up after painting is as important as the painting itself. A tidy workspace helps keep tools in good shape and ensures the area looks neat. Proper cleanup saves time and effort for your next project. It also prevents damage to your tools and surroundings.
Wash Rollers And Brushes
Use warm water to rinse water-based paint from rollers and brushes. For oil-based paint, use paint thinner or mineral spirits instead. Remove all paint by working the brush or roller under running water. Squeeze out excess water and let tools dry completely before storing them.
Remove Tape Carefully
Peel off painter’s tape slowly to avoid peeling fresh paint. Pull the tape back on itself at a 45-degree angle. Remove tape while paint is still slightly wet for the cleanest lines. Use a utility knife to cut along edges if paint has dried and starts to peel.
Dispose Of Paint Waste Properly
Never pour leftover paint or thinner down the drain. Check local rules for paint disposal or recycling programs. Store leftover paint in a sealed container for future touch-ups. Dispose of used rags and empty cans safely to avoid fire hazards.

Credit: oohpaint.ca
Frequently Asked Questions
What Type Of Roller Is Best For Painting Walls?
A medium nap roller (3/8 to 1/2 inch) works best for smooth or lightly textured walls. It holds enough paint and ensures even coverage without splattering.
How Do I Prepare Walls Before Using A Roller?
Clean walls to remove dust and dirt. Fill holes and sand rough spots. Use painter’s tape to protect edges for a smooth finish.
How Much Paint Should I Load On The Roller?
Dip the roller lightly into the tray, then roll it against the tray’s ridges. Avoid overloading to prevent drips and uneven paint application.
What Painting Technique Ensures Even Wall Coverage?
Use a “W” or “M” pattern to spread paint evenly. Fill gaps without lifting the roller for a smooth, streak-free finish.
Conclusion
Painting a wall with a roller is simple and fast. Prepare the wall well and choose the right roller. Use smooth, even strokes to get good coverage. Take your time and avoid rushing the job. Clean your tools after finishing to keep them ready.
Enjoy your fresh, new-looking wall. Painting can change a room’s feel easily. Try these steps for your next painting project. You will see great results with little effort.


