
Are you looking to transform your space without a full renovation? Painting your brick interior walls can completely change the look and feel of your room.
But it’s not as simple as grabbing a brush and starting to paint. You need the right techniques to make sure the paint sticks well and lasts long. In this guide, you’ll discover easy steps to paint your brick interior like a pro.
By the end, you’ll feel confident to tackle the project yourself and give your home a fresh, stylish update. Keep reading to unlock the secrets that will make your brick walls look stunning!
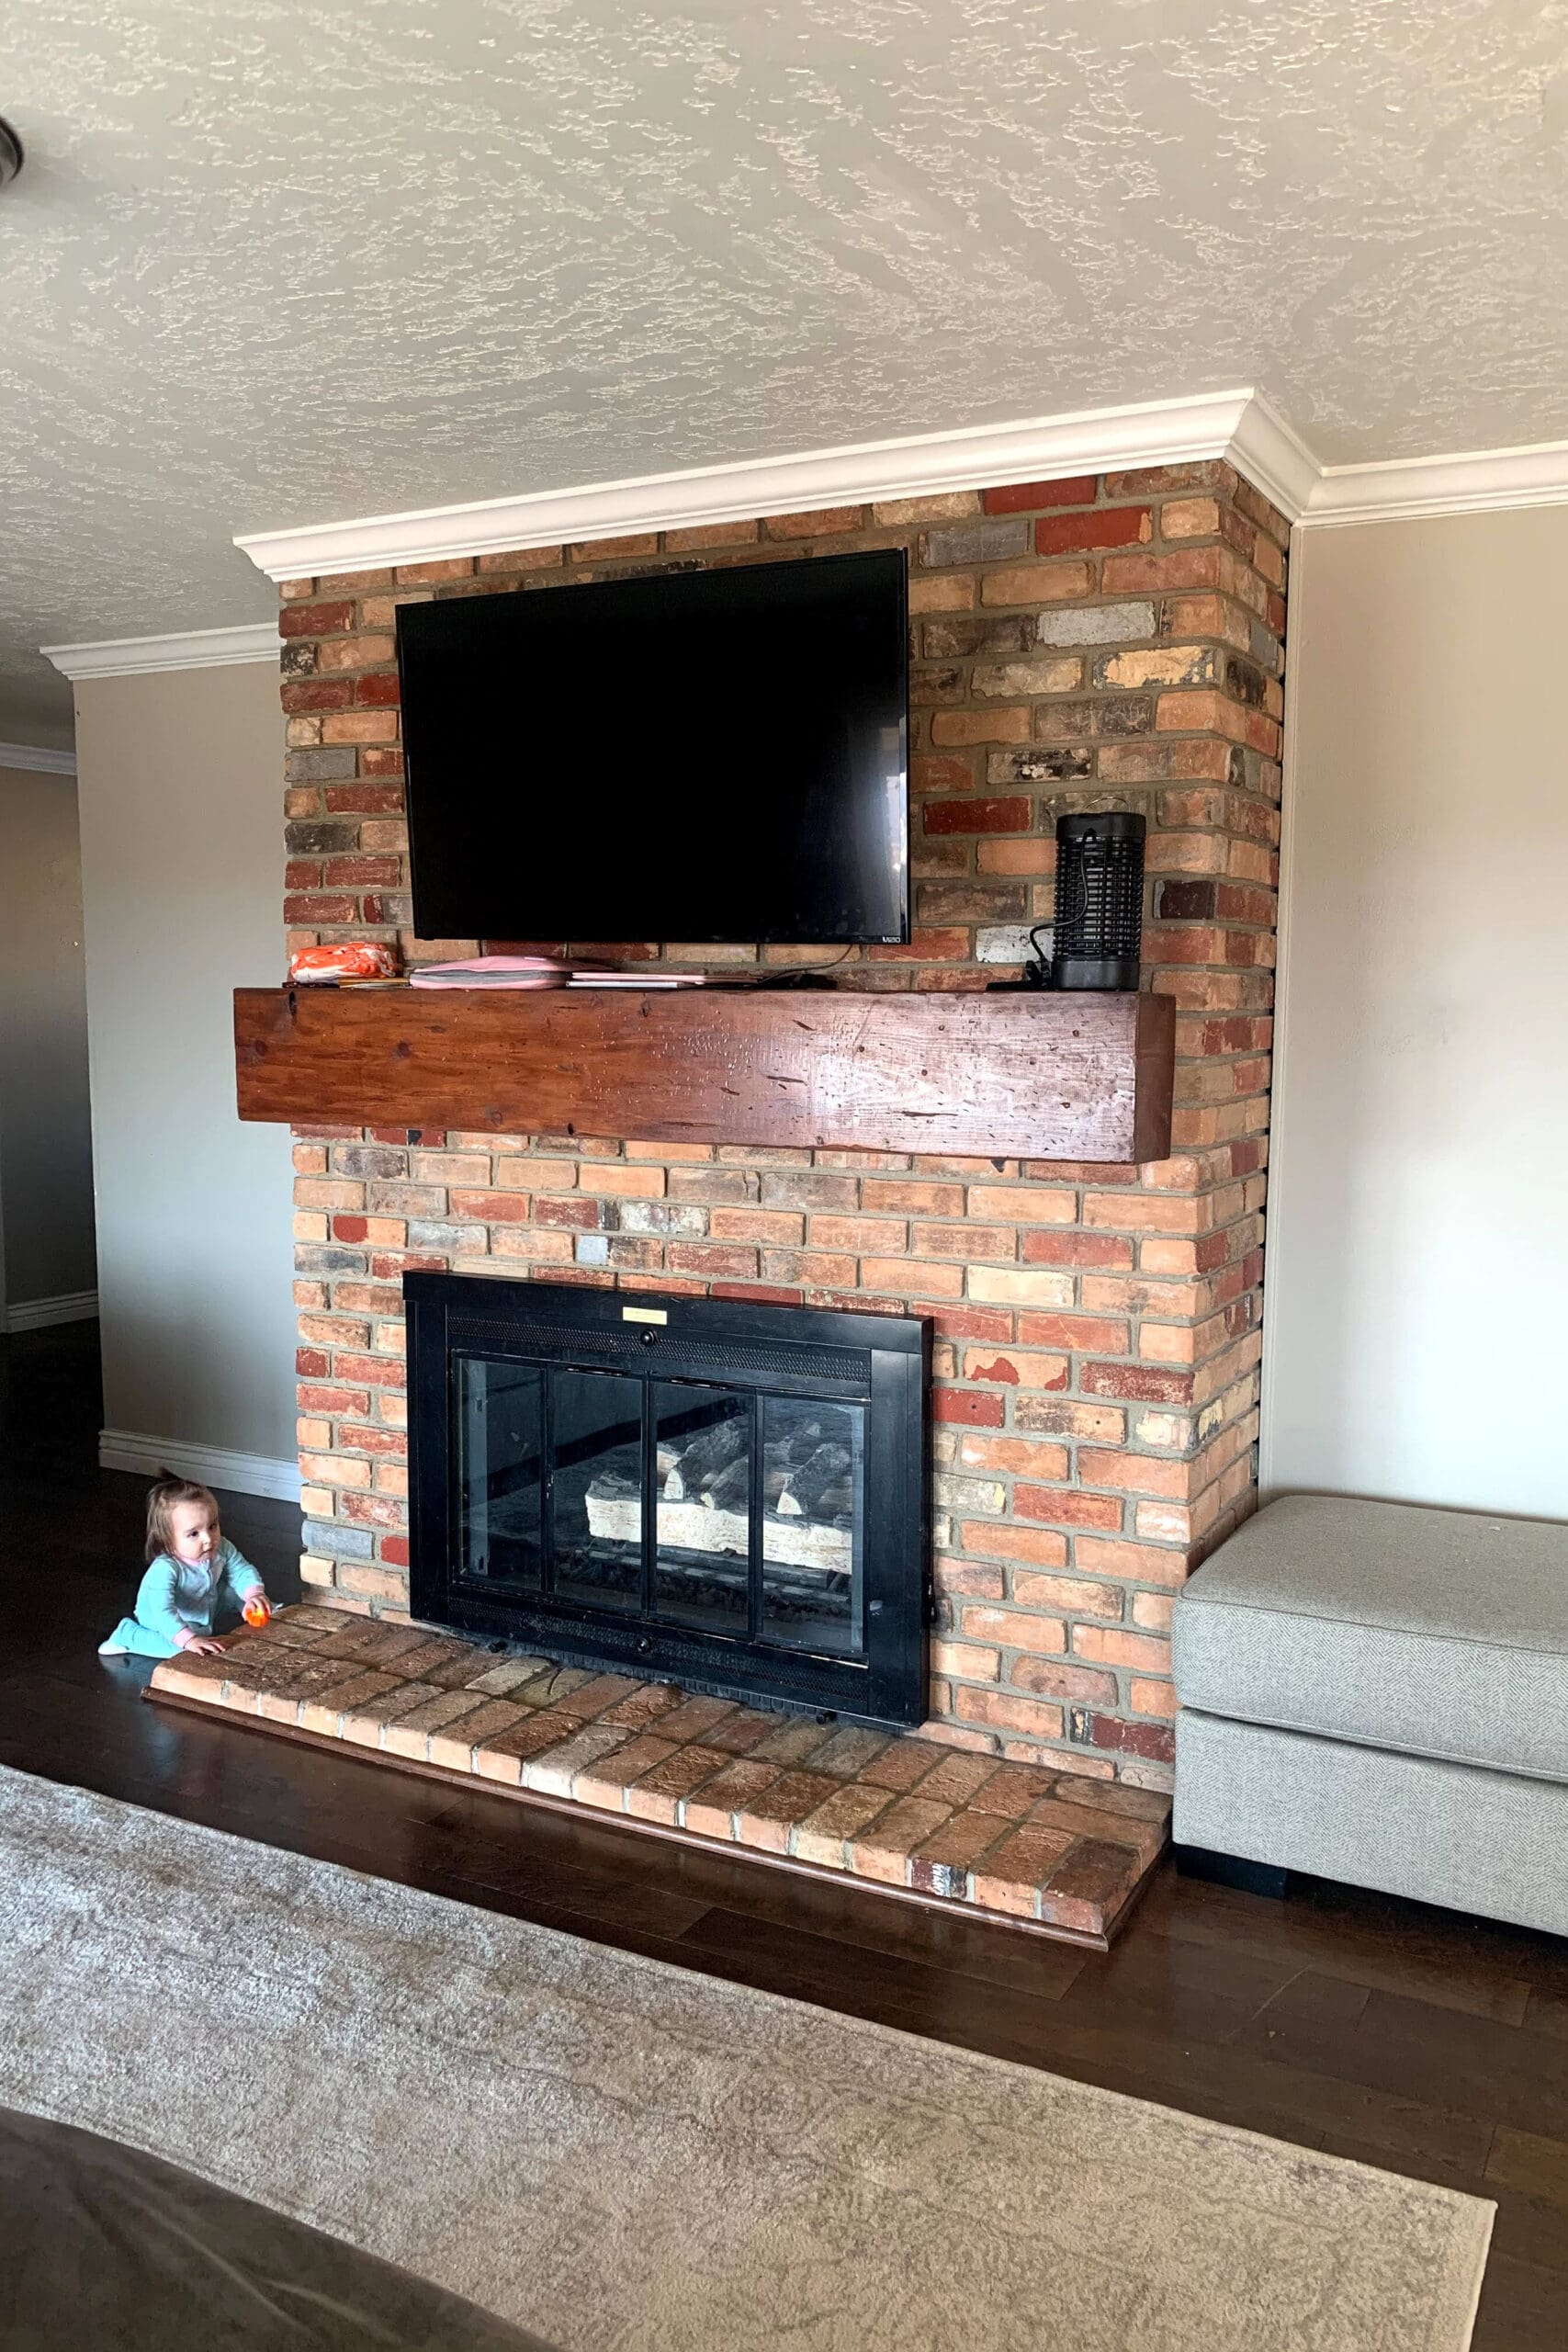
Credit: crystelmontenegrohome.com
Preparing The Brick Surface
Preparing the brick surface is essential before applying any paint. Proper preparation ensures the paint sticks well and lasts longer. It also helps achieve a smooth, attractive finish. This process involves cleaning, repairing, and smoothing the brick.
Cleaning And Removing Dirt
Start by removing dust, dirt, and grime from the brick. Use a stiff brush or broom to sweep off loose debris. For stubborn dirt, wash the bricks with water and mild detergent. Avoid using harsh chemicals that can damage the brick. Rinse thoroughly and let the surface dry completely before painting.
Repairing Damages And Cracks
Inspect the brick for cracks or holes. Small cracks can cause paint to peel later. Fill these gaps with a suitable masonry filler or mortar. Smooth the filler with a putty knife and allow it to dry. Repairing damages prevents water from seeping in and protects the brick underneath.
Sanding And Smoothing Rough Areas
Rough bricks can cause uneven paint coverage. Lightly sand areas with rough or flaking surfaces using medium-grit sandpaper. This creates a smoother texture for paint to adhere to. After sanding, wipe off the dust with a damp cloth. The brick is now ready for priming and painting.
Choosing The Right Paint
Choosing the right paint is a key step in transforming your interior brick walls. The paint type, color, and primer all affect the final look and durability. Using the proper products ensures your brick surface will look great and last longer. Below are some important points to consider when selecting paint for your interior brick.
Types Of Paint For Brick
Brick needs paint that can handle its rough texture. Acrylic latex paint is a popular choice. It sticks well and resists cracking. Masonry paint is another option. It is made to cover porous surfaces like brick. Avoid oil-based paint because it can peel on brick over time. Choose paint that allows brick to breathe, preventing moisture buildup and damage.
Selecting Colors For Interior Brick
Color changes the whole feel of a room. Light colors make spaces feel open and airy. Whites, creams, and soft grays are great for modern looks. Dark colors add warmth and drama. Deep blues, greens, or charcoals create cozy vibes. Match colors with your furniture and decor style. Test paint samples on the brick to see how they look in your light before deciding.
Primer Options And Importance
Primer prepares the brick for paint. It helps paint stick better and last longer. Use a masonry primer made for brick surfaces. It seals porous brick and blocks stains. Without primer, paint may peel or wear quickly. Apply one or two coats of primer for best results. Let the primer dry fully before adding paint layers.
Gathering Necessary Tools
Before you start painting your brick interior, gathering the right tools is crucial. Having everything on hand saves time and prevents frustration during the project. It also ensures a smoother finish and better results.
Brushes And Rollers
Choosing the right brushes and rollers can change your painting experience. For brick surfaces, a stiff-bristled brush helps get into the crevices and uneven texture. Pair this with a roller that has a thick nap—usually ¾ inch or more—to cover the rough surface evenly.
I once tried using a smooth roller on brick and ended up with patchy coverage. The thicker nap roller made all the difference in one coat coverage and saved me from multiple touch-ups.
Spray Equipment
If you want to speed up the process, spray equipment is worth considering. A paint sprayer can reach tight spaces and deliver even coats without brush marks. However, it requires some practice to avoid drips and overspray.
Think about your space—do you have good ventilation? Are there areas you want to protect from overspray? Preparing with drop cloths and masking tape is key when using sprayers indoors.
Protective Gear
Painting brick means dealing with dust, paint fumes, and splatters. Wearing protective gear keeps you safe and comfortable. At minimum, have gloves, safety glasses, and a mask suitable for paint fumes.
When I skipped a mask, I noticed a lingering headache after a few hours. Don’t risk your health—protective gear isn’t optional. Also, wear old clothes or a paint apron to avoid ruining your favorite outfit.
Applying Primer
Apply a primer to clean, dry brick for better paint adhesion. Use a brush or roller to cover all surfaces evenly. Allow the primer to dry completely before painting.
Applying primer to brick interior surfaces is a crucial step that sets the foundation for a flawless paint job. It’s like preparing a canvas for a masterpiece. But how do you achieve that smooth, even coverage that looks professional? Let’s dive into the techniques for applying primer effectively, along with tips on drying time.Techniques For Even Coverage
Achieving even coverage with primer requires a blend of the right tools and techniques. Start with a high-quality primer specifically designed for masonry. This ensures better adherence to the porous brick surface. Use a roller with a thick nap or a paint sprayer for larger areas. A brush can be handy for smaller sections or detailed work. Apply the primer in thin, even layers to avoid drips and uneven spots. Maintain a steady hand while rolling or spraying. This prevents streaks and ensures each brick is evenly coated. Pay attention to corners and edges, as they can be tricky to cover uniformly.Drying Time And Tips
Patience is key when it comes to drying time. Allow the primer to dry thoroughly before adding a second coat or proceeding with paint. Depending on the product, this can take anywhere from a few hours to a full day. Consider factors like humidity and temperature, which can affect drying times. A well-ventilated room speeds up the process, so open windows or use fans to circulate air. You might be tempted to rush through, but taking your time ensures a durable and smooth finish. What’s your experience with drying primer? Did you learn the hard way about waiting times? Remember, the quality of your primer application directly impacts the final look of your painted brick. Take the time to do it right, and you’ll be rewarded with stunning results.Painting The Brick
Painting brick inside your home transforms its look and feel instantly. But painting brick isn’t as simple as slapping on some color. The way you apply paint affects not just the appearance but also the durability of the finish. Let’s talk about how to handle the painting process on brick for the best results.
Using Brushes Vs Rollers
Choosing between a brush or roller depends on the brick’s texture and your desired finish. Brushes work well for getting paint into the brick’s nooks and crannies, ensuring complete coverage. I once used only a roller on a rough brick wall and missed spots, which showed up later as uneven patches.
Rollers cover large flat areas faster and create a smoother look on flatter bricks. If your brick surface is relatively smooth, a roller with a thick nap can speed up your work without sacrificing coverage. You might even combine both: start with a roller for the big areas and finish with a brush for detail work.
Applying Multiple Coats
One coat of paint on brick rarely cuts it. Brick is porous, so the first coat often soaks in, leaving a patchy look. Applying multiple coats builds a solid, vibrant finish that lasts longer and resists peeling.
Let each coat dry completely before adding the next. This prevents bubbling and uneven texture. Think about how many coats you need—two to three are usually enough, but rougher bricks may require more. Have you noticed how skipping a second coat leaves your walls looking streaky? That’s why patience pays off.
Maintaining Consistent Texture
Keeping the texture consistent across your painted brick wall can be tricky. The paint thickness and application method directly affect how the surface feels and looks. If some areas get too much paint, they’ll look glossy, while others remain matte.
To avoid this, apply paint evenly and avoid overloading your brush or roller. Use smooth, steady strokes and keep an eye on drying times to blend edges before they dry. If you want a natural brick feel, avoid overly thick coats that fill in the brick’s natural grooves.
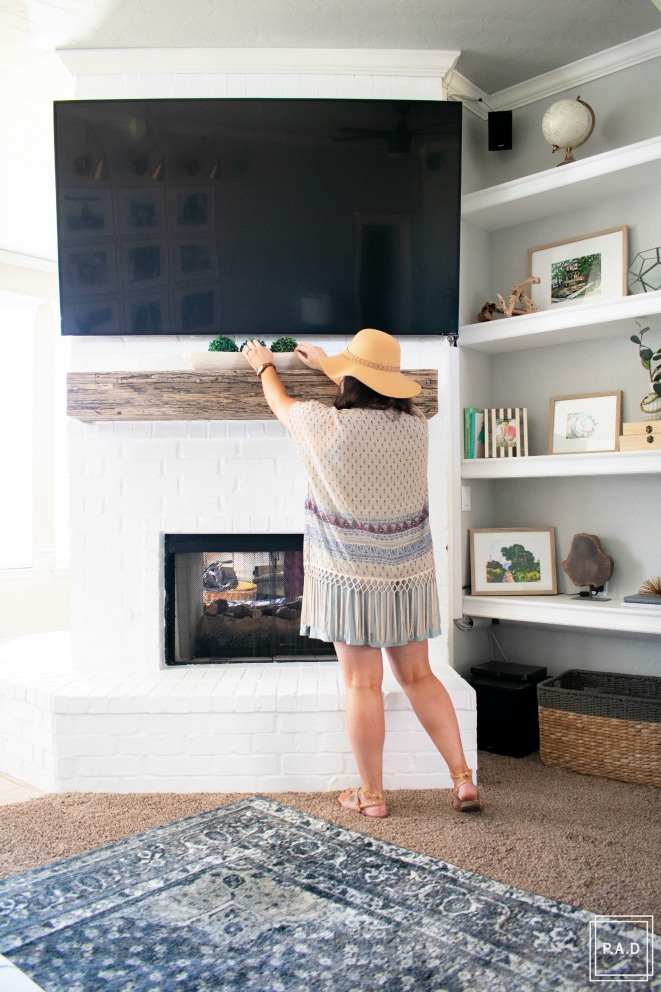
Credit: www.projectallendesigns.com
Finishing Touches
Adding finishing touches to your painted brick interior completes the transformation. These steps protect your work and keep the walls looking fresh. Proper care ensures your painted bricks stay beautiful for years.
Sealing The Paint
Sealing the paint protects the brick from moisture and stains. Choose a clear, breathable sealant designed for masonry. Use a brush or roller to apply an even coat. Allow the sealant to dry fully before touching the walls. This step helps the paint last longer and resist fading.
Cleaning Up
Clean brushes and rollers immediately after use with warm, soapy water. Remove painter’s tape carefully to avoid peeling paint. Sweep or vacuum dust and debris from the work area. Dispose of paint cans and materials safely. A tidy workspace prevents damage and prepares the room for use.
Maintaining Painted Brick Walls
Keep painted brick walls clean by dusting regularly. Use a soft cloth or sponge with mild soap for stains. Avoid harsh chemicals that can damage the paint or brick. Check walls periodically for chips or cracks. Touch up paint as needed to maintain a fresh look.
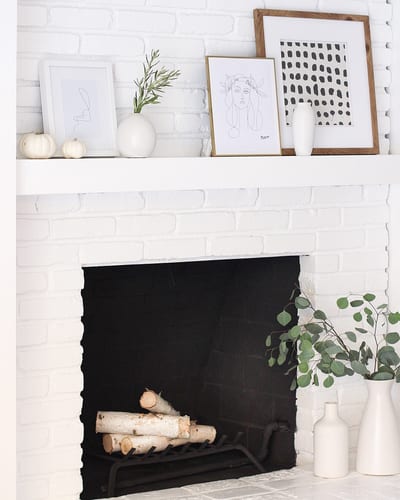
Credit: halfwaywholeistic.com
Frequently Asked Questions
How Do I Prepare Brick For Interior Painting?
Clean the brick thoroughly using a wire brush and mild detergent. Remove dust, dirt, and loose mortar. Allow it to dry completely before painting.
What Type Of Paint Is Best For Interior Brick?
Use a high-quality acrylic latex paint. It offers good adhesion and flexibility. It also resists cracking and fading over time.
Should I Use Primer Before Painting Interior Brick?
Yes, applying a masonry primer improves paint adhesion. It seals porous brick surfaces and ensures an even finish. Primer helps the paint last longer.
How Many Coats Of Paint Are Needed On Brick?
Typically, two coats provide full coverage and durability. The first coat seals the brick, while the second enhances color and texture.
Conclusion
Painting brick interior walls can change your room’s look fast. Choose the right paint and tools for best results. Clean the bricks well before you start painting. Take your time and apply paint evenly in thin coats. Let each coat dry fully to avoid streaks.
Enjoy the fresh, bright feel after your project. This simple update can make your space feel new and cozy. Try it yourself and see the difference it brings!


