
Are you ready to give your room a fresh, new look without spending a fortune? Painting your interior door is one of the easiest and most effective ways to transform your space instantly.
But if you’re worried about messy drips, uneven coats, or peeling paint, don’t be. This guide will walk you through simple steps that anyone can follow to get a smooth, professional finish. By the end, you’ll have the confidence and know-how to tackle your door painting project like a pro.
Keep reading—you’re just a few steps away from a stunning new door!
Choosing The Right Paint
Choosing the right paint ensures a smooth finish and long-lasting look for your door. Opt for durable, washable paint designed for interior surfaces. Satin or semi-gloss paints work best, offering easy cleaning and a subtle shine.
Choosing the right paint for an interior door is crucial. It can affect the door’s appearance and durability. The correct paint ensures a smooth finish and protects against wear. This section will guide you through selecting the ideal paint for your door.Types Of Paint For Doors
Interior doors require specific types of paint for longevity. Latex paint is popular due to its easy application. It dries quickly and cleans up with water. Oil-based paint offers a durable finish. It is resistant to scratches and stains. Consider your needs before choosing between these options.Selecting The Perfect Color
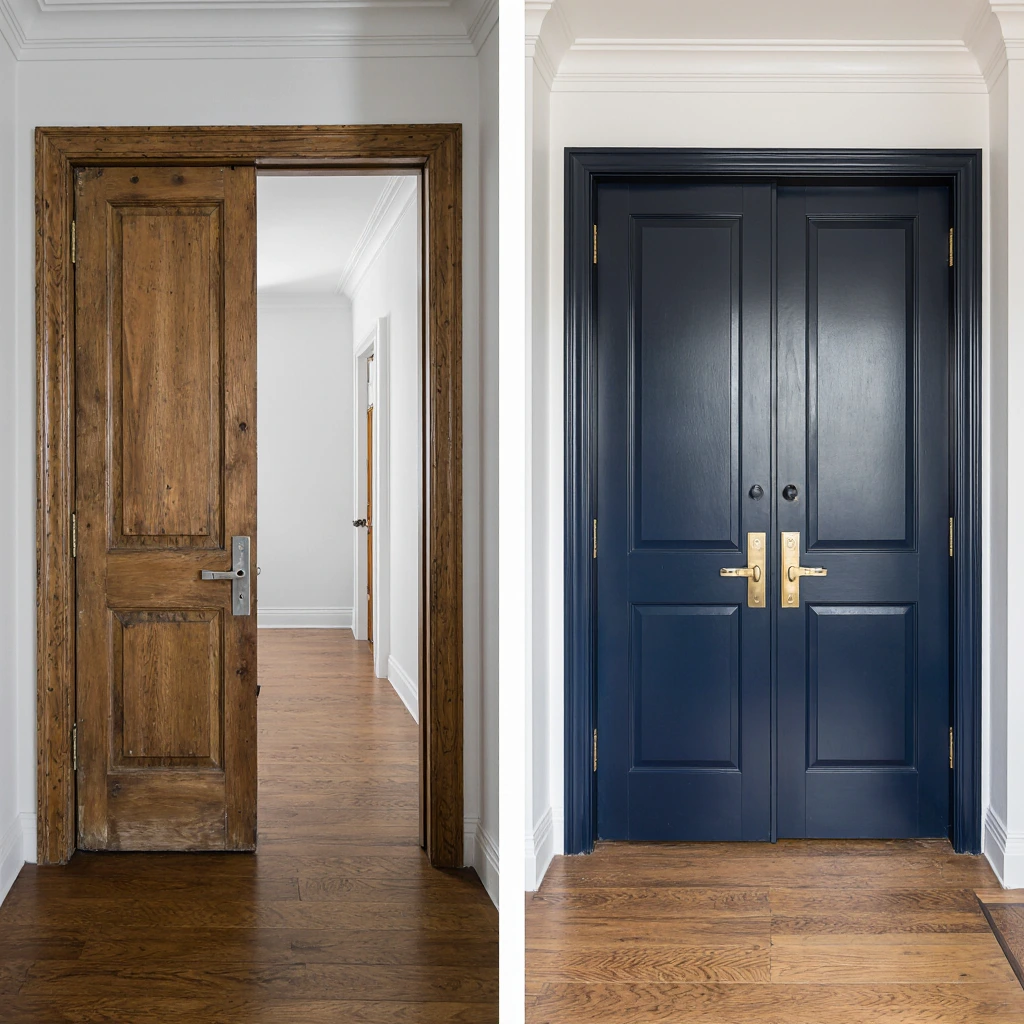
Choosing the right color can transform a room. Light colors can make a space feel larger. Dark colors add a touch of elegance. Neutral shades like beige or gray are versatile. They blend well with various decor styles. Experiment with samples to find the perfect match.Matte Vs Glossy Finishes
The finish of the paint affects the door’s look. Matte finishes provide a soft, understated appearance. They hide imperfections well. Glossy finishes offer a shiny, reflective surface. They are ideal for a modern look. Consider the overall style of the room when deciding.Gathering Supplies
Gathering the right supplies is the first move to painting your interior door successfully. Without proper tools and materials, the job can quickly become frustrating and messy. Taking time to prepare will save you hours of hassle and improve your final results.
Essential Tools
Start with basic painting tools that fit the job. You’ll need a high-quality paintbrush, ideally angled, for smooth edges and corners. A small roller can cover flat surfaces faster and create an even finish.
Don’t forget sandpaper or a sanding block to smooth the door surface before painting. A screwdriver is handy to remove door hardware and hinges, letting you work freely. Also, keep a paint tray ready for easy access to your paint.
Protective Materials
Protecting your floor and surrounding areas is crucial to avoid stains and damage. Use a drop cloth or old sheet under the door area to catch drips and spills. Painter’s tape will help you mask off trim, glass panels, or any areas you want to keep paint-free.
Wearing gloves keeps your hands clean and protects your skin from chemicals. If you’re sensitive to paint fumes, consider a mask or work in a well-ventilated space. These small steps make cleanup easier and keep your home safe.
Preparing Your Workspace
Choose a location with good lighting and plenty of room to move around. Clear the area of furniture and obstacles to avoid accidents and give yourself space to work comfortably. Think about ventilation—open windows or use fans to reduce paint smell and speed drying time.
Set up your tools and materials within easy reach to keep your workflow smooth. You don’t want to stop mid-paint to look for supplies. A tidy workspace helps you stay focused and finish the project faster.
Preparing The Door
Preparing the door properly sets the stage for a smooth paint job. It helps the paint stick better and last longer. Taking time on preparation saves effort later and improves the final look. Follow these key steps before painting.
Removing Hardware
Start by taking off all door hardware. Remove knobs, locks, and hinges if possible. This prevents paint from sticking to metal parts. Use a screwdriver to carefully unscrew each piece. Keep the hardware in a safe place to avoid losing it.
Cleaning The Surface
Clean the door thoroughly to remove dirt and grease. Use a mild detergent mixed with water and a soft cloth. Wipe the entire surface well, including edges and panels. Let the door dry completely before moving to the next step.
Sanding For Smoothness
Sand the door lightly to create a smooth surface. Use fine-grit sandpaper and sand evenly. Focus on rough areas and old paint spots. Wipe off dust with a damp cloth after sanding. A smooth door helps paint apply evenly and look neat.

Credit: crystelmontenegrohome.com
Priming The Door
Priming the door is a key step before painting. It helps paint stick better and lasts longer. A good primer covers imperfections and seals the surface. This step prevents peeling and uneven color.
Choosing A Primer
Select a primer that fits your door material. For wood doors, use a wood primer that blocks stains. For metal doors, pick a rust-inhibiting primer. Choose a primer suitable for your paint type, oil or water-based. Check the label for compatibility.
Applying Primer Evenly
Use a brush or roller to spread primer in smooth strokes. Apply thin coats to avoid drips and runs. Cover all edges, corners, and recessed areas carefully. Avoid heavy buildup in any spot. Let each coat dry before adding another.
Drying Time Tips
Allow primer to dry fully for best results. Drying time varies by brand and weather. Warmer, dry conditions speed up drying. Avoid painting too soon; it can cause peeling. Follow instructions on the primer container for exact times.
Painting Techniques
Choosing the right painting techniques is key to a smooth, professional finish on your interior door. Proper methods help the paint spread evenly and dry well. This section explains how to use brushes and rollers, apply thin coats, and avoid common mistakes like drips and brush marks.
Brushing Vs Rolling
Brushes work well for detailed areas and edges. They allow better control around panels and corners. Rollers cover flat surfaces faster and create a smooth finish. Use a small roller for the door’s large flat parts. A brush is best for trims and grooves. Combining both tools gives the best result.
Applying Thin Coats
Thin coats dry faster and reduce drips. Apply paint lightly in several layers. Wait for each coat to dry before adding the next. Thin layers prevent uneven texture and bubbles. This method also saves paint and gives a cleaner finish.
Avoiding Drips And Brush Marks
Use a high-quality brush or roller to cut down marks. Load paint evenly and avoid overloading tools. Paint with long, smooth strokes following the door grain. Check for drips as you work and smooth them out quickly. Light sanding between coats removes brush marks for a flawless look.
Credit: www.byhousedecor.com
Drying And Finishing Touches
After painting your interior door, the drying and finishing touches are crucial to achieve a smooth, durable finish. Skipping or rushing this part can ruin all your hard work. Patience here pays off with a professional-looking door that lasts.
Proper Drying Times
Let your door dry completely before touching it. Most paints need at least 2 to 4 hours to dry to the touch, but curing fully can take up to 24 hours or more. Check the paint can for specific drying times, and remember, humidity and temperature affect drying speed.
Try not to rush this step. I once impatiently handled a door that seemed dry after two hours, only to find fingerprints and smudges the next day. Waiting longer prevents damage and saves you from repainting.
Applying A Second Coat
A second coat improves coverage and durability. Once the first coat feels dry to the touch, lightly sand the surface with fine-grit sandpaper. This helps the next layer stick better and smooths out any imperfections.
Use even strokes and avoid overloading your brush or roller. A thin, consistent second coat often looks better than a thick first one. Would you prefer a door that looks fresh for years or one that peels after a few months?
Reattaching Hardware
Wait until the paint is fully cured before reattaching hinges, knobs, or locks. This prevents smudges or damage to the new finish. Use a screwdriver to carefully reinstall each piece, checking that everything fits snugly and operates smoothly.
If your hardware looks worn, consider replacing it now. New handles or hinges can refresh the entire room’s look. Have you thought about how small details like hardware impact your door’s overall appeal?
Maintaining Your Painted Door
Keeping your painted door looking fresh and vibrant takes a bit of effort, but it’s well worth it. A well-maintained door not only boosts your room’s appearance but also extends the life of your paint job. Paying attention to simple maintenance tasks can save you from costly repairs or full repaints later on.
Cleaning Tips
Regular cleaning helps maintain the door’s shine and prevents dirt buildup. Use a soft cloth or sponge with mild soap and warm water to gently wipe the surface. Avoid harsh chemicals or abrasive scrubbers, as they can damage the paint finish.
For stubborn stains, try a mixture of baking soda and water applied gently with a damp cloth. Rinse with clean water afterward to avoid residue. How often you clean depends on your environment, but once a month is a good starting point.
Touch-up Tricks
Small scratches or chips happen, but they don’t have to ruin your door’s look. Keep leftover paint from your original job for easy touch-ups. Use a fine brush to carefully fill in damaged spots, blending the edges smoothly with the surrounding paint.
If you don’t have extra paint, you can often find a close match at your local hardware store. Before applying, clean the area and lightly sand it for better adhesion. Patience here pays off—multiple thin layers look better than one thick one.
Preventing Damage
Protecting your door from damage starts with mindful use. Avoid slamming doors, as impact can cause paint to chip or crack over time. Consider installing door stoppers or cushions to reduce hard impacts.
Keep sharp objects like keys or bags away from the door surface to prevent scratches. If your door is exposed to sunlight, think about using UV-resistant paint or a protective clear coat to prevent fading. Have you noticed how small habits can make a big difference in keeping your door flawless?

Credit: www.pinterest.com
Frequently Asked Questions
How Do I Prepare An Interior Door For Painting?
Start by removing the door from its hinges. Clean the surface with mild soap and water. Sand the door to smooth imperfections. Fill holes or dents with wood filler. Remove dust before applying primer or paint.
What Type Of Paint Is Best For Interior Doors?
Use a semi-gloss or satin finish paint for durability. These finishes resist dirt and are easy to clean. Choose a high-quality acrylic latex paint for a smooth finish. Oil-based paints also work but have stronger fumes.
How Many Coats Of Paint Should I Apply On Doors?
Apply at least two coats for even coverage. The first coat acts as a base layer. The second coat enhances color and durability. Allow proper drying time between coats to avoid streaks.
Can I Paint An Interior Door Without Removing It?
Yes, but remove all hardware first. Use painter’s tape to protect hinges and trim. Paint carefully with a brush or roller. Painting on the door while attached requires patience for best results.
Conclusion
Painting an interior door can change your room’s look quickly. With the right tools and steps, the job is simple. Take your time to prepare the door well before painting. Use smooth, even strokes for the best finish. Let each coat dry fully to avoid smudges.
Clean brushes and store leftover paint properly. Enjoy the fresh, new feel your painted door brings. Small projects like this add charm without much effort. Try it yourself and see the difference today!


