
Are you facing the challenge of drilling a hole in a concrete wall but don’t know where to start? You’re not alone.
Drilling into concrete can seem tricky and even intimidating at first. But with the right tools and simple steps, you can do it safely and effectively. Imagine saving time, avoiding costly mistakes, and getting your project done like a pro.
Keep reading, and you’ll discover exactly how to drill that perfect hole in your concrete wall—no stress, no hassle. Your next DIY success starts here.
Tools And Materials Needed
Drilling a hole in a concrete wall requires the right tools and materials to get the job done efficiently and safely. Having everything prepared beforehand can save you frustration and prevent damage to your wall or drill. Let’s look at the essential items you’ll need before you start.
Essential Tools
- Hammer Drill:This is the best tool for concrete, as it combines rotary drilling with hammering action to break through tough surfaces.
- Masonry Drill Bits:Choose carbide-tipped bits designed for concrete to ensure clean and effective drilling.
- Measuring Tape and Pencil:Accurate measurements and markings help you drill in the right spot every time.
- Level:Use this to keep your drilling straight, especially when drilling multiple holes for shelves or fixtures.
Do you own a regular drill? It might not be powerful enough for concrete. Investing in a hammer drill can make the process smoother and protect your equipment from damage.
Safety Gear
- Safety Glasses:Protect your eyes from flying dust and debris.
- Dust Mask:Concrete dust is harmful when inhaled, so always wear a mask.
- Ear Protection:Hammer drills can be loud, making earplugs or earmuffs a smart choice.
- Gloves:They protect your hands from vibrations and rough surfaces.
Have you ever underestimated the dust or noise during drilling? Wearing the right safety gear isn’t just about caution—it ensures you stay comfortable and focused throughout the task.
Additional Materials
- Anchors or Wall Plugs:These help secure screws in the drilled hole, especially for mounting heavy items.
- Screws or Bolts:Choose the right size and type based on what you’re attaching.
- Vacuum or Brush:Cleaning the dust from the hole improves anchor grip and overall finish.
- Water Spray Bottle:Lightly spraying water can reduce dust and cool down the drill bit during extended use.
Have you thought about how you’ll secure your fixtures after drilling? Without the right anchors, your hard work could come undone. Preparing these materials ensures your project stays solid and safe.
Preparing The Work Area
Preparing the work area is vital before drilling into a concrete wall. A clean, organized space ensures safety and accuracy. It also protects your tools and surroundings from dust and debris. Taking time here saves effort later.
Clearing The Space
Remove all objects near the drilling site. Clear furniture, decorations, and fragile items. This prevents damage and creates room to work freely. Sweep the floor to remove dust and dirt. A tidy area helps keep focus on the task.
Marking The Drill Spot
Identify the exact spot to drill. Use a pencil or chalk for a clear mark. Double-check measurements before marking. This reduces mistakes and avoids unnecessary holes. Marking with precision guides the drill bit accurately.
Choosing The Right Drill Bit
Choosing the right drill bit is key to drilling into a concrete wall. The drill bit must be strong and made for hard surfaces. Using the wrong bit can break the drill or damage the wall. Picking the best bit helps you work faster and safer.
Types Of Drill Bits
Concrete needs special drill bits. The most common type is the masonry bit. It has a tip made of tungsten carbide. This tip cuts through hard concrete easily.
Another type is the hammer drill bit. It works with hammer drills. The drill hits the concrete while spinning. This action breaks the material faster.
- Masonry Bits:Best for standard concrete drilling.
- Hammer Drill Bits:Ideal for tougher concrete and faster drilling.
- Diamond-Tipped Bits:Used for very hard or reinforced concrete.
Selecting The Appropriate Size
Choose a drill bit size based on your project needs. The hole should match the size of the anchor or bolt.
Using a bit too small will make the hole tight. Too large and the anchor won’t hold well.
Measure the anchor diameter first. Pick a drill bit the same size or slightly bigger. This ensures a secure fit and strong hold.
Setting Up The Drill
Setting up your drill correctly is a crucial step before you start making holes in a concrete wall. It ensures safety, accuracy, and efficiency during the drilling process. Taking a moment to prepare your drill properly can save you from frustration and potential damage to your tools or wall.
Adjusting Drill Settings
First, check if your drill has a hammer function. This feature is essential for drilling into concrete because it provides a rapid hammering action that breaks up the hard surface.
Set your drill to the hammer mode and select a slow to medium speed. Too fast can overheat the bit, and too slow may not penetrate effectively.
Think about the size of the hole you need. Larger holes require slower speeds and more power, while smaller holes can be drilled faster but still with hammer action.
Securing The Drill Bit
Choosing the right drill bit is half the battle. Use a carbide-tipped masonry bit designed specifically for concrete.
Before you start, make sure the bit is firmly secured in the chuck. Loose bits can wobble, causing uneven holes or even injury.
Give the bit a quick tug after tightening the chuck to confirm it won’t slip. This small step can prevent your bit from flying out mid-drill, which is both dangerous and frustrating.
Drilling Techniques
Drilling a hole in a concrete wall requires proper techniques to ensure safety and accuracy. Using the right drilling methods helps prevent damage to the wall and the drill bit. It also makes the work easier and faster. Focus on correct positioning and pressure to get clean, precise holes.
Positioning The Drill
Hold the drill perpendicular to the wall surface. This keeps the hole straight and prevents the bit from slipping. Use both hands to steady the drill. Mark the exact spot on the wall before you start drilling. A small pilot hole can guide the larger drill bit. Avoid tilting the drill at an angle to protect the drill bit and wall.
Applying Steady Pressure
Press the drill firmly but gently against the wall. Too much force can break the bit or damage the wall. Too little pressure causes the bit to overheat and wear out. Let the drill do the work. Keep the pressure steady and consistent. Pause occasionally to clear dust and cool the bit. This extends the life of your drill and bit.
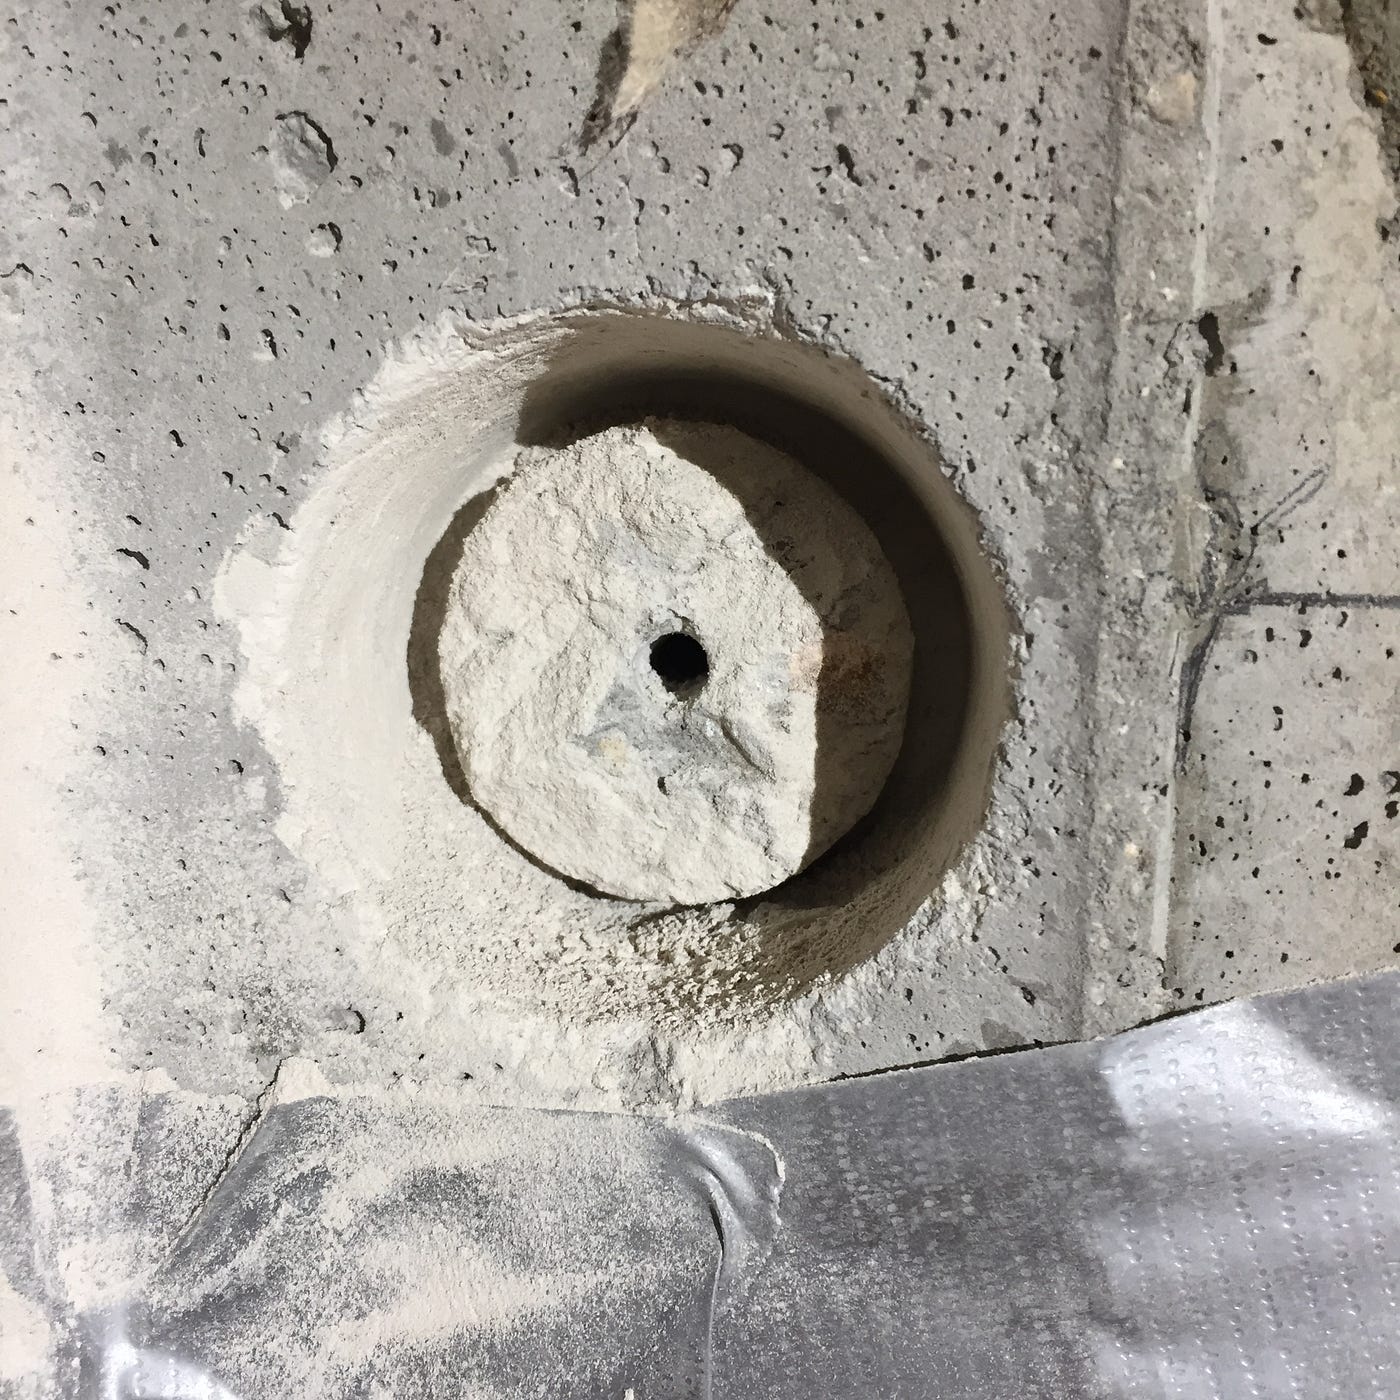
Credit: medium.com
Managing Dust And Debris
Drilling into a concrete wall creates a lot of dust and debris that can quickly turn your workspace into a messy, unsafe zone. Managing this mess isn’t just about cleanliness; it also helps protect your lungs and keeps your tools working smoothly. Taking control of dust and debris right from the start can make your project faster and less stressful.
Using Dust Collection Tools
Dust collection tools are a game-changer when drilling concrete. Attaching a vacuum or a dust extractor directly to your drill can catch the dust as it’s created. This prevents it from spreading everywhere and makes cleanup easier.
If you don’t have a specialized dust collector, try using a simple shop vacuum with a hose positioned near the drill bit. Even a dust collection bag that fits on the drill can reduce airborne particles.
Have you noticed how much cleaner your workspace feels when dust is controlled? It’s a small investment that pays off in comfort and health.
Cleaning The Work Area
After drilling, don’t rush to move on. Take a few minutes to clear away dust and debris from the floor and surfaces. Use a broom and dustpan or a vacuum to pick up loose particles.
Wipe down nearby surfaces with a damp cloth to catch the fine dust that vacuums might miss. This prevents dust from settling back into the air and onto your tools.
Keeping your workspace clean also helps you avoid slipping hazards and protects your equipment. What’s your current routine for cleaning up after drilling? A quick tidy-up can save you time and effort later.
Checking Hole Alignment
Checking hole alignment is crucial before you start drilling into a concrete wall. A misaligned hole can lead to uneven fixtures, weakened support, or even damage to the wall. Taking a few extra moments to ensure everything lines up perfectly will save you time and frustration later on.
Ensuring Straight Drilling
Holding the drill at the correct angle is key. Use a level or an angle guide attached to your drill to keep it perfectly vertical or at the required angle. If you don’t have these tools, try placing a small carpenter’s square against the drill to help maintain alignment.
Start by marking the exact spot on the wall with a pencil or chalk. Then, position the drill bit right on the mark before switching on. As you drill, keep a steady hand and check frequently that the drill isn’t tilting sideways.
Verifying Depth Accuracy
Drilling too deep or too shallow can cause issues with anchors or screws. To avoid this, measure the desired depth and mark it on your drill bit with a piece of tape. This visual cue helps you stop drilling at exactly the right point.
Consider using a drill bit with a depth stop collar if you have one. This tool physically limits the drilling depth, giving you more control. Have you ever had to redo a hole because it was too shallow or too deep? Preventing this mistake feels like a small win every time.
Finishing Touches
After drilling your hole in the concrete wall, the job isn’t quite finished yet. The finishing touches make all the difference between a rough, unprofessional look and a clean, polished result. Taking the time to smooth edges and clear away dust ensures your work not only functions well but looks great too.
Smoothing Rough Edges
Concrete edges around the hole often end up jagged or uneven. Use a masonry file or sandpaper designed for concrete to gently smooth these rough spots. This step helps prevent chipping later and makes the hole safer to handle.
If you skip this, sharp edges could damage whatever you’re fitting into the hole or even cause injury. Take your time here—small, controlled strokes will give you a clean finish without cracking the concrete further.
Removing Residual Dust
Concrete dust is stubborn and can interfere with adhesives, anchors, or simply make your workspace messy. Use a vacuum cleaner with a brush attachment or a stiff brush to clear out all the dust inside and around the hole.
After vacuuming, wipe the area with a damp cloth to catch any remaining fine particles. This step is crucial if you plan to insert anchors or sealants, as dust can weaken their grip and reduce durability.
Troubleshooting Common Issues
Drilling into a concrete wall can sometimes lead to unexpected challenges. These issues can slow down your work or even damage your tools. Knowing how to troubleshoot common problems helps keep your project on track. This section covers simple fixes for typical drilling troubles.
Dealing With Bit Slippage
Bit slippage happens when the drill bit moves on the surface instead of digging in. It causes uneven holes and can waste time. To prevent slippage, start with a small pilot hole. Use a center punch or nail to make a small dent before drilling. This dent keeps the bit steady.
Also, check if the drill bit is sharp and suitable for concrete. Dull bits slip more easily. Hold the drill firmly and keep it at a 90-degree angle to the wall. Slippage can also occur if the surface is dusty or wet. Clean the area before drilling to improve grip.
Addressing Drill Jams
Drill jams occur when the bit gets stuck inside the concrete. This can happen if the bit overheats or hits a hard spot. To avoid jams, use a drill with a hammer function. It breaks the concrete more effectively. Pause occasionally to pull the bit out and clear dust from the hole.
If the drill jams, stop immediately. Try reversing the drill to free the bit gently. Avoid forcing the drill as it may damage the motor or bit. Use a lubricant or water sparingly to cool the bit if it gets too hot. Regularly inspect the bit for cracks or wear to prevent jams.
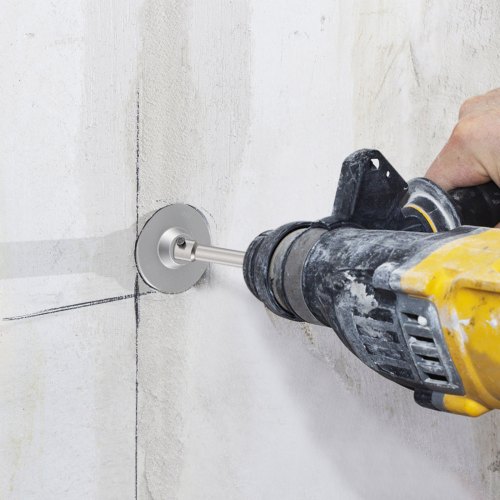
Credit: www.vevor.com
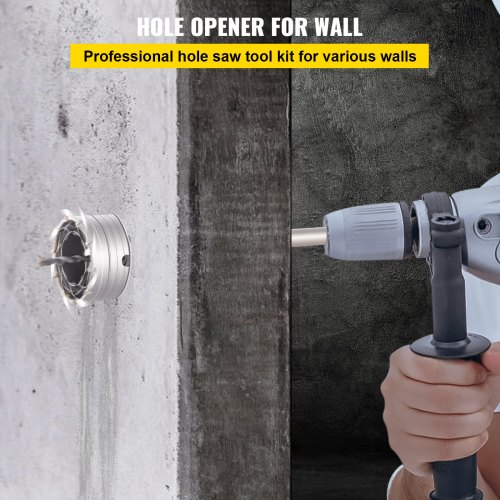
Credit: www.vevor.com
Frequently Asked Questions
What Tools Do I Need To Drill Into A Concrete Wall?
You need a hammer drill, masonry drill bit, safety goggles, dust mask, and a pencil. These tools ensure efficient and safe drilling in concrete walls.
How Do I Choose The Right Drill Bit For Concrete?
Select a carbide-tipped masonry bit. It is designed to withstand hard surfaces like concrete and offers better durability and precision.
Can I Drill Into Concrete Without A Hammer Drill?
Drilling without a hammer drill is possible but less effective. It may take longer and cause more wear on the drill bit.
How Deep Should I Drill Into A Concrete Wall?
Drill at least 1 inch deeper than the anchor length. This ensures proper grip and secure fastening for fixtures.
Conclusion
Drilling a hole in a concrete wall is easier than it seems. Use the right tools and follow safety steps. Mark your spot clearly and start with a small drill bit. Take breaks to avoid overheating the drill. Clean out dust from the hole for better results.
With practice, your drilling will become smooth and precise. Stay patient and careful to avoid mistakes. Now, you have the basics to drill concrete walls safely and effectively. Keep these tips in mind for your next project.


