You’ve just finished a beautiful oil painting, but now comes the tricky part—cleaning your brushes. If you don’t remove the oil paint properly, your brushes can harden and become unusable.
This can be frustrating, especially when you want to start your next masterpiece right away. But don’t worry—cleaning oil paint off your brushes doesn’t have to be a hassle. You’ll discover simple, effective steps to restore your brushes quickly and keep them in great shape.
Keep reading, and you’ll never struggle with sticky, ruined brushes again.

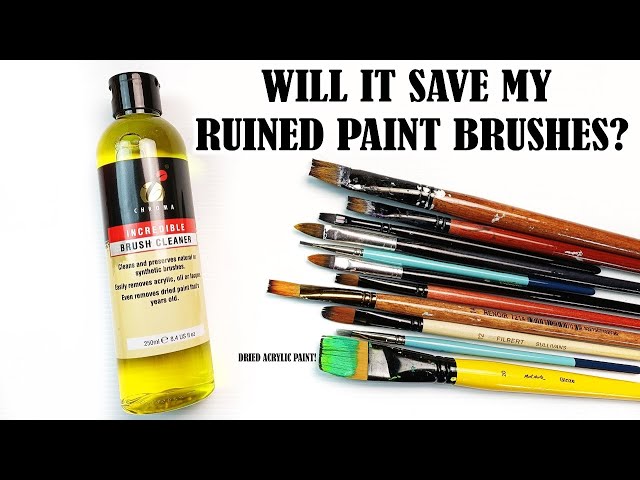
Credit: www.facebook.com
Gathering Supplies
Gather brushes, a container, paint thinner, soap, and clean cloths before starting. Prepare a well-ventilated area to work safely and comfortably.
Gathering the right supplies is crucial for cleaning oil paint from brushes. Preparing in advance ensures a smooth and efficient cleaning process. With the proper tools and materials, you can maintain the quality and lifespan of your brushes.Essential Cleaning Tools
To begin, assemble your cleaning tools. A sturdy container is needed for soaking brushes. Choose one that fits comfortably in your workspace. Use a brush comb or old toothbrush for scrubbing bristles. These help remove dried paint without damaging the brush. Have paper towels or clean rags nearby for wiping brushes clean. They absorb excess solvent and moisture quickly.Choosing The Right Solvent
Selecting the correct solvent is critical. Turpentine and mineral spirits are popular choices. They dissolve oil paint effectively. Consider odorless options for a less intense smell. Check the labels for safety instructions. Ensure proper ventilation when using solvents. For eco-friendly alternatives, try citrus-based cleaners. They are less harsh and safer for the environment. Remember to store solvents safely after use.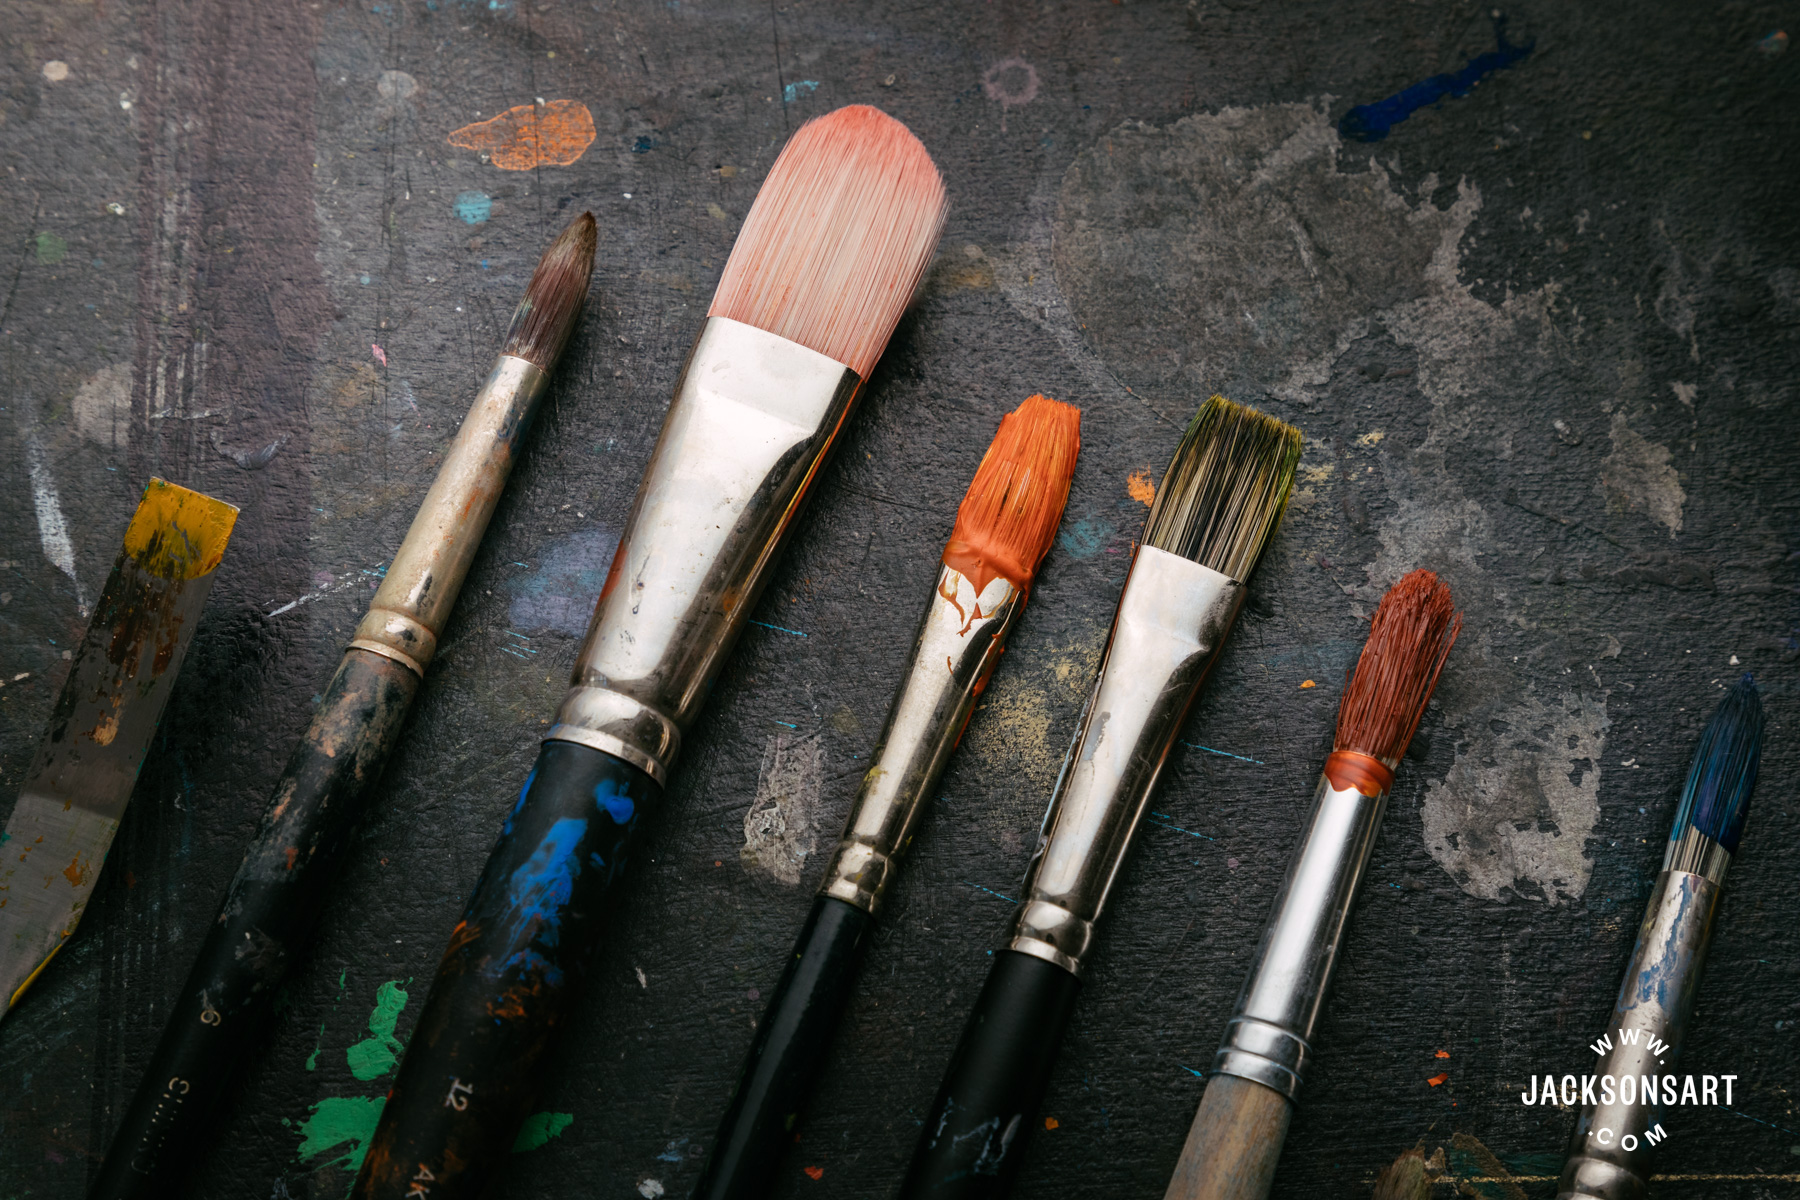
Credit: www.jacksonsart.com
Initial Brush Cleaning
Initial brush cleaning is a crucial step in maintaining your painting tools. It removes fresh paint, preventing it from drying on the bristles. This keeps the brush soft and ready for the next use. Clean brushes last longer and perform better.
Removing Excess Paint
Start by scraping off extra oil paint from the brush. Use the edge of the paint can or a palette knife. Gently press the bristles to remove thick layers. Avoid pulling or tugging the bristles to prevent damage. This step reduces the amount of paint that needs washing.
Using Paper Towels Or Cloth
After scraping, wipe the brush on paper towels or a clean cloth. Press the bristles gently to soak up remaining paint. Use multiple sheets if needed. Replace the towel or cloth when it becomes too stained. This process helps remove most paint before using solvents.
Deep Cleaning Techniques
Deep cleaning oil paint from your brushes takes more than just a quick rinse. It requires careful handling to protect your brush’s bristles and maintain their shape for future use. Using the right techniques will save you money and keep your tools ready for your next creative session.
Applying Solvent Safely
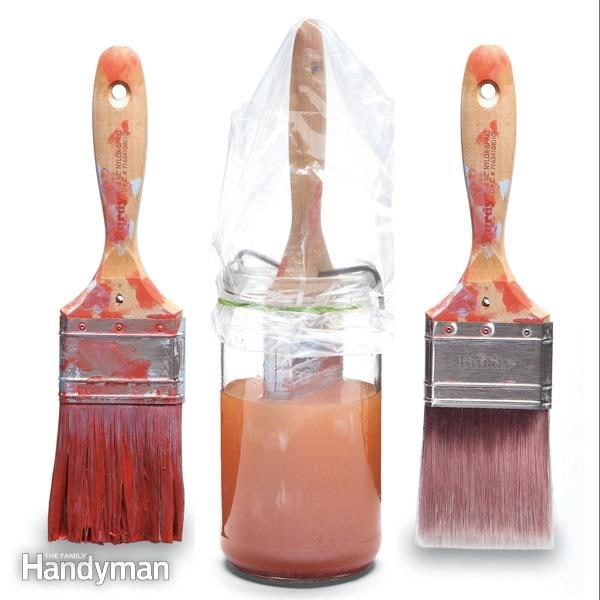
Choose a solvent that matches your paint type, like mineral spirits or brush cleaner. Pour a small amount into a container—avoid dipping your brush directly into large solvent bottles to prevent contamination.
Swirl your brush gently in the solvent. Notice how the paint loosens without scrubbing harshly. This approach preserves the bristles and prevents damage.
Remember, always work in a well-ventilated area. Have gloves handy to protect your skin. Have you ever experienced itchy hands after cleaning your brushes? A little care goes a long way.
Gentle Bristle Scrubbing
After dissolving paint with solvent, use a soft brush comb or your fingers to remove leftover paint. Avoid using hard scrubbing tools that can bend or break bristles.
Work from the ferrule (metal part) toward the tip. This direction helps keep the bristles aligned. You’ll notice how a gentle touch still removes stubborn paint effectively.
If you see dried paint near the base, soak the brush a bit longer. Patience here prevents damage and keeps your brushes in top shape. Have you tried this gentle scrubbing approach before?
Rinsing And Drying
Rinsing and drying your brushes properly after cleaning off oil paint is crucial to keep them in top shape. Skipping this step can leave residue that hardens and ruins the bristles. Taking a little extra time here ensures your brushes last longer and perform better every time you paint.
Water Rinse Tips
After using a solvent to remove the paint, rinse your brush under warm water to wash away any leftover residue. Hold the brush with the bristles pointing downward to avoid water seeping into the ferrule, which can loosen the glue over time.
Gently work your fingers through the bristles while rinsing to help release trapped paint. If you notice the water is still colored, keep rinsing until it runs clear. This simple step can make a big difference in how clean your brush feels and looks.
Proper Brush Drying
Drying your brush properly prevents damage and maintains its shape. First, shake off excess water and then gently blot the bristles with a clean cloth or paper towel.
Always reshape the bristles with your fingers before letting the brush air dry flat or hanging it with bristles pointing downward. Have you noticed how some brushes lose their shape? It’s often because they dried standing upright, allowing water to drip into the handle, weakening the glue.
Maintaining Brush Quality
Maintaining the quality of your brushes is key to making your oil painting experience more enjoyable and cost-effective. Brushes that are well cared for perform better and last longer, saving you from frequent replacements. Taking a few extra moments to clean and store them properly can make a big difference in your artwork.
Regular Cleaning Habits
After each painting session, clean your brushes immediately. Leaving oil paint to dry on the bristles can ruin their shape and stiffness.
Use a solvent like mineral spirits or brush cleaner to remove the paint thoroughly. Follow up with warm, soapy water to get rid of any leftover residue.
Gently reshape the bristles with your fingers before letting them dry. Have you noticed how a brush feels different when it’s been left dirty? That’s a sign your tools need better care.
Storing Brushes Correctly
How you store your brushes affects their lifespan just as much as cleaning. Always store them with the bristles facing up or flat, never down, to avoid bending or damaging the hairs.
If possible, keep brushes in a container where they won’t touch each other too much. This prevents bristles from getting misshaped or tangled.
Consider wrapping delicate brushes in paper or using brush guards for extra protection. Proper storage not only keeps brushes ready for your next project but also protects your investment in quality tools.
Credit: www.ninjacart.com
Eco-friendly Cleaning Alternatives
Cleaning oil paint from brushes doesn’t have to mean using harsh chemicals that harm the environment. You can switch to eco-friendly alternatives that protect both your brushes and the planet. These options are often safer for your health and just as effective.
Natural Solvents To Use
Look for natural solvents like citrus-based cleaners or soy-based paint removers. These break down oil paint without toxic fumes or harsh residues. I once switched to a citrus solvent and noticed my brushes lasted longer and my workspace smelled fresh instead of chemical-heavy.
Other options include:
- Linseed oil:It softens dried paint and is gentle on bristles.
- Vinegar:Warm vinegar helps dissolve paint and disinfects brushes.
- Olive oil:Works well for cleaning light paint stains and conditioning brushes.
Do you think these natural choices could replace your usual cleaning routine? Trying them might surprise you with how well they work.
Safe Disposal Methods
Cleaning with eco-friendly solvents is just one part of the process. Properly disposing of leftover paint and solvents matters too. Pouring paint or solvent down the drain can pollute water and harm wildlife.
Instead, consider these safe disposal tips:
- Let paint solids dry completely, then throw them in the trash.
- Collect liquid waste in sealed containers and take them to a hazardous waste facility.
- Reuse leftover solvent by filtering and storing it for your next cleaning session.
Handling waste responsibly protects the environment and keeps your workspace safe. Are you ready to make your cleaning habits greener and more mindful?
Frequently Asked Questions
How Do I Remove Oil Paint From Brushes Quickly?
To remove oil paint quickly, first wipe off excess paint. Then use a solvent like mineral spirits. Finally, wash brushes with soap and warm water to clean thoroughly.
What Is The Best Solvent For Cleaning Oil Paint Brushes?
Mineral spirits and turpentine are the best solvents. They dissolve oil paint effectively without damaging bristles. Always work in a well-ventilated area for safety.
Can I Use Household Products To Clean Oil Paint Brushes?
Yes, some household products like vegetable oil or baby oil can loosen paint. Follow with soap and water to remove residue and protect brush bristles.
How Do I Maintain Brushes After Cleaning Oil Paint?
After cleaning, reshape the bristles and let brushes dry flat. Store them properly to keep bristles in good condition and extend brush life.
Conclusion
Cleaning oil paint from brushes takes some patience and care. Start by wiping off extra paint with a cloth. Then, use the right solvent like mineral spirits to loosen the paint. Rinse brushes well with soap and warm water. Repeat if needed until brushes feel clean and soft.
Proper cleaning keeps brushes lasting longer and ready for your next project. Taking time to clean brushes saves money and helps your art look better. Simple steps, good results. Easy to follow.


