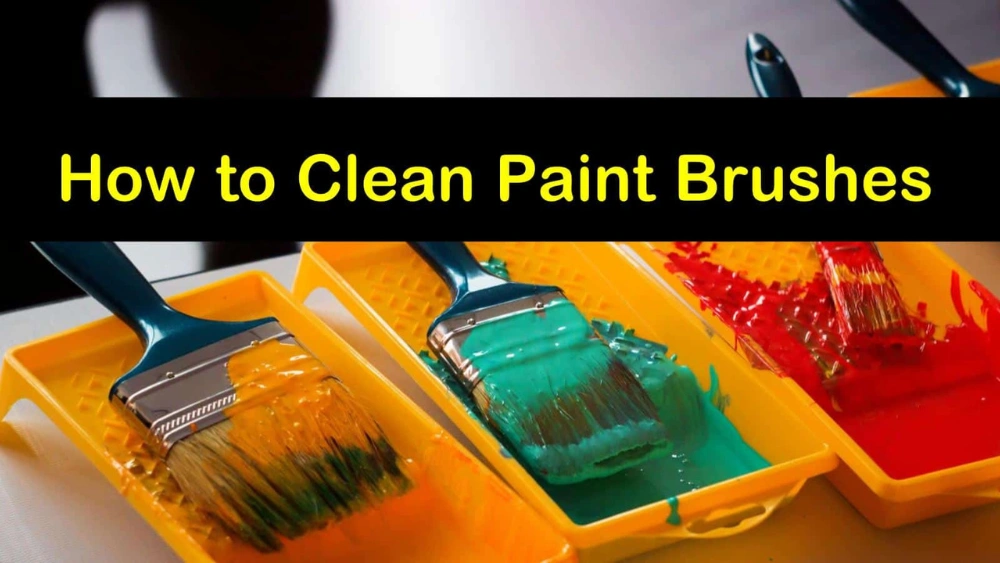
If you’ve just finished a painting project using oil-based paint, you know that cleaning your brush can feel like a tough, messy job. But what if you could save your brush and keep it in great shape for your next project?
Knowing how to clean a brush with oil-based paint properly not only saves you money but also makes your future painting easier and more enjoyable. In this guide, you’ll discover simple, effective steps to get your brush spotless without wasting time or effort.
Keep reading, and you’ll never have to toss a good brush again.
Materials Needed
Cleaning a brush with oil-based paint requires specific materials to make the process effective and safe. Having the right supplies on hand not only saves time but also protects your tools and skin. Before you start, gather everything you’ll need to ensure a smooth cleanup.
Solvent Or Paint Thinner
Oil-based paints don’t wash away with water, so you’ll need a solvent like mineral spirits or paint thinner. These liquids break down the paint, making it easier to remove from the brush bristles. Choose a solvent recommended for your type of paint to avoid damaging your brush.
Protective Gloves
Your hands will come into contact with harsh chemicals, so wear sturdy gloves. Nitrile gloves work well because they resist solvents better than latex. Gloves protect your skin from irritation and make cleanup safer.
Container For Soaking
Use a container large enough to hold the brush and solvent comfortably. A metal or glass jar works best since plastic can be damaged by solvents. Make sure the container has a lid to seal it if you need to soak the brush for a while.
Old Rags Or Paper Towels
Keep some rags or paper towels nearby for wiping excess paint and solvent off the brush. Having them on hand prevents messes and helps you dry the brush after cleaning. Choose disposable rags to avoid contaminating your laundry.
Brush Comb Or Wire Brush
A brush comb or a wire brush helps remove paint lodged deep in the bristles. This tool is especially useful if your brush has stiffened with dried paint. Using it ensures your brush maintains its shape and lasts longer.
Preparing The Work Area
Preparing the work area is important before cleaning a brush with oil-based paint. A clean and organized space makes the process easier and safer. This helps avoid messes and protects surfaces from stains or damage.
Set up near a well-ventilated area. Oil-based paint and solvents release strong fumes. Fresh air reduces inhaling harmful chemicals and keeps you comfortable.
Gather all supplies before starting. This saves time and keeps everything within reach. It also helps keep the work area tidy and efficient.
Choose A Well-ventilated Space
Pick a spot with plenty of airflow, such as an open garage or outdoor area. Avoid small, closed rooms. Open windows and doors to let fresh air circulate.
Protect Surfaces From Paint And Solvents
Cover tables and floors with old newspapers or plastic sheets. This prevents stains and damage from paint drips or spills. Use disposable coverings for easy cleanup.
Gather Necessary Cleaning Supplies
- Paint thinner or mineral spirits
- Two containers for soaking and rinsing
- Old rags or paper towels
- Gloves to protect your hands
- A wire brush or comb for stubborn paint
Wear Protective Gear
Put on gloves to keep paint thinner off your skin. Wear old clothes or an apron to avoid stains. Safety glasses protect your eyes from splashes.
Initial Paint Removal
Initial paint removal is a crucial step to keep your brush in good condition after working with oil-based paints. It helps prevent the paint from drying deep in the bristles, which can make cleaning much harder later on. Getting rid of as much paint as possible before washing saves you time and effort.
Wiping Excess Paint
Start by wiping off the thickest layers of paint using a rag or paper towel. Press the brush against the rag while pulling through the bristles to remove large paint clumps. This quick action reduces the amount of paint you’ll need to clean with solvents.
Try to avoid scrubbing hard, as this can damage the bristles. Instead, focus on gentle but firm wiping motions. If you notice paint stuck near the base of the bristles, don’t ignore it—this is where paint tends to dry and harden first.
Using A Paint Comb
A paint comb is a handy tool that helps you remove paint trapped deep within the bristles. Run the comb from the base to the tip of the brush repeatedly. This separates the bristles and lifts away dried or semi-dried paint.
Using a comb also helps realign the bristles, keeping your brush in better shape for future use. Do you have a paint comb? If not, a sturdy fork can work in a pinch. The key is to be thorough but gentle to avoid bending the bristles out of shape.
Using Solvents
Using solvents is the most effective way to clean brushes used with oil-based paint. Solvents break down the paint, making it easier to remove from the bristles. Choosing the right solvent and handling it safely ensures good results and protects your health.
Choosing The Right Solvent
Not all solvents work the same for cleaning brushes. Common options include mineral spirits, turpentine, and paint thinner. Mineral spirits are less smelly and safer for indoor use. Turpentine is stronger but has a stronger odor. Paint thinner works well but can be harsh on brush bristles.
Check the paint label for recommended solvents. Some solvents clean faster and dissolve paint better. Use a container that fits your brush to soak it fully. Avoid mixing solvents to prevent chemical reactions.
Safety Precautions
Solvents can be harmful if not handled properly. Work in a well-ventilated area to avoid breathing fumes. Open windows or use fans to keep air flowing. Wear gloves to protect your skin from irritation.
Keep solvents away from flames or sparks. They are highly flammable. Store solvents in tightly closed containers out of reach of children and pets. Dispose of used solvent safely, following local guidelines to protect the environment.
Cleaning Process
Cleaning a brush with oil-based paint takes care and patience. The process removes paint residues and keeps the brush in good shape. Proper cleaning extends the brush’s life and maintains its performance. Use the right materials and follow clear steps to clean the brush effectively.
Soaking The Brush
Start by soaking the brush in a solvent made for oil-based paint. Use mineral spirits or paint thinner for this step. Pour enough solvent into a container to cover the bristles. Let the brush sit for 10 to 15 minutes. This loosens the paint and makes it easier to remove.
Do not soak the brush for too long. Long soaking can damage the bristles. Check the brush often to see if the paint is softening.
Working The Solvent
After soaking, work the solvent into the bristles. Use your fingers or a brush comb to separate the hairs. Move the brush back and forth in the solvent to break down paint clumps. This helps remove paint deep inside the bristles.
Rinse the brush in clean solvent to wash away loosened paint. Repeat the process if needed until the brush looks clean. Finally, wash the brush with warm soapy water to remove any leftover solvent.

Credit: www.youtube.com
Final Rinse And Drying
After removing most of the oil-based paint and solvent, the brush still needs a final rinse. This step clears out leftover residue and solvent traces. Proper rinsing and drying keep your brush in good shape. It prevents bristles from hardening and extends brush life.
Rinsing With Soap And Water
Use warm water with mild soap to rinse the brush. Gently work the soap into the bristles with your fingers. The soap helps break down remaining paint and solvent. Rinse thoroughly under running water until no paint or soap appears. Make sure water runs clear.
Drying Techniques
Shake off excess water from the brush. Use a clean cloth or paper towel to blot the bristles. Avoid squeezing hard as it may damage the bristles. Reshape the bristles to their original form. Hang the brush with bristles pointing down to dry. This prevents water from settling near the handle. Let the brush dry completely before storing or using again.
Maintaining Brush Quality
Maintaining the quality of your brush after using oil-based paint is key to getting smooth finishes in future projects. A well-kept brush lasts longer and performs better, saving you money and frustration. Let’s look at how you can keep your brush in top shape through proper storage and regular care.
Proper Storage
After thoroughly cleaning your brush, how you store it makes a big difference. Avoid leaving it resting on its bristles as this can cause them to bend or splay. Instead, hang the brush by its handle or lay it flat with the bristles stretched out straight.
Consider wrapping the brush in wax paper or plastic wrap if you plan to reuse it soon. This keeps the bristles from drying out and hardening. If you won’t use the brush for a while, store it in a container that keeps dust and dirt away, but allow some airflow to prevent mold growth.
Regular Care Tips
- Clean immediately after use:Don’t wait for the paint to dry on the bristles. The sooner you clean, the easier it is to remove all paint residue.
- Use the right solvent:For oil-based paints, use mineral spirits or paint thinner. Avoid water-based cleaners as they won’t break down the paint properly.
- Comb your brush:After cleaning, run a brush comb or an old fork through the bristles. This helps remove trapped paint and realign the fibers.
- Dry naturally:Never use heat to dry your brush. Let it air dry to maintain the natural flexibility of the bristles.
- Inspect regularly:Check for loose bristles or buildup. A quick clean before each use keeps your brush ready and effective.
Have you ever thrown away a brush too soon because it felt ruined? With these care tips, you might find your favorite brushes sticking around for many projects. What small change will you try first to keep your brushes working like new?

Credit: www.youtube.com

Credit: www.facebook.com
Frequently Asked Questions
How Do You Clean Oil-based Paint From Brushes?
To clean oil-based paint, use mineral spirits or paint thinner. Soak the brush for a few minutes, then wipe off paint. Rinse with warm soapy water and dry thoroughly before storing.
What Is The Best Solvent For Oil-based Paint Brushes?
Mineral spirits and paint thinner are the best solvents. They effectively dissolve oil-based paint, making brush cleaning easier. Always work in a well-ventilated area and wear gloves for protection.
Can I Reuse Brushes After Cleaning Oil-based Paint?
Yes, properly cleaned brushes can be reused multiple times. Remove all paint residue and allow brushes to dry completely. Store them in a dry place to maintain bristle shape and quality.
How Long Should I Soak Brushes In Paint Thinner?
Soak brushes for 10 to 15 minutes for best results. This loosens dried paint without damaging the bristles. Repeat soaking if paint remains, then rinse and dry the brush.
Conclusion
Cleaning brushes with oil-based paint takes patience and the right steps. Use paint thinner or mineral spirits to remove the paint effectively. Work the solvent into the bristles gently but thoroughly. Rinse the brush well and let it dry completely before storing.
Regular cleaning keeps your brushes in good shape for future use. Follow these simple tips to save money and avoid throwing brushes away. A clean brush means better painting results every time. Easy, right?


