Is your kitchen faucet dripping nonstop, wasting water and driving you crazy? The culprit might be a worn-out washer, and the good news is—you can fix it yourself.
Changing the washer on your kitchen faucet is easier than you think, even if you’ve never done plumbing work before. In this guide, you’ll get simple, step-by-step instructions that save you time and money. Keep reading to find out how to stop that annoying drip once and for all.
Tools Needed
Before you start changing the washer on your kitchen faucet, having the right tools at hand makes the job smoother and faster. Without them, you might find yourself stuck or risking damage to your faucet. Gathering everything you need beforehand saves time and avoids unnecessary frustration.
Adjustable Wrench
An adjustable wrench is your best friend for loosening and tightening nuts on the faucet. Its flexibility allows you to work with different sizes, making it perfect for this task. If you don’t have one, a set of open-end wrenches can also do the trick, but an adjustable wrench offers more convenience.
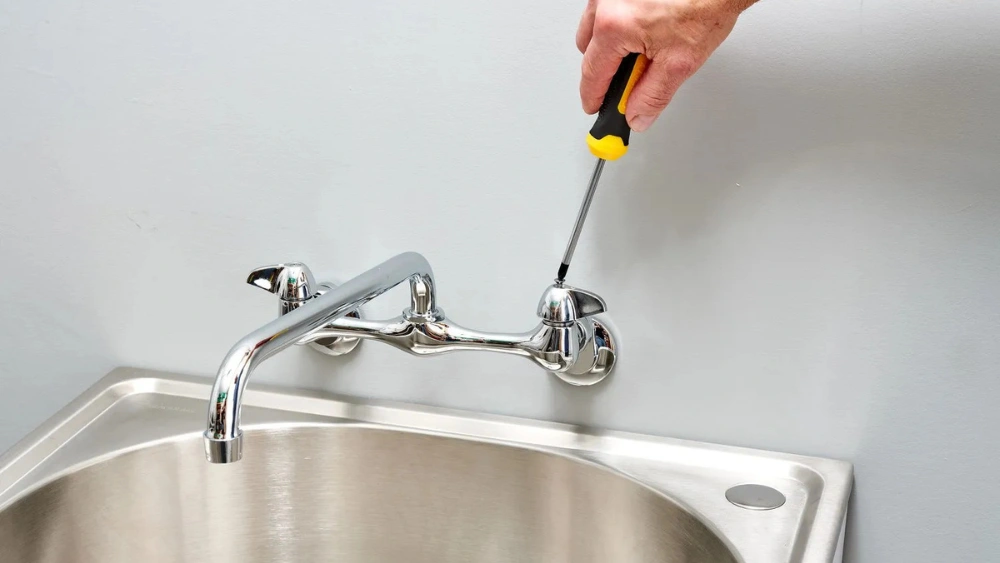
Screwdrivers
You’ll need both a flathead and a Phillips screwdriver to remove screws securing the faucet handle and other parts. These simple tools help you access the washer without damaging the surrounding pieces. Having both types ready avoids stopping midway to find the right one.
Pliers
Pliers help grip and turn small parts that are hard to handle by hand. Needle-nose pliers are especially useful for pulling out the old washer from tight spots. Their precision prevents you from slipping and causing scratches or other damage.
Replacement Washer
Bringing the exact replacement washer ensures you don’t waste time guessing the right size. If you’re unsure, take the old washer to the hardware store to find a perfect match. Using the correct washer is key to fixing leaks and ensuring long-lasting results.
Cleaning Materials
Old washers often leave behind grime and mineral deposits. Keep a small brush and some vinegar or a mild cleaner handy to scrub the faucet parts before installing the new washer. Clean surfaces help the new washer seal properly and prevent future leaks.
Do you already have these tools on hand, or will you need to make a quick trip to the store? Preparing your workspace and tools can turn a daunting repair into a straightforward task you can complete confidently.
Preparing The Workspace
Preparing your workspace is key to a smooth and hassle-free washer replacement on your kitchen faucet. Taking the time to organize the area helps you avoid frustrating interruptions and keeps everything within reach. A neat workspace also protects your kitchen surfaces from water damage and stray parts.
Clearing The Area
Start by removing any items around the sink, such as dishes, soap dispensers, and towels. You want a clean, open space to work comfortably without risking knocking anything over. Clearing the countertop and under-sink cabinet gives you plenty of room to move and keeps tools and parts from getting lost.
Think about the lighting too. Is the area well-lit? If not, grab a portable lamp or flashlight to make sure you can see the small parts clearly. Good lighting can save you from fumbling and mistakes.
Gathering Materials
Before you begin, collect all the tools and replacement parts you’ll need. This usually includes:
- Replacement washer specific to your faucet model
- Adjustable wrench or pliers
- Flathead screwdriver
- Towel or small bucket to catch drips
- Cleaning cloth
Having everything ready means you won’t have to stop mid-task to find a missing tool or part. Did you check if the replacement washer matches your faucet’s size? Using the wrong size can cause leaks or damage.
Turning Off The Water Supply
Turning off the water supply is a crucial first step when changing the washer on your kitchen faucet. Skipping this step can lead to unexpected water sprays and a bigger mess than you planned for. Taking a moment to properly shut off the water will save you time and frustration later on.
Locating The Shut-off Valve
Before you start, find the shut-off valve that controls water flow to your kitchen faucet. These valves are usually located under the sink, near the pipes. Sometimes, they can be hidden behind a cabinet door or stored in a recessed box on the wall.
If you don’t find individual valves under the sink, look for the main water valve for the entire house. Knowing the exact valve location will make the process smoother and prevent water damage.
Testing For Water Flow
Once you believe the valve is off, it’s time to test whether the water has truly stopped. Turn on the faucet and watch closely to see if any water still flows out. A few drops might still come through, but a steady stream means you need to turn the valve more or check for a different valve.
Testing the water flow helps you avoid surprises when you disassemble the faucet. You don’t want to be caught off guard by water rushing out at the worst moment. Have a towel or bucket nearby just in case a small leak appears during the process.
Credit: www.amazon.com
Removing The Faucet Handle
Removing the faucet handle is the crucial first move in changing the washer on your kitchen faucet. This step gives you access to the inner parts where the washer sits, and skipping it can make the whole process frustrating. You’ll need a few basic tools and a bit of patience to avoid damaging your faucet.
Unscrewing The Handle
Start by locating the screw that holds the handle in place. This screw is often hidden under a decorative cap or plug, so gently pry it off with a flathead screwdriver or a thin knife.
Once you see the screw, use a screwdriver to carefully unscrew it. If the screw feels stuck, a little penetrating oil can help loosen it up. Remember to keep the screw in a safe spot—you don’t want to lose it mid-repair.
After removing the screw, you should be able to pull the handle straight up or twist it off, depending on your faucet model. If the handle resists, avoid forcing it; try wiggling it gently or check for any extra screws.
Accessing The Washer
With the handle off, you’ll see the faucet stem or cartridge, which holds the washer at its base. Before proceeding, turn off the water supply to avoid unexpected leaks.
Use an adjustable wrench to loosen the packing nut or retaining nut securing the stem. This will give you access to the washer. Take note of how everything fits together—taking a photo can be a helpful reference when reassembling.
Once the nut is removed, you can pull out the stem and find the washer attached at the bottom. Be ready for some water to drip out—that’s normal. Now you’re set to replace the washer and fix that annoying drip.
Replacing The Washer
Replacing the washer in your kitchen faucet is a straightforward task that can stop annoying drips and save you money on water bills. This small component plays a big role in sealing the faucet, so choosing and installing the right washer is crucial. Let’s look at how you can identify the correct washer and install it properly to restore your faucet’s smooth operation.
Identifying The Correct Washer
Not all washers are the same size or material. Before you buy a new washer, remove the old one carefully and take it with you to the hardware store. This helps you match the exact size, thickness, and type—usually rubber or silicone.
Check the faucet’s model number if you have it, as some brands recommend specific washers. Don’t guess the size; even a tiny difference can cause leaks or poor fit. If you’re unsure, ask the store staff to help you find the closest match.
Installing The New Washer
Once you have the correct washer, clean the area inside the faucet where it sits. Dirt or mineral buildup can prevent a proper seal. Use a small brush or cloth to wipe the surface gently.
Place the new washer in the exact position of the old one. It should sit flat and snug inside the faucet. When reassembling, tighten the parts just enough—too tight can damage the washer, too loose will cause leaks.
After installation, turn on your water supply and test the faucet. Does the dripping stop? If not, double-check the washer placement or try a different size. Your faucet should now work quietly and efficiently.
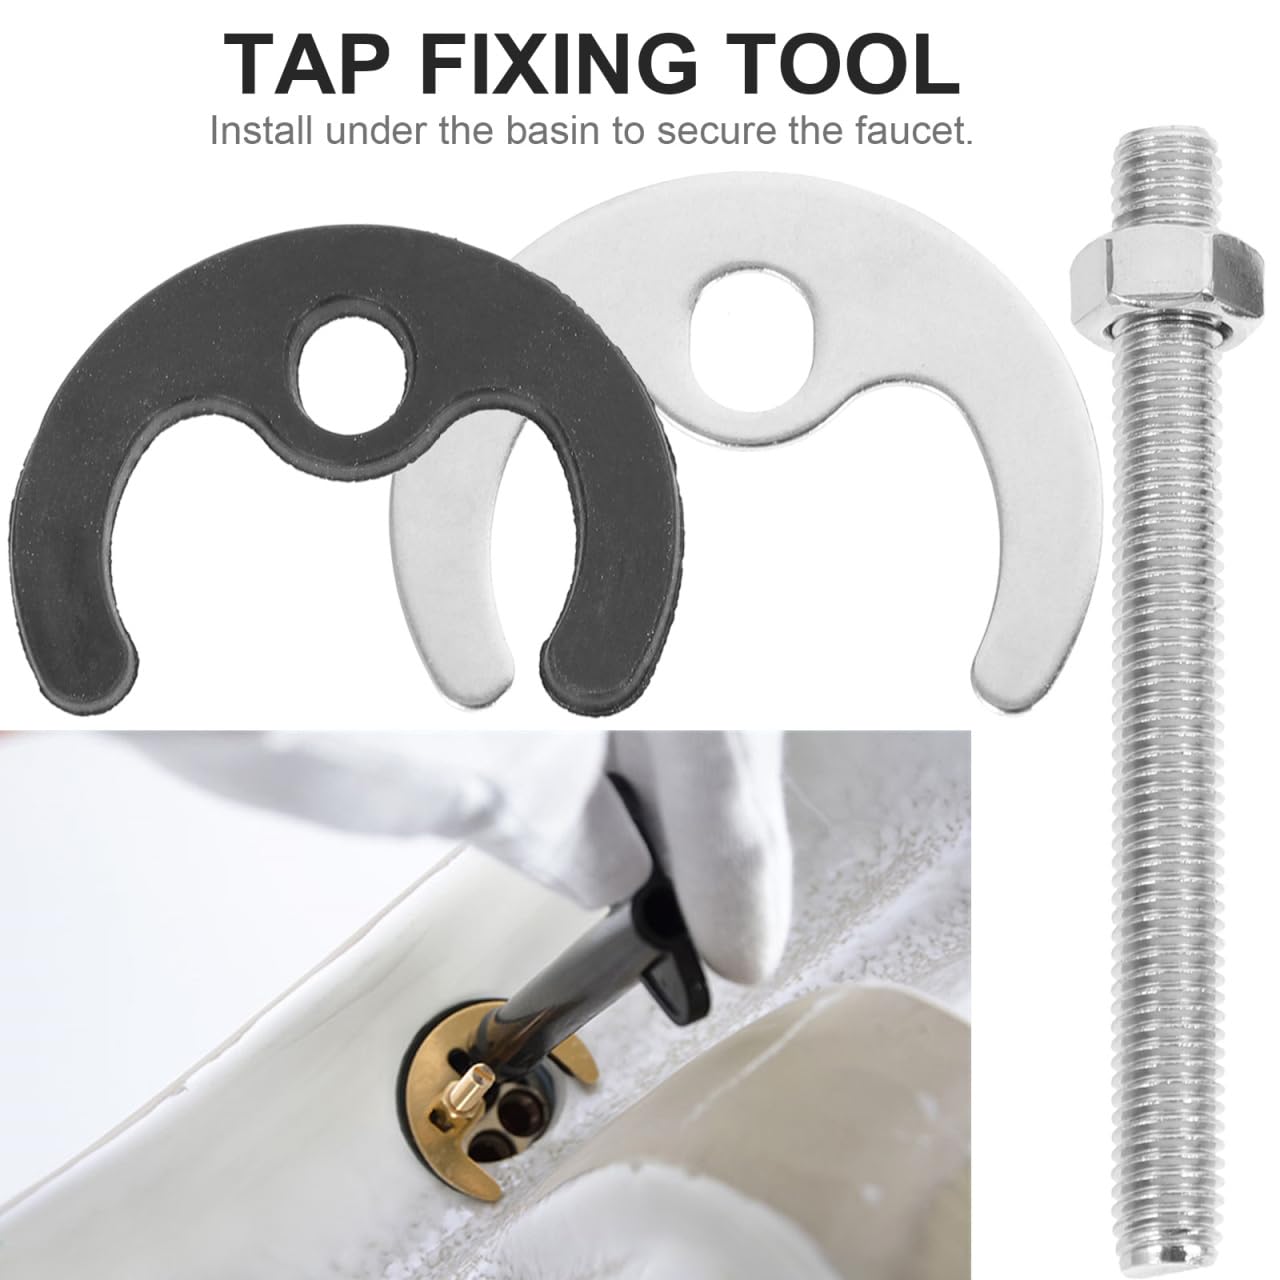
Credit: www.fontanashowers.com
Reassembling The Faucet
Reassembling the faucet after changing the washer is crucial to ensure your kitchen faucet works smoothly without leaks. This part of the process demands patience and attention to detail. Skipping or rushing through these steps can undo all your hard work.
Securing The Handle
Start by placing the handle back onto the faucet stem carefully. Make sure it aligns perfectly with the stem’s slot or screw hole. If you force it, you might damage the handle or the stem, leading to a poor fit or future leaks.
Use the original screws or fasteners to secure the handle. Tighten them firmly but avoid over-tightening, which can strip the threads or crack the handle. If you find the screws hard to turn, check if they’re the right size or if there’s any debris obstructing them.
Ensuring Proper Fit
Once the handle is secured, test the faucet by turning it on and off several times. Watch for any wobbling or looseness in the handle, which indicates it isn’t seated correctly. A stable handle means the washer and other internal parts are properly aligned.
Also, inspect around the base of the faucet for any signs of water leakage. A proper fit should create a tight seal, preventing water from escaping. If you notice drips, disassemble and double-check the washer placement and all seals before reassembling.
Turning On The Water Supply
Turning on the water supply after changing the washer is a key step. It restores water flow to the faucet. This step must be done carefully to avoid water damage. Slowly opening the valve prevents sudden bursts of water pressure. Watch the faucet closely as you do this. Small adjustments help control the water flow safely.
Checking For Leaks
After turning the water back on, check for leaks around the faucet base and handles. Look for any water drops or wet spots. Use a dry cloth to spot even small leaks. Tighten connections gently if you notice any drips. Do not force fittings, as this can cause damage.
Testing The Faucet Functionality
Open the faucet to test water flow. The water should run smoothly without sputtering or noise. Check both hot and cold water settings. Make sure the faucet turns off completely with no dripping. This confirms the washer is installed correctly. A smooth operation means your repair is successful.

Credit: m.youtube.com
Troubleshooting Common Issues
Fixing a washer on your kitchen faucet can seem straightforward, but sometimes issues pop up that make you wonder if you missed a step. Troubleshooting these common problems helps you avoid repeat visits under the sink and keeps your kitchen running smoothly. Let’s look at two frequent issues that might challenge you after changing the washer.
Persistent Leaks
Leaks can be stubborn, especially if you’ve just replaced the washer. If water keeps dripping, first check if the washer sits properly in its seat. A misaligned washer won’t seal the faucet correctly, causing constant leaks.
Also, inspect the faucet’s valve seat for damage. If it’s corroded or cracked, the new washer won’t fix the leak. You might need to replace or resurface the valve seat to get a tight seal.
Have you tightened the faucet parts enough? Over-tightening can deform the washer, while too little pressure lets water slip through. Finding the right balance is key.
Poor Water Flow
After changing the washer, you expect normal water flow. If the water is weak or uneven, debris could be blocking the faucet aerator or the cartridge inside.
Remove and clean the aerator to clear out sediment or mineral buildup. Sometimes, the problem lies deeper in the faucet’s internal parts, so check the cartridge for clogs or damage.
Another factor is the washer itself. A washer that’s too thick or the wrong size can restrict water flow. Double-check you used the correct washer model for your faucet.
Maintenance Tips
Keeping your kitchen faucet in top shape means paying attention to the small parts that make a big difference. The washer inside your faucet controls leaks and drips, so maintaining it is key to a smooth-running sink. Let’s look at how regular care can save you time, money, and frustration.
Regular Inspections
Set a reminder to check your faucet every few months. Look for signs like dripping water or a handle that feels loose or stiff. These clues often point to a worn-out washer before the problem worsens.
During your inspection, turn the water on and off to notice any unusual sounds or resistance. If you see water pooling around the base or hear a constant drip, it’s time to dig a little deeper. Catching these early signs can prevent bigger repairs down the line.
Replacing Washers Periodically
Even if your faucet seems fine, washers don’t last forever. Replacing them every year or two keeps your faucet working smoothly and stops leaks before they start. You’ll find washers in different sizes, so make sure to match the one you remove with a new one exactly.
Use simple tools like a wrench and screwdriver for the replacement. Don’t rush the process; a careful swap avoids damage and saves you a return trip. Have you ever ignored a small drip only to face a flooded kitchen? Changing washers regularly keeps that story from happening to you.
Frequently Asked Questions
How Do I Know When To Change My Kitchen Faucet Washer?
If your faucet drips or leaks continuously, it likely needs a new washer. Check for water pooling or sounds of dripping.
What Tools Are Required To Replace A Kitchen Faucet Washer?
You’ll need an adjustable wrench, screwdriver, replacement washer, and pliers. These tools help you safely remove and install the washer.
How Long Does It Take To Change A Faucet Washer?
Replacing a kitchen faucet washer typically takes 15 to 30 minutes. It depends on your skill level and faucet type.
Can I Use Any Washer For My Kitchen Faucet?
No, use a washer that matches your faucet’s size and type. Using the wrong size can cause leaks or damage.
Conclusion
Changing the washer on a kitchen faucet saves money and time. You can stop leaks and improve water flow quickly. The steps are simple and need only basic tools. Taking care of small repairs helps your home stay in good shape.
Now, you have the confidence to fix your faucet. Try it yourself and enjoy a drip-free sink. Small fixes like this make a big difference.


