
Looking to upgrade your shower experience without a full remodel? Adding a handheld shower head is one of the easiest and most affordable ways to do just that.
Imagine the freedom to rinse every inch of your body, wash your pets, or clean your shower with ease—all from one simple attachment. In this guide, you’ll discover step-by-step how to install a handheld shower head yourself, even if you’ve never done a plumbing project before.
Ready to transform your daily routine? Let’s dive in and make your shower smarter and more convenient today.

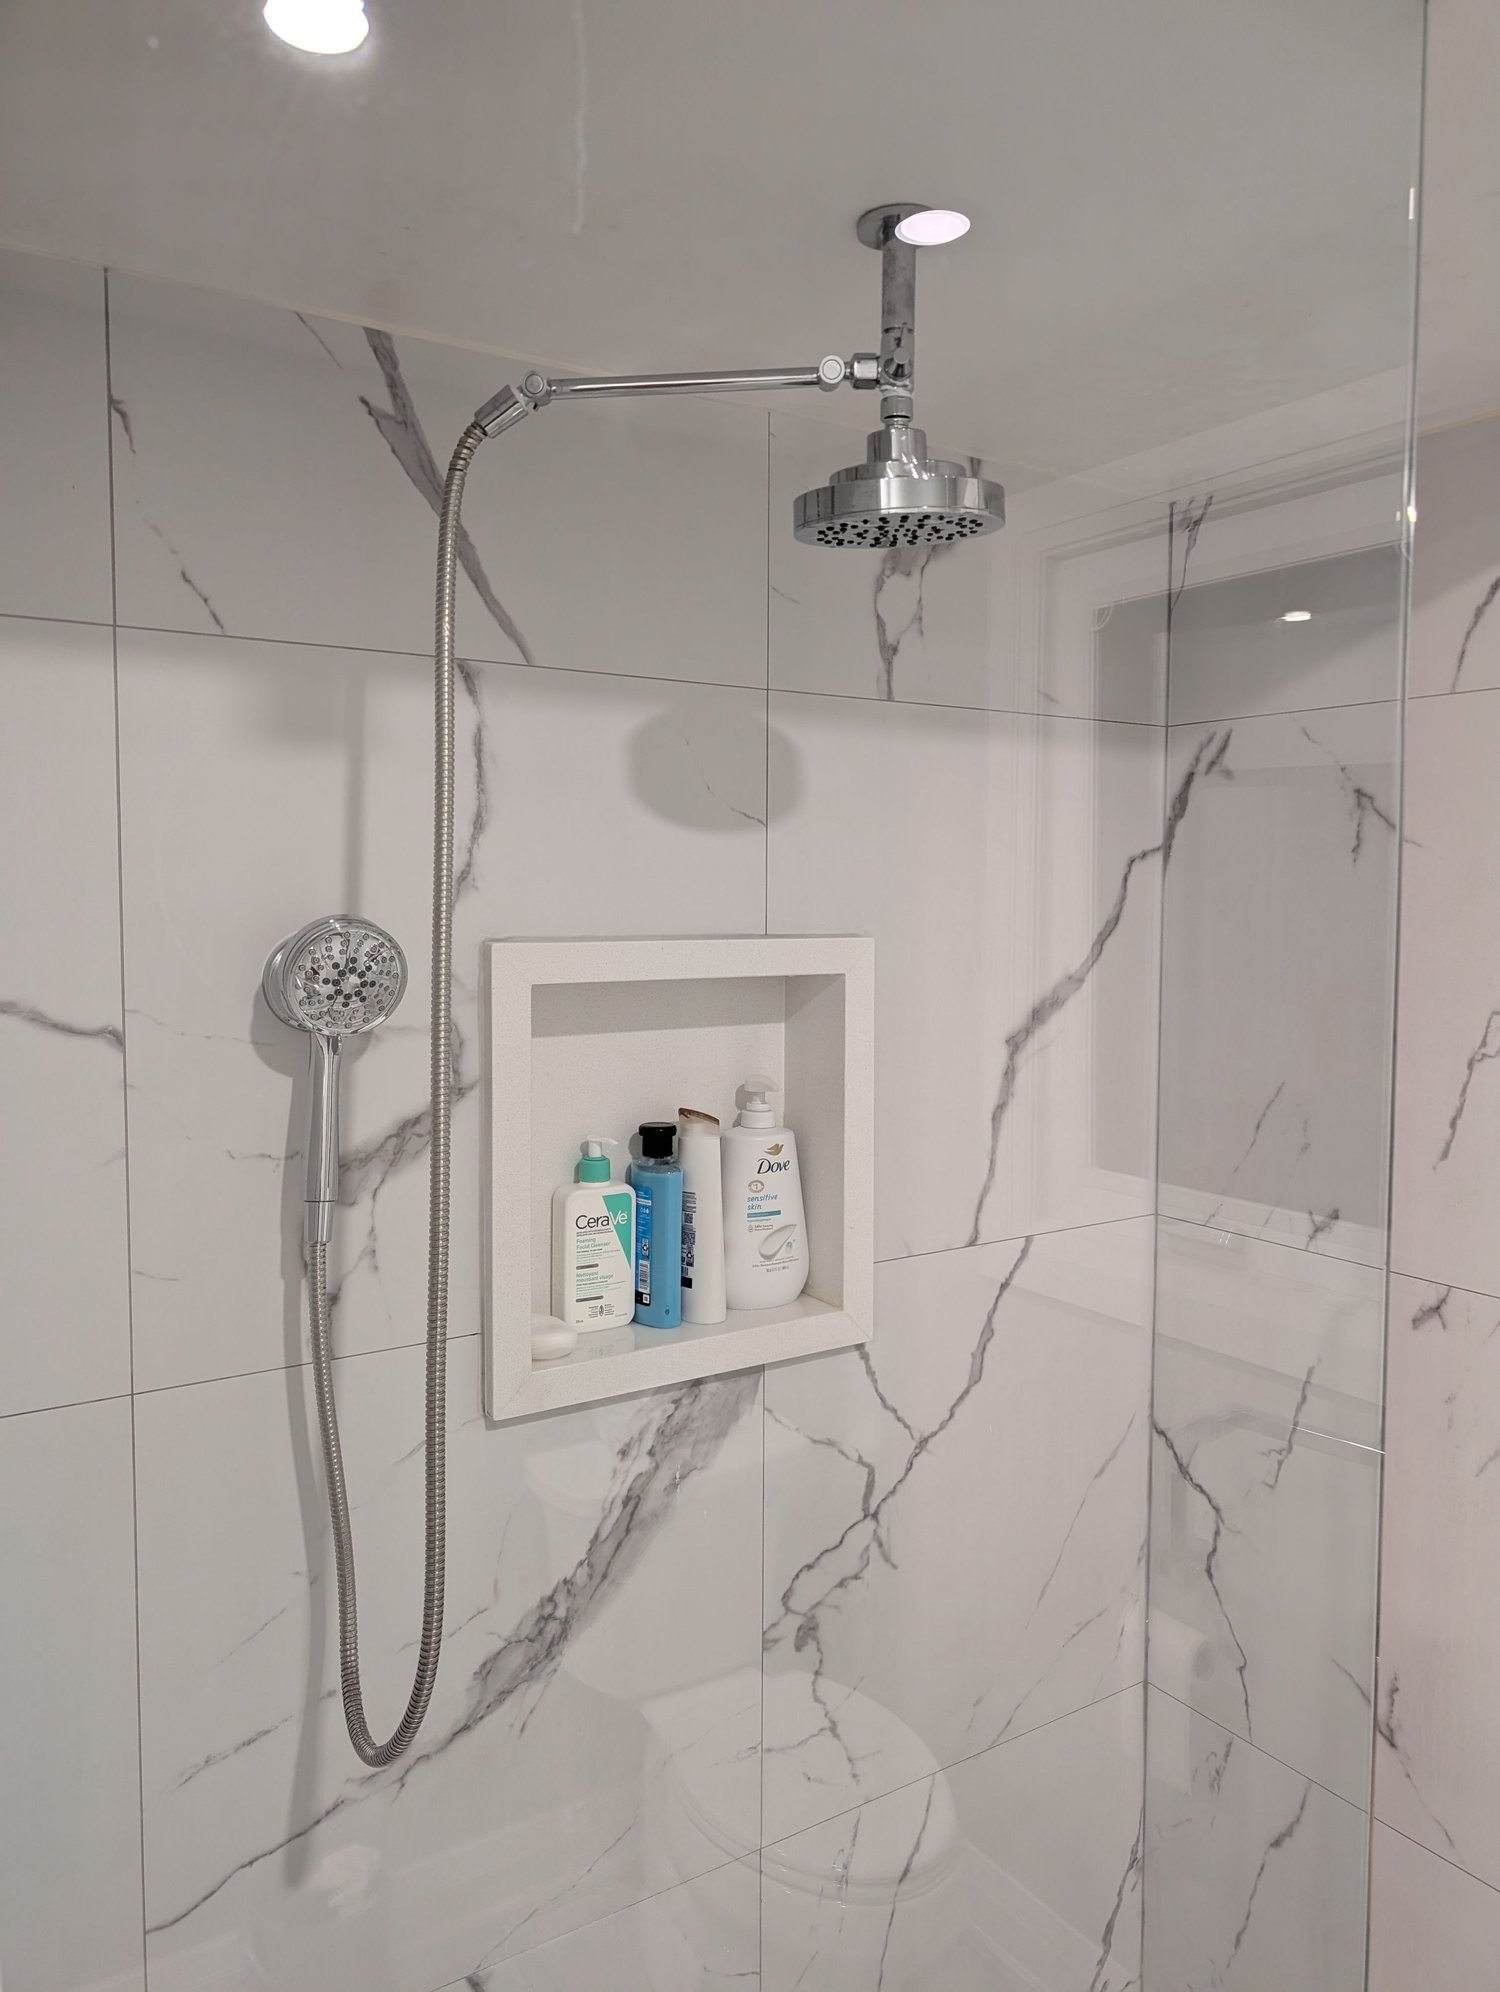
Credit: www.reddit.com
Benefits Of A Handheld Shower Head
A handheld shower head offers more than just convenience—it can transform your daily shower experience. Adding one to your shower setup provides flexibility and control that fixed shower heads simply can’t match. Whether you want to rinse off quickly, clean your shower, or even bathe your pet, a handheld shower head makes these tasks easier and more efficient.
Enhanced Flexibility And Reach
Handheld shower heads allow you to direct water exactly where you want it. This flexibility is especially useful if you have limited mobility or need to sit while showering. You can also easily rinse hard-to-reach areas without awkward twisting or stretching.
Improved Cleaning Capabilities
Cleaning your shower becomes much simpler with a handheld shower head. You can spray down soap scum and dirt from every corner, reducing the need for scrubbing. This tool also speeds up rinsing off cleaning products, helping you maintain a spotless bathroom.
Better For Families And Pets
Bathing children or pets can be challenging with a fixed shower head. A handheld option lets you control water flow gently and target specific spots without soaking everything around. It’s a practical choice that makes bath time less stressful for everyone involved.
Water Conservation And Efficiency
Since you can turn off or redirect the water easily, handheld shower heads can help reduce water waste. You don’t have to keep the water running while lathering or shampooing. This saves water and lowers your utility bills without sacrificing comfort.
Customizable Shower Experience
Many handheld shower heads come with multiple spray settings, from gentle mist to powerful massage. This lets you tailor your shower to your mood or needs on any given day. How often do you find yourself wishing your shower could adjust to exactly how you feel?
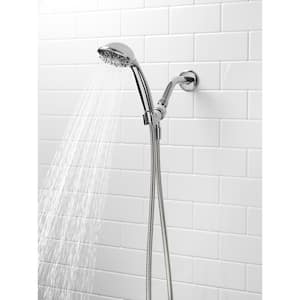
Credit: www.doityourself.com
Tools And Materials Needed
Adding a handheld shower head to your shower requires some basic tools and materials. Having everything ready makes the process smooth and easy. This section lists all essentials you need for the installation. Keep them close before starting your project.
Basic Tools
- Adjustable wrench – for tightening connections
- Screwdriver – to remove or install screws
- Plumber’s tape (Teflon tape) – prevents leaks on threaded joints
- Utility knife – to cut packaging or tape
- Bucket or small container – to catch water during removal
Materials For Installation
- Handheld shower head kit – includes shower head, hose, and bracket
- Shower arm diverter valve – diverts water between fixed and handheld heads
- Replacement washers – ensures tight seals and prevents leaks
- Optional: Silicone sealant – for extra water protection around fittings
Additional Items To Have
- Soft cloth or rag – to clean parts and protect surfaces
- Towel – to dry wet areas and hands
- Step stool – for better reach if your shower is tall
Choosing The Right Shower Head
Choosing the right handheld shower head can improve your shower experience greatly. The right model fits your needs and bathroom setup perfectly. It also saves water and energy. Focus on features that matter most to you. Consider durability and ease of installation. This helps avoid future issues and extra costs.
Features To Consider
- Spray Patterns: Multiple settings offer variety for relaxation or quick rinsing.
- Water Pressure: Choose a model that works well with your home’s water pressure.
- Hose Length: Longer hoses provide more flexibility and reach.
- Material: Look for rust-resistant materials like stainless steel or chrome.
- Installation Type: Some models fit easily on existing fixtures without tools.
- Water Efficiency: Low-flow options help save water and lower bills.
- Adjustability: Swivel heads allow better control of water direction.
Top Brands To Explore
| Brand | Key Features | Price Range |
|---|---|---|
| Moen | Durable, easy installation, multiple spray settings | Mid to high |
| Delta | Good pressure, adjustable spray, water-saving models | Mid range |
| Kohler | Stylish design, strong build, varied spray options | High end |
| Waterpik | Powerful sprays, long hoses, easy to install | Affordable to mid |
Preparing Your Shower
Getting your shower ready before installing a handheld shower head is crucial. Proper preparation helps avoid leaks, ensures a secure fit, and makes the entire process smoother. You’ll save time and frustration by tackling a few key tasks first.
Turning Off The Water Supply
Before you touch any plumbing, turn off the water supply to your shower. This prevents unexpected water sprays and keeps you safe from any water damage. Usually, you can shut off the main water valve or a specific valve for the bathroom.
If you’re unsure where the valve is, check near your water heater or under the sink. After turning off the water, open the shower faucet to drain any remaining water from the pipes. This simple step will make your installation much cleaner and easier.
Cleaning The Shower Area
Take a few minutes to clean the shower area where you’ll attach the handheld shower head. Dirt, soap scum, and grime can prevent a tight seal, causing leaks or unstable mounts. Use a mild cleaner and a cloth to wipe down the shower arm and surrounding tiles.
Make sure the threads on the shower arm are free from old plumber’s tape or debris. A clean surface ensures the new shower head fits snugly and works perfectly. Have you noticed how a clean workspace boosts your confidence and efficiency? The same goes for your shower prep.
Removing The Old Shower Head
Removing the old shower head is the first key step in adding a handheld shower head to your bathroom. This task might seem simple, but old fixtures can be tricky to remove without damaging the plumbing or your hands. Taking a careful and informed approach here saves time and prevents frustration later on.
Loosening With A Wrench
Start by wrapping a cloth around the shower arm to protect its finish. Use an adjustable wrench to grip the base of the shower head firmly. Turn the wrench counterclockwise to loosen the fixture. If it feels stuck, avoid forcing it too hard—small, steady turns work better than sudden jerks.
Keep in mind, some shower heads come off easily by hand, so try twisting first before reaching for tools. Have you noticed the difference in how tight fixtures are in your home? This simple check can save you effort and avoid unnecessary damage.
Handling Stubborn Fixtures
Old shower heads often get stuck due to mineral buildup or rust. If your wrench won’t budge the fixture, spray some penetrating oil at the joint and wait about 10-15 minutes. This loosens corrosion and makes the turning smoother.
If the shower head still won’t come off, try gently tapping it with a rubber mallet to break the seal. Avoid excessive force to prevent cracks or leaks. Sometimes, heating the joint slightly with a hairdryer can expand the metal and help loosen the fixture.
What’s your experience with stuck fixtures? Having patience and the right tools can turn a frustrating moment into a quick fix.
Installing The New Handheld Shower Head
Installing a new handheld shower head can instantly upgrade your shower experience. It’s a straightforward process that anyone comfortable with basic tools can handle. Let’s walk through the key steps to get your handheld shower set up and ready to use.
Attaching The Mount
The mount holds your handheld shower head in place when you’re not using it. Start by selecting the right spot on your shower wall or existing shower arm. Most mounts come with either suction cups or screws; choose the one that fits your bathroom setup.
If your mount requires screws, make sure to use a drill and wall anchors to secure it firmly. For suction cups, clean the surface thoroughly so the mount sticks well. Have you noticed how a loose mount can make the whole shower experience frustrating? Take your time here to avoid that issue.
Connecting The Hose
Next, connect the flexible hose to the water supply. Handheld shower heads usually come with a hose that screws onto the existing shower arm or diverter valve. Wrap plumber’s tape around the threads before attaching the hose to prevent leaks.
Hand-tighten the connections first, then use a wrench for a snug fit—don’t overtighten, as that can damage the fittings. A quick tip: keep a towel handy to protect the finish on your fixtures while tightening. Are you feeling confident about handling these small but important details?
Securing The Shower Head
Finally, attach the handheld shower head to the other end of the hose. This usually involves simply screwing it on by hand. Check that the connection is tight enough to prevent dripping but still allows you to remove the head easily when needed.
Once connected, place the shower head into the mount and test the water flow. Look out for any leaks or unusual spray patterns. If everything looks good, you’re all set to enjoy the flexibility and convenience of your new handheld shower head.
Testing For Leaks
Testing for leaks is a crucial step after installing your handheld shower head. It ensures that water flows smoothly without causing damage to your bathroom. Catching leaks early saves you from costly repairs and keeps your shower working perfectly.
Checking Connections
Start by turning on the water gently. Watch closely where the shower head connects to the hose and where the hose meets the water pipe.
If you see water dripping or spraying, that means there’s a leak. Don’t just rely on visual checks—feel around the connections with your hand for any moisture you might miss.
Leaks often hide in plain sight, so take your time. Are you noticing any wet spots forming on the wall or floor near the shower? That’s a clear sign something isn’t sealed properly.
Adjusting Tightness
Most leaks happen because the connections aren’t tight enough. Grab your wrench or pliers, but be careful not to overtighten and damage the fittings.
Turn the connections just a little bit at a time and check for leaks after each adjustment. Sometimes a simple tweak can stop the drip completely.
What if tightening doesn’t solve the problem? Consider replacing the rubber washers inside the connections—they often wear out and cause leaks.
Credit: www.homedepot.com
Enhancing Your Shower Experience
Adding a handheld shower head transforms your daily routine into a more flexible and enjoyable experience. It gives you control over water flow and direction, making showers feel more personal and refreshing. Think about how this small upgrade can turn your bathroom into a space tailored exactly to your needs.
Adjusting Spray Settings
Most handheld shower heads come with multiple spray settings like massage, mist, and rain. You can easily switch between these options with a simple twist or button press. This lets you customize your shower based on your mood—whether you need a gentle rinse or a powerful massage.
Try experimenting with different settings to see which one suits your skin type or helps ease muscle tension after a long day. Have you noticed how a focused massage spray can relieve neck pain better than a standard shower? Adjusting spray settings lets you discover what feels best for you.
Adding Accessories
Enhance your handheld shower setup with practical accessories that add convenience and style. Consider adding a slide bar to adjust height easily or a holder that lets you switch between handheld and fixed modes. These additions make your shower more versatile and user-friendly.
You might also want to add a water filter attachment to improve water quality or a soap dispenser for quick access. Small upgrades like these improve your shower without complicated installations. What accessories would make your daily routine smoother?
Maintenance Tips
Proper maintenance keeps your handheld shower head working well for years. It prevents clogs and ensures steady water flow. Simple care routines save money on repairs and replacements. Follow these tips to keep your shower head clean and efficient.
Cleaning The Shower Head
Mineral deposits can block water flow. Clean the shower head regularly to avoid buildup. Use a mixture of white vinegar and water. Soak the shower head in this solution for 30 minutes. Rinse well with warm water afterward. For stubborn spots, gently scrub with a soft brush. Avoid harsh chemicals that can damage the finish.
Regular Inspection
Check the shower head and hose often. Look for leaks, cracks, or loose parts. Tighten connections if you find any. Replace worn-out washers or seals to stop drips. Watch for uneven spray patterns that might indicate clogs. Early fixes prevent bigger problems and improve water pressure.
Frequently Asked Questions
How Do I Install A Handheld Shower Head Myself?
To install, turn off water supply first. Remove the old shower head. Attach the handheld unit using plumber’s tape. Tighten connections securely. Test for leaks. Installation usually takes 15-30 minutes and requires no special tools.
What Tools Are Needed To Add A Handheld Shower Head?
You typically need an adjustable wrench, plumber’s tape, and a screwdriver. These simple tools help remove the old shower head and secure the new handheld unit properly.
Can I Use A Handheld Shower Head With Existing Plumbing?
Yes, most handheld shower heads fit standard shower arms. No plumbing changes are usually necessary. Just ensure your water pressure supports the new shower head for optimal performance.
How Do I Prevent Leaks After Installing A Handheld Shower Head?
Use plumber’s tape on threaded connections to seal joints. Tighten fittings firmly but avoid over-tightening. Check for leaks by running water and re-tighten if needed.
Conclusion
Adding a handheld shower head is a simple way to improve your shower. It gives you more control and makes cleaning easier. You only need a few tools and some basic steps. Take your time and follow the instructions carefully.
Enjoy the convenience and flexibility it brings to your daily routine. A small change can make a big difference in your bathroom. Try it yourself and feel the comfort it adds.


