
Thinking about installing a ceiling fan in your home? You might be wondering, “How difficult is it really to install a ceiling fan?”
The idea of dealing with wires, switches, and mounting can feel overwhelming. But what if you knew exactly what to expect before you start? This guide will walk you through the process step-by-step, helping you see that with a little guidance, installing a ceiling fan might be easier than you think.
By the end, you’ll feel confident and ready to improve your space with a cool, stylish fan that keeps you comfortable all year round. Keep reading to discover the truth about ceiling fan installation and how you can do it yourself without stress.

Credit: www.hunterfan.com
Choosing The Right Ceiling Fan
Choosing the right ceiling fan is more than just picking a design you like. It directly affects your room’s comfort, style, and energy use. Making smart choices here can save you time and money during installation and for years afterward.
Size And Style Considerations
The size of your ceiling fan should match the room’s dimensions. A fan too small won’t cool efficiently, while a fan too large can overpower the space and look awkward.
- For rooms under 75 square feet, a fan with a blade span of 29-36 inches works well.
- Rooms between 75-144 square feet need 36-42 inch fans.
- Larger rooms over 144 square feet require fans with blades 50 inches or more.
Style matters just as much. Think about your room’s decor—modern, rustic, traditional? Your fan should blend with or complement that. For instance, a sleek metal fan fits a contemporary room, while a wooden blade fan suits a cozy, rustic space.
Have you noticed how sometimes a fan feels out of place? That’s usually because its style clashes with the room. Don’t let your ceiling fan become a design afterthought.
Energy Efficiency And Features
Look for ceiling fans with an Energy Star rating to keep your electricity bills low. Efficient motors use less power and run quietly, which adds to your comfort.
- Variable speed settings give you control over airflow and energy use.
- Integrated light kits can save you from installing extra fixtures.
- Remote controls or wall switches add convenience and ease of use.
Some fans offer reversible blades for year-round use—cool air down in summer and push warm air down in winter. This feature can reduce heating and cooling costs significantly.
Ask yourself: Which features will you actually use? It’s tempting to choose a fan with every gadget, but practicality beats gimmicks every time.
Tools And Materials Needed
Installing a ceiling fan requires some specific tools and materials. Having the right items makes the process smoother and safer. This section covers the essential tools and safety gear needed for the job.
Essential Tools Checklist
- Electric drill with screwdriver bits
- Voltage tester
- Wire strippers
- Pliers
- Measuring tape
- Step ladder
- Phillips and flathead screwdrivers
- Stud finder
- Adjustable wrench
Safety Equipment
- Safety goggles to protect your eyes
- Work gloves to avoid cuts and scrapes
- Dust mask if drilling into ceilings
- Non-slip shoes for steady footing
- Proper lighting to see clearly
Preparing For Installation
Preparing for the installation of a ceiling fan is a crucial phase that sets the foundation for a smooth and safe process. Skipping or rushing through these preparations can lead to unnecessary frustration or even safety hazards. Before you pick up your tools, you need to ensure your ceiling and electrical setup can support the new fixture.
Assessing Ceiling Structure
Start by examining the ceiling where you want to install the fan. Is the ceiling strong enough to hold the fan’s weight? Most ceiling fans weigh between 15 to 50 pounds, so you need a secure mounting point, usually a ceiling joist or a fan-rated electrical box.
If your ceiling is made of drywall without direct support, you’ll need to install a brace or a fan-rated box designed to hold the weight and motion. I once tried installing a fan without checking this and ended up with a wobbly fixture that was both noisy and dangerous.
Also, consider the height and space around the installation spot. Fans need clearance from walls and furniture for optimal airflow and safety. How much room do you actually have to work with?
Electrical Wiring Preparations
Next, evaluate your electrical wiring. Is there an existing ceiling light or fan fixture in place? If yes, check the wiring for compatibility and condition. Old or damaged wires should be replaced to prevent risks.
Turn off the power at the circuit breaker before touching any wiring. Make sure you have a ceiling box that is rated for ceiling fans, as ordinary light fixture boxes may not support the fan’s weight and movement.
It’s also a good idea to have a voltage tester on hand to verify the power is off. Wiring colors usually follow a standard, but don’t assume. Double-check which wire is live, neutral, and ground in your setup.
Step-by-step Installation Guide
Installing a ceiling fan may seem tricky, but breaking it down simplifies the job. Follow this step-by-step guide to install your fan safely and correctly. Each part focuses on key tasks to help you complete the project with confidence.
Mounting The Bracket
Start by turning off the power at the circuit breaker. Locate the ceiling box designed to hold the fan. Use a sturdy mounting bracket that fits the box. Secure the bracket tightly with screws. Ensure it can support the fan’s weight. The bracket must not wobble or feel loose.
Connecting Electrical Wires
Identify the wires from your ceiling and fan. Typically, you will find black (hot), white (neutral), and green or copper (ground) wires. Match the fan wires to the ceiling wires by color. Use wire nuts to connect them securely. Wrap electrical tape around the wire nuts for extra safety. Push the wires neatly into the ceiling box. Double-check all connections before proceeding.
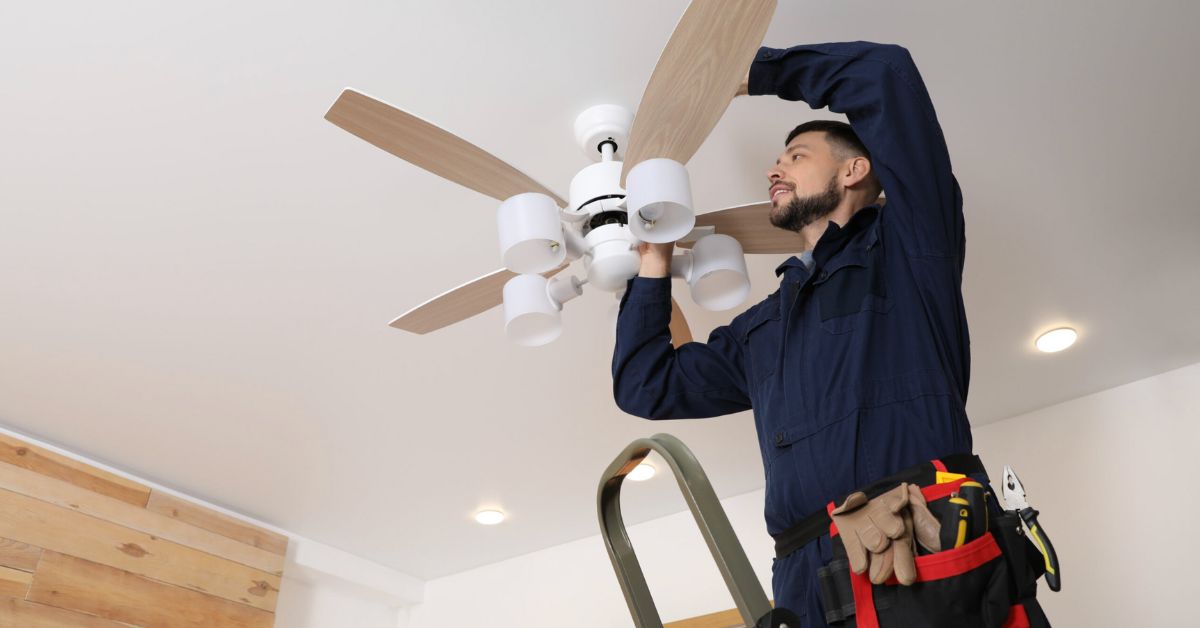
Attaching Fan Blades And Light Fixture
Attach each fan blade to the motor using the supplied screws. Tighten screws firmly but avoid over-tightening. If your fan includes a light fixture, connect its wires to the fan’s wiring. Secure the light fixture to the fan body. Install bulbs and attach the light cover. Test the fan and light to ensure they work properly.
Common Challenges And Solutions
Installing a ceiling fan can be straightforward, but certain challenges often pop up, making the job trickier than expected. These hurdles can slow you down or even cause safety issues if not handled properly. Understanding common problems and their practical solutions helps you stay prepared and confident during installation.
Dealing With Low Ceilings
Low ceilings limit your options for fan placement and blade clearance. You want enough space between the fan blades and the floor to avoid accidents and ensure good airflow. If your ceiling is under 8 feet, consider a fan with a flush mount or a low-profile design.
Another quick fix is to use shorter downrods or skip them entirely. This keeps the fan closer to the ceiling and maximizes headroom. Always measure carefully before buying to avoid surprises during installation.
Troubleshooting Electrical Issues
Electrical problems often confuse DIYers, especially if wiring is old or unclear. If the fan doesn’t turn on, start by checking the circuit breaker and the wall switch. Loose connections or incorrect wiring can stop your fan from working or even cause flickering lights.
Use a voltage tester to ensure power is off before touching wires. Label wires during removal to simplify reconnection. If you hit a wall with confusing wiring, don’t hesitate to call an electrician—safety is key.

Credit: blogsbeatsever.odoo.com
Maintenance And Safety Tips
Maintaining your ceiling fan properly is key to keeping it running smoothly and safely. Neglecting regular care can lead to poor performance and even hazards. Let’s look at simple steps you can take to protect your investment and your home.
Regular Cleaning And Inspection
Dust and dirt build up quickly on ceiling fans, affecting both air quality and fan efficiency. You should clean the blades at least once a month using a soft cloth or a vacuum with a brush attachment.
While cleaning, check for any signs of damage like cracks or warping on the blades. Loose screws or worn-out parts can cause wobbling or noise, so tighten or replace them as needed.
Ensuring Stability And Performance
Have you ever noticed a ceiling fan wobble or make unusual noises? This is often a sign that the fan isn’t balanced or mounted securely.
Test the fan’s stability by turning it on at different speeds. If it wobbles, adjust the blade weights or check the mounting bracket. Ensuring the fan is properly anchored to a ceiling joist can prevent accidents and improve performance.
Also, verify that the electrical connections are secure and that the fan’s pull chains or remote controls work smoothly. Faulty wiring or controls could pose safety risks or cause the fan to stop unexpectedly.
Expert Advice For Homeowners
Installing a ceiling fan can be a rewarding project for many homeowners. It brings comfort and style to any room. Yet, the task requires careful planning and some technical skill. Knowing when to seek expert help can save time and avoid risks. Understanding how fans enhance your home’s look also plays a key role in your decision.
When To Call A Professional
Electrical wiring can be dangerous without proper knowledge. A professional ensures safe and correct installation. Choose an expert if:
- The existing wiring is old or damaged.
- The ceiling fan weighs more than usual.
- There is no existing ceiling box for the fan.
- Complex wiring or multiple switches control the fan.
- Local codes require licensed electricians for such work.
Hiring a professional reduces risks of electrical faults and damage. It guarantees the fan works efficiently and safely.
Enhancing Home Aesthetics With Fans
Ceiling fans do more than cool a room. They add style and elegance to your space. Choose a fan that matches your room’s decor. Consider:
- Blade color and material that complement your furniture.
- Fan size suitable for the room area.
- Lighting options integrated with the fan.
- Modern or classic designs that fit your taste.
A well-chosen ceiling fan can be a room’s focal point. It brings harmony and charm to your home environment.
Credit: smartfixhome.com
Frequently Asked Questions
How Hard Is It To Install A Ceiling Fan Yourself?
Installing a ceiling fan is moderately challenging for beginners. Basic electrical knowledge and tools are essential. Following instructions carefully ensures safety and proper function. Hiring a professional is recommended if unsure about wiring or mounting.
What Tools Do I Need For Ceiling Fan Installation?
You need a screwdriver, wire stripper, voltage tester, pliers, ladder, and possibly a drill. These tools help secure the fan and ensure safe electrical connections. Having the right tools makes installation smoother and safer.
How Long Does It Take To Install A Ceiling Fan?
Typically, installation takes 1 to 2 hours for most people. Time varies based on experience and existing wiring conditions. Preparation and reading instructions beforehand can speed up the process significantly.
Can I Install A Ceiling Fan Without Existing Wiring?
Installing without existing wiring requires running new electrical lines. This job is complex and often needs professional help. Ensure your electrical panel can handle the new load before starting.
Conclusion
Installing a ceiling fan is not too hard for most people. Basic tools and some patience help a lot. Reading instructions carefully makes the process smoother. Safety matters, so turn off power before starting. Taking your time reduces mistakes and stress.
You can enjoy a cool room once done. A little effort brings big comfort at home. Anyone willing to learn can handle this task. Why wait? Give it a try and feel the difference.


