
Are you ready to give your ceiling a fresh, clean look without hiring a professional? Rolling paint on a ceiling might sound tricky, but with the right steps, you can do it smoothly and confidently.
Imagine transforming your room’s entire feel with just a few simple strokes. In this guide, you’ll discover easy tips and tricks that make painting your ceiling faster and less messy than you ever thought possible. Keep reading, and you’ll learn how to achieve a perfect finish that will impress everyone who walks into your space.
Your ceiling makeover starts here!

Credit: www.homedepot.com
Choosing The Right Paint
Choosing paint with the right finish and thickness helps the roller glide smoothly on ceilings. Select a flat or matte paint to hide imperfections and create a clean look. Ensure the paint is designed for ceilings to avoid drips and uneven coverage.
Choosing the right paint for your ceiling is crucial. It affects the finish and durability of your paint job. Different types of paint offer unique benefits. Selecting the right one ensures a seamless painting experience.Types Of Ceiling Paint
Ceiling paint is thicker than wall paint. It resists splatters and drips. Some options include flat, eggshell, and specialty ceiling paints. Flat paint hides imperfections well. Eggshell offers a slight sheen. Specialty paints resist moisture and mold. Consider your room’s needs before choosing.Matte Vs. Satin Finish
Matte finish absorbs light, reducing glare. It hides ceiling flaws effectively. Satin finish reflects light, giving a smooth appearance. It is easier to clean, ideal for kitchens and bathrooms. Choose based on room lighting and use.Paint Color Selection
White is a classic choice. It brightens rooms and matches any decor. Light colors make ceilings appear higher. Dark colors add drama but can lower perceived height. Consider room size and natural light. Selecting the right color impacts the room’s mood and feel.
Credit: www.homedepot.com
Gathering Essential Tools
Before you start rolling paint on your ceiling, gathering the right tools is crucial. Having everything at hand saves time and prevents frustration halfway through the job. It also helps you achieve a smoother, more professional finish.
Rollers And Brushes
Choose a roller with a thick nap—around ¾ inch or more works well for ceilings because it holds more paint and covers textured surfaces better.
Don’t forget a good angled brush for the edges and corners where rollers can’t reach. A quality brush reduces streaks and makes cutting in easier.
Have you noticed how a cheap brush leaves bristles behind? Spending a bit more on tools can actually save you time and effort.
Extension Poles
An extension pole is your best friend for painting ceilings. It lets you reach high areas without a ladder, reducing fatigue and making your strokes more consistent.
Look for a lightweight but sturdy pole with a secure locking mechanism to avoid wobbly movements. Comfort grips also help when you’re painting for an extended period.
Think about how much easier it is to cover a large ceiling without climbing up and down repeatedly.
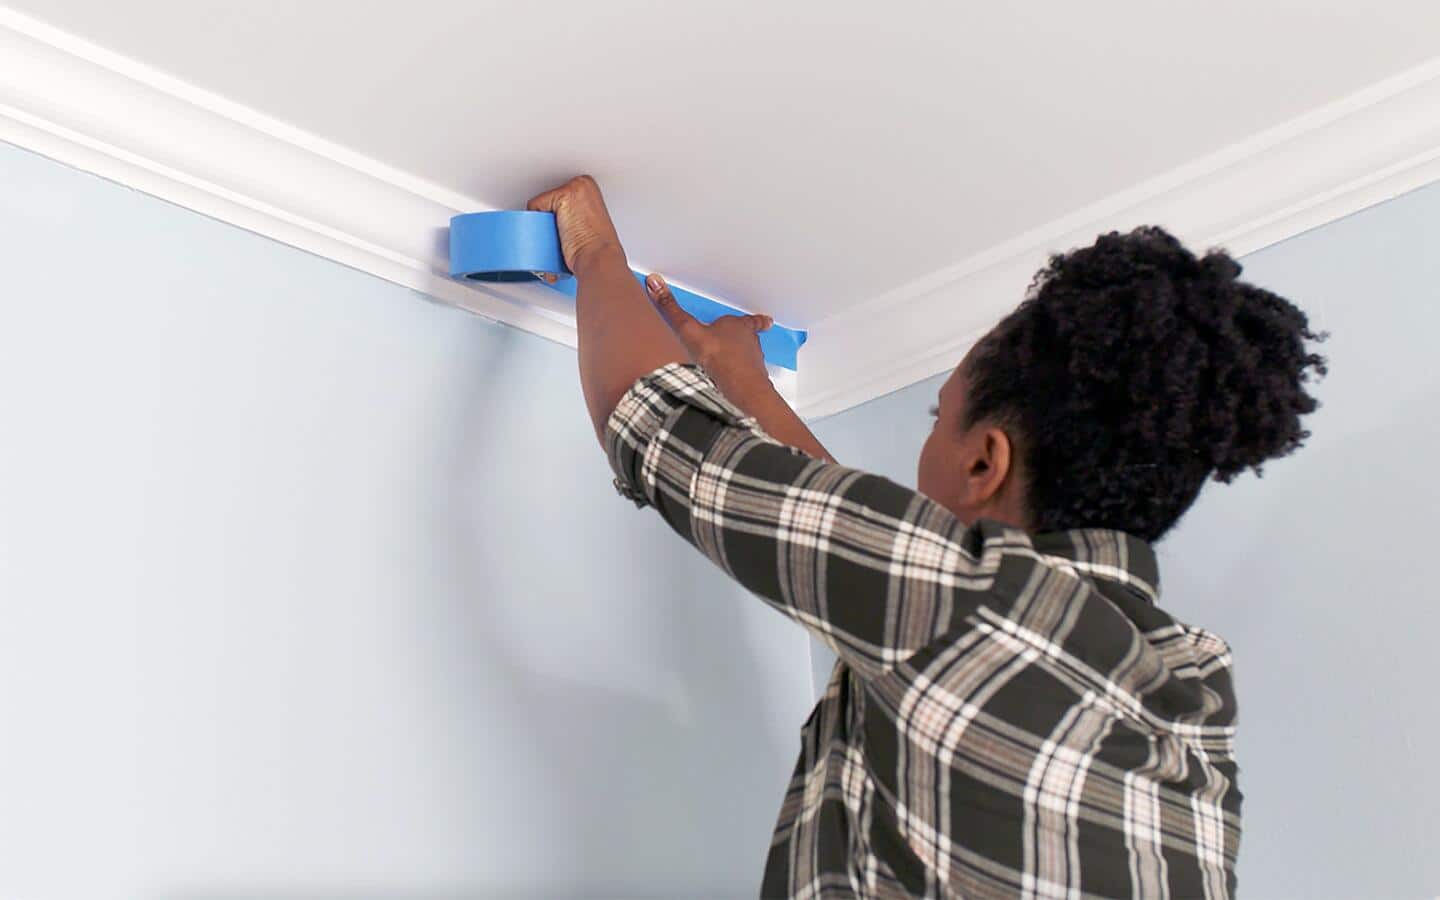
Drop Cloths And Tape
Protect your floors and furniture with drop cloths—canvas ones are durable and won’t slip as easily as plastic.
Painter’s tape is essential to get clean lines along walls and light fixtures. It also prevents accidental splashes on trim or vents.
Have you ever had to scrub paint off a hardwood floor? Taking a few minutes to tape and cover saves hours of cleanup later.
Preparing The Ceiling Surface
Preparing the ceiling surface is a crucial step before you start rolling paint. It ensures the paint sticks well and looks smooth. Skipping this stage can lead to peeling, uneven color, and extra work later on.
Cleaning And Repairing
Start by removing dust, cobwebs, and any grease spots from your ceiling. Use a sponge or cloth with mild detergent and water to gently clean the surface.
Check for cracks, holes, or peeling paint. Fill small cracks or holes with spackling paste or joint compound. Once dry, sand the patched areas smooth to create a flat surface.
Have you noticed how even tiny imperfections become glaring once painted? Taking time here saves frustration later.
Priming The Surface
Priming seals the surface and helps the paint adhere better. Choose a primer suitable for your ceiling type—drywall, plaster, or textured surfaces may require different primers.
Apply primer evenly with a roller or brush, focusing on repaired spots. This step improves coverage and prevents stains or discoloration from showing through your paint.
Think about the last time you painted without priming—did the color look as vibrant or consistent? Priming often makes the difference.
Protecting Walls And Floors
Protect your walls and floors from paint splatters by covering them with painter’s tape and drop cloths. Secure the tape along edges where the ceiling meets the walls to get clean lines.
Use plastic sheets or old newspapers on the floor. Moving around a ladder or roller can cause accidental spills, so don’t skip this step.
Have you ever spent hours cleaning paint off your floors? Taking a few minutes now keeps your space neat and saves time later.
Rolling Techniques For Ceilings
Rolling paint on a ceiling might seem straightforward, but mastering the right techniques can make a huge difference in the final look. The key is to work efficiently while keeping the paint smooth and consistent. Let’s dive into some essential rolling techniques that will help you get professional-looking results every time.
Loading The Roller Properly
Loading your roller with the right amount of paint is crucial. Too much paint leads to drips and uneven coverage, while too little means more trips to the tray and a patchy finish.
Dip the roller into the paint tray and roll it along the tray’s ridges to evenly spread the paint. Aim for the roller to be saturated but not dripping. If you notice paint pooling on the roller, give it a few extra rolls on the tray’s ridges to remove excess.
Think about how often you need to reload. If you wait until the roller looks dry, you’ll end up with streaks. Reload while the roller still feels damp to maintain a smooth application.
Applying Paint Evenly
Start rolling in a “W” or “M” pattern on the ceiling. This helps spread the paint over a larger area before smoothing it out.
After creating the pattern, fill in the gaps with horizontal strokes without lifting the roller. This technique ensures even coverage and avoids roller marks.
Keep your pressure consistent. Pressing too hard causes uneven texture, while too light pressure leaves thin spots. Find a balance by practicing on a scrap piece or less visible area.
Maintaining A Wet Edge
To avoid visible lines and streaks, always work with a wet edge. This means overlapping each new stroke with the last while the paint is still wet.
Plan your work area so you can move steadily across the ceiling without stopping too long in one spot. If you pause, the paint may dry, making it harder to blend new strokes seamlessly.
Ask yourself: Are you moving fast enough to keep the edge wet? If not, try adjusting your pace or dividing the ceiling into smaller sections to manage the workflow more effectively.
Handling Difficult Areas
Handling difficult areas on a ceiling can be the trickiest part of your painting project. These spots require extra patience and the right tools to make sure your finish looks smooth and professional. You might find yourself hesitating at edges, around fixtures, or on textured surfaces, but with a few smart moves, you can tackle them confidently.
Edges And Corners
Edges and corners demand precision. Use a high-quality angled brush to cut in carefully along the walls before rolling. This lets you control the paint without smudging onto the walls.
Try painting the edges in small sections, then blend them with your roller. This helps you avoid thick paint lines and keeps the finish even. Don’t rush here—taking your time will save you from messy touch-ups later.
Ceiling Fixtures
Painting around ceiling fixtures like lights or fans can feel frustrating. First, remove or cover the fixtures with painter’s tape and plastic. This protects them and gives you clear boundaries.
Use a small brush to paint around the edges of the taped area, then switch to a mini roller for the larger spots nearby. Have you noticed how careful taping reduces cleanup time? It’s a simple step that pays off big.
Textured Ceilings
Textured ceilings need a different approach because paint can pool in grooves and create drips. Use a thick-nap roller designed for textured surfaces to ensure even coverage. Avoid overloading your roller with paint to prevent drips.
For stubborn spots, gently dab with a brush instead of rolling back and forth. This way, you fill in crevices without disturbing the texture. Have you found any tricks for textured surfaces that make the job easier?
Drying And Second Coats
Allowing paint to dry properly is key to a smooth, lasting finish on your ceiling. This stage affects the final look and durability of your work. Knowing when and how to apply a second coat ensures even coverage and rich color. Taking time to prepare the surface between coats also helps avoid bumps and imperfections.
Ideal Drying Times
Ceiling paint usually dries to touch within 1 hour. Complete drying can take 4 to 6 hours depending on temperature and humidity. Cooler or more humid rooms may need longer drying times. Avoid rushing to the next step to prevent smudges or uneven texture.
When To Apply Additional Coats
Apply the second coat only when the first is fully dry. Check for patchy areas or uneven color. A second coat deepens the color and hides roller marks. Two coats are often enough for good coverage on ceilings.
Sanding Between Coats
Sanding helps smooth out any raised fibers or dust particles. Use a fine-grit sanding sponge or sandpaper. Lightly sand the ceiling after the first coat has dried. Wipe away dust with a damp cloth before painting again. This step ensures a flawless final finish.
Cleaning Up After Painting
Cleaning up after painting your ceiling is just as important as the painting itself. It keeps your space tidy and ensures your tools last longer. Plus, a thorough cleanup helps you spot any missed spots or drips before they dry.
Cleaning Tools
Start by rinsing your paint rollers and brushes with warm water if you used latex paint. Use a mild soap to break down the paint residue. Avoid letting the paint dry on your tools—it makes cleaning much harder.
For oil-based paints, use mineral spirits or paint thinner instead of water. Always work in a well-ventilated area when using these solvents. After cleaning, reshape your brushes and let them dry flat to maintain their form.
Removing Tape
Remove painter’s tape while the paint is still slightly wet to avoid peeling off dried paint. Pull the tape back on itself slowly at a 45-degree angle. This method reduces the risk of jagged edges and unwanted paint removal.
If the paint has dried, score along the tape edge with a utility knife before pulling it up. This prevents the paint from ripping off with the tape. Have you ever lost hours fixing paint peeled off by tape? This simple trick saves you from that hassle.
Disposing Of Leftover Paint
Don’t pour leftover paint down the drain or into the trash. Check if your community has a hazardous waste disposal site—they often accept paint. You can also donate usable paint to local schools, theaters, or community centers.
For small amounts, let the paint dry out by leaving the lid off in a well-ventilated area, then dispose of it with regular trash. Be sure to seal the container tightly if you store paint for future touch-ups. How often do you find yourself with leftover paint and wonder what to do with it? Proper disposal keeps your home safe and environmentally friendly.
Common Mistakes To Avoid
Knowing the common mistakes to avoid when rolling paint on a ceiling can save you time and frustration. Many people jump into the job without realizing these pitfalls, which often lead to uneven coverage and extra work. Let’s look at the key errors that can spoil your paint job and how you can steer clear of them.
Overloading The Roller
It’s tempting to dip your roller deep into the paint tray, thinking it speeds up the job. But too much paint causes drips and uneven layers that are hard to fix. You want just enough paint to cover the surface smoothly without it dripping off the roller.
Try rolling the roller back and forth on the tray’s ridges to remove excess paint. This simple step helps you keep control and prevents messy splatters on your walls and furniture.
Ignoring Surface Prep
Skipping the prep work is a common mistake that ruins the final look. Dust, cobwebs, and grease spots stop paint from sticking properly. If you don’t clean and prime the ceiling first, the paint won’t last and may peel off quickly.
Take the time to wipe the ceiling with a damp cloth and use a primer if needed. This creates a smooth base and makes your paint job look professional and fresh for longer.
Rushing The Process
Painting a ceiling isn’t a race. Trying to finish too quickly leads to missed spots and uneven coverage. You’ll end up with patchy areas that require extra coats and more effort.
Be patient and work in small sections. Let each coat dry completely before adding another. Ask yourself: Would you rather spend an extra hour now or redo the whole ceiling later?
Credit: www.homedepot.com
Frequently Asked Questions
How Do You Prepare A Ceiling For Paint Rolling?
Start by cleaning the ceiling to remove dust and cobwebs. Repair any cracks or holes. Use painter’s tape to protect edges. Apply a primer coat for better paint adhesion and durability.
What Type Of Roller Is Best For Painting Ceilings?
Use a roller with a thick nap, around ¾ inch to 1 inch. This helps cover textured surfaces evenly. Foam rollers are not ideal; they may leave streaks or bubbles on ceilings.
How Do You Avoid Paint Drips When Rolling A Ceiling?
Load the roller evenly and avoid overloading with paint. Roll slowly and use a “W” or “M” motion to spread paint. Work in small sections to maintain a wet edge and prevent drips.
How Many Coats Of Paint Are Needed On A Ceiling?
Typically, two coats are recommended. The first coat acts as a base, and the second ensures even coverage and color depth. Allow the first coat to dry completely before applying the second.
Conclusion
Rolling paint on a ceiling can be simple with the right steps. Prepare your tools and work carefully for even coverage. Take your time to avoid drips and streaks. Keep your strokes steady and use enough paint. Clean your tools after finishing to keep them ready.
This method saves time and helps you get a smooth ceiling. Practice makes it easier and faster each time. Now, you can refresh any room with confidence.


